726th Inspire Me Tuesday
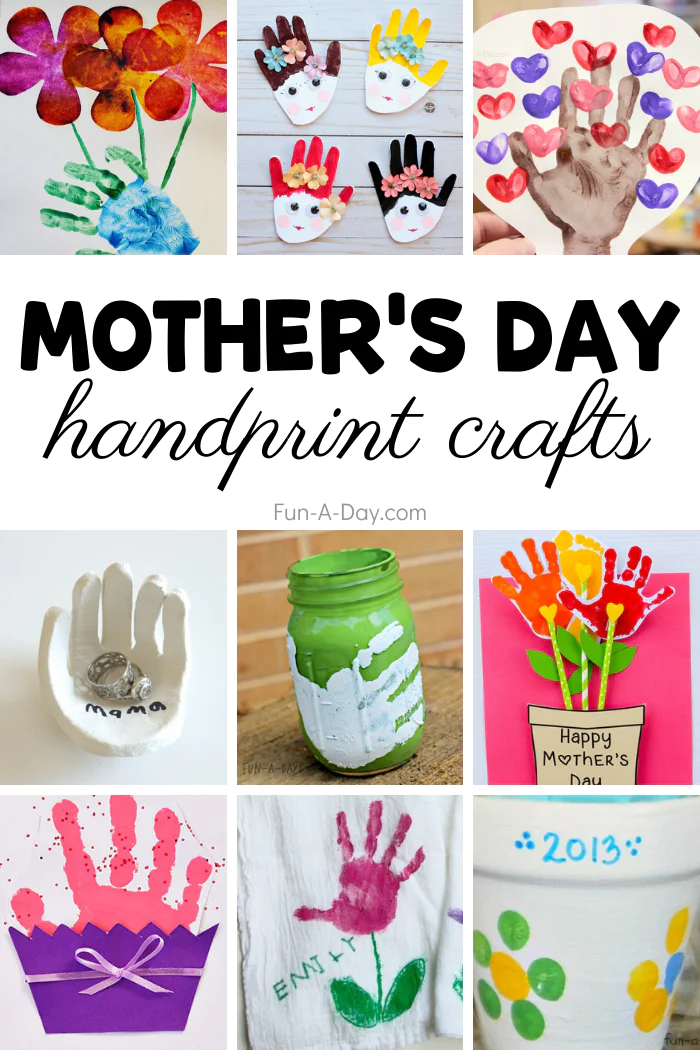
Welcome to the 726th Inspire Me Tuesday. As usual some really great links last week. Here is a small sample. Mother’s Day Handprint Art. Turn A Headboard Into A Bench Sheet Pan Garlic Chicken…
View Post
Welcome to the 726th Inspire Me Tuesday. As usual some really great links last week. Here is a small sample. Mother’s Day Handprint Art. Turn A Headboard Into A Bench Sheet Pan Garlic Chicken…
View Post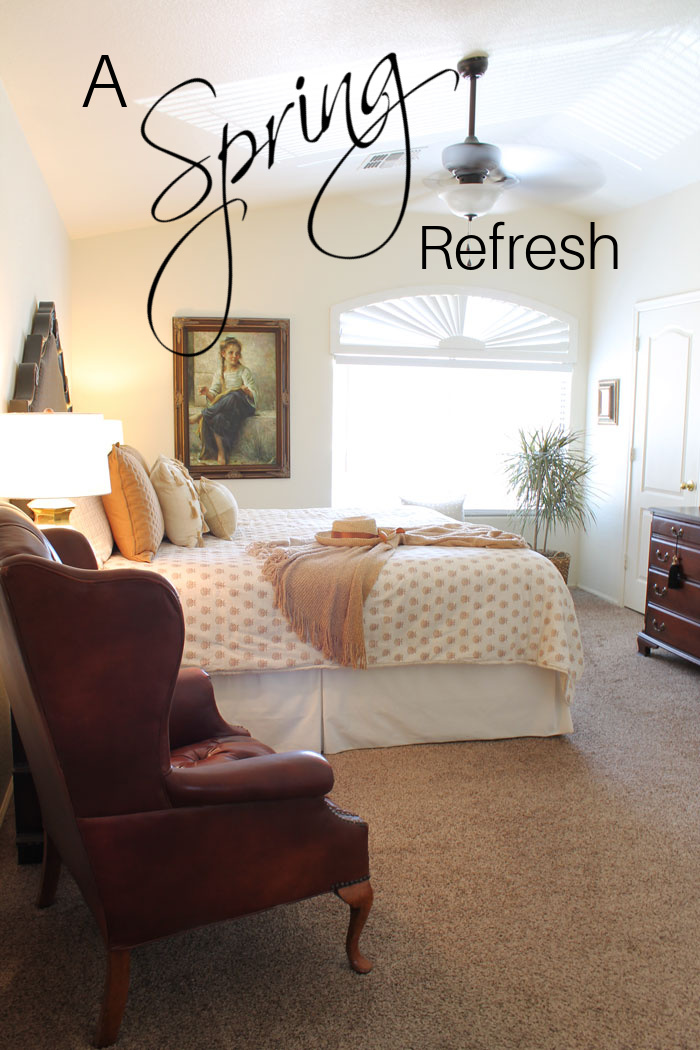
I think we all feel like the world has come to life when Spring rolls around. Bright sunshine, pretty flowers, and warm wonderful long days are just the best. I love Decorating For Spring. I…
View Post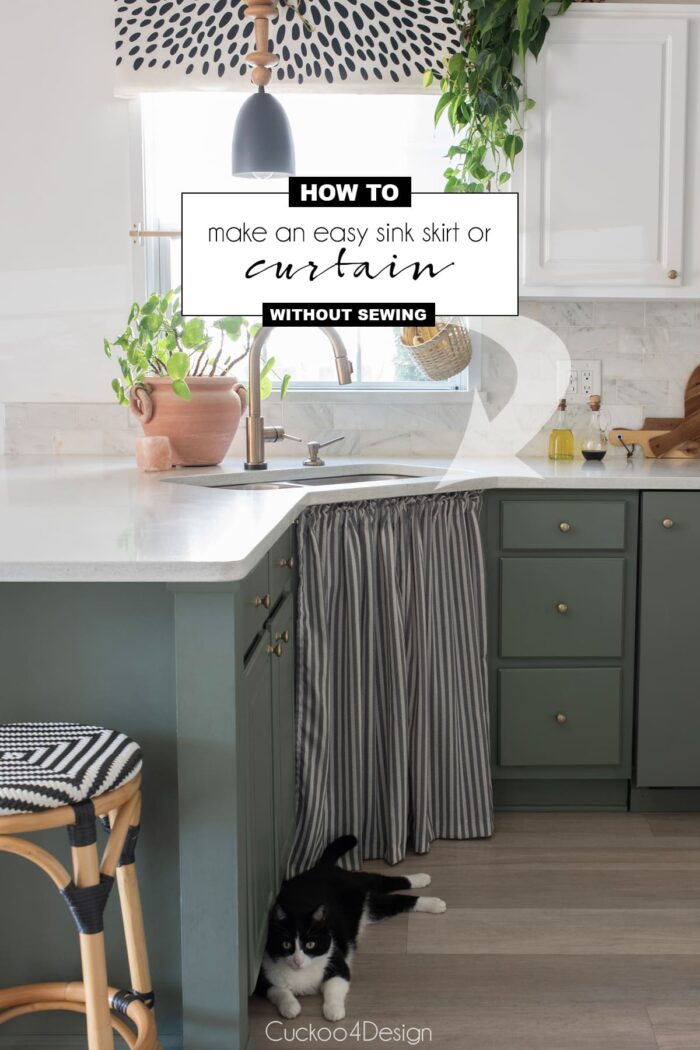
Welcome to Friday DIY & Finds. I love finding so many fun projects you guys are cranking out. I need to get busy and refresh a few areas in my own home, so you guys…
View Post