Spring Breakfast Table Centerpiece & More
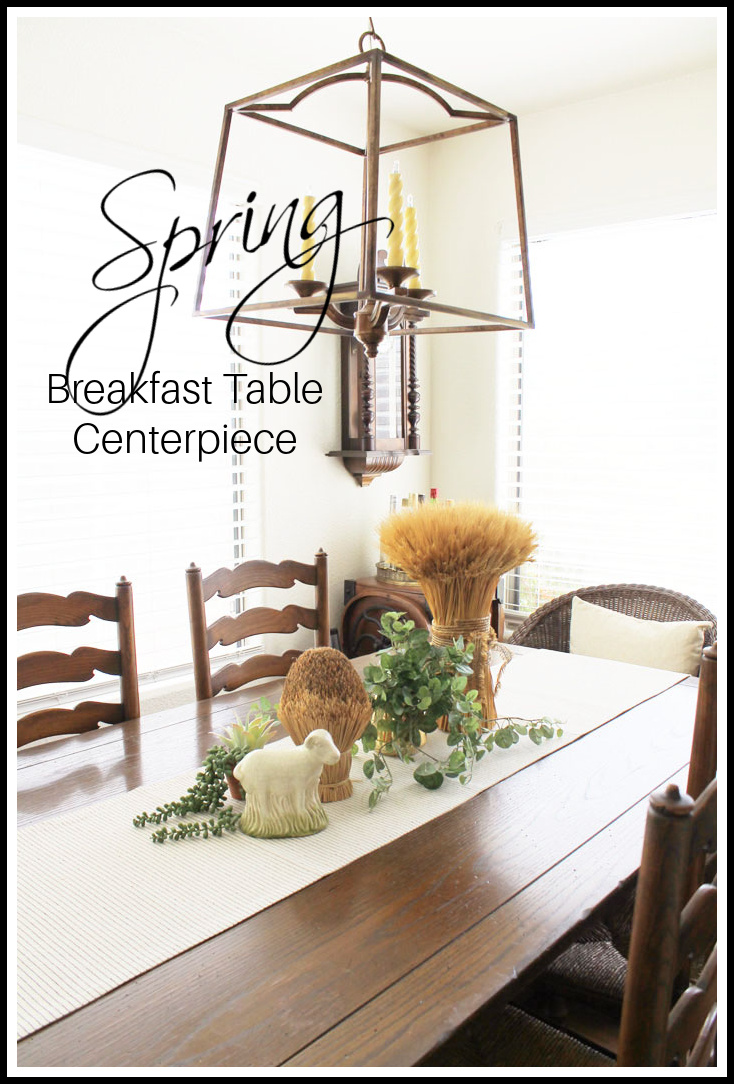
Spring Breakfast Table Centerpiece & More. Do you ever have one of those days when one thing leads to another and before long you’ve gone down a rabbit hole you didn’t intend to explore? I…
View Post