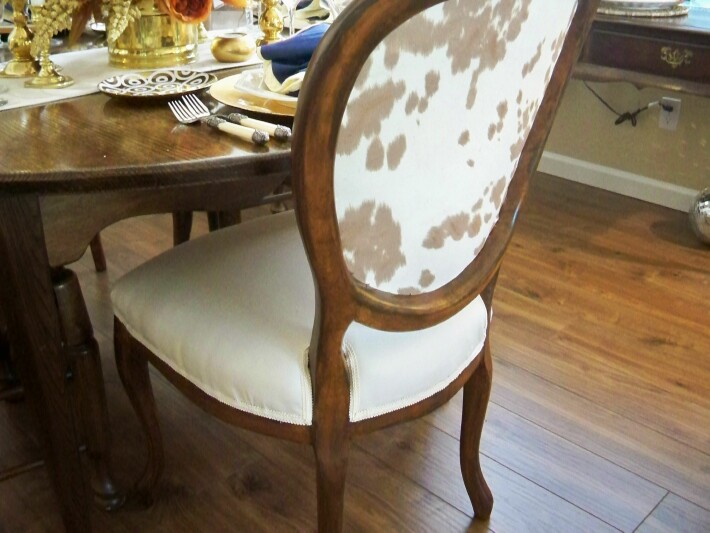
I am so pleased with how the chairs turned out. Now they are by no means professional, but for my first time doing this kind of upholstery, I am thrilled. (I still have to add the welt trim around the edges, but I just had to play.)

You guys were amazing with all of your input and I was surprised that you were just about tied on whether to use the scroll or the cowhide fabric for the backs of the chairs.

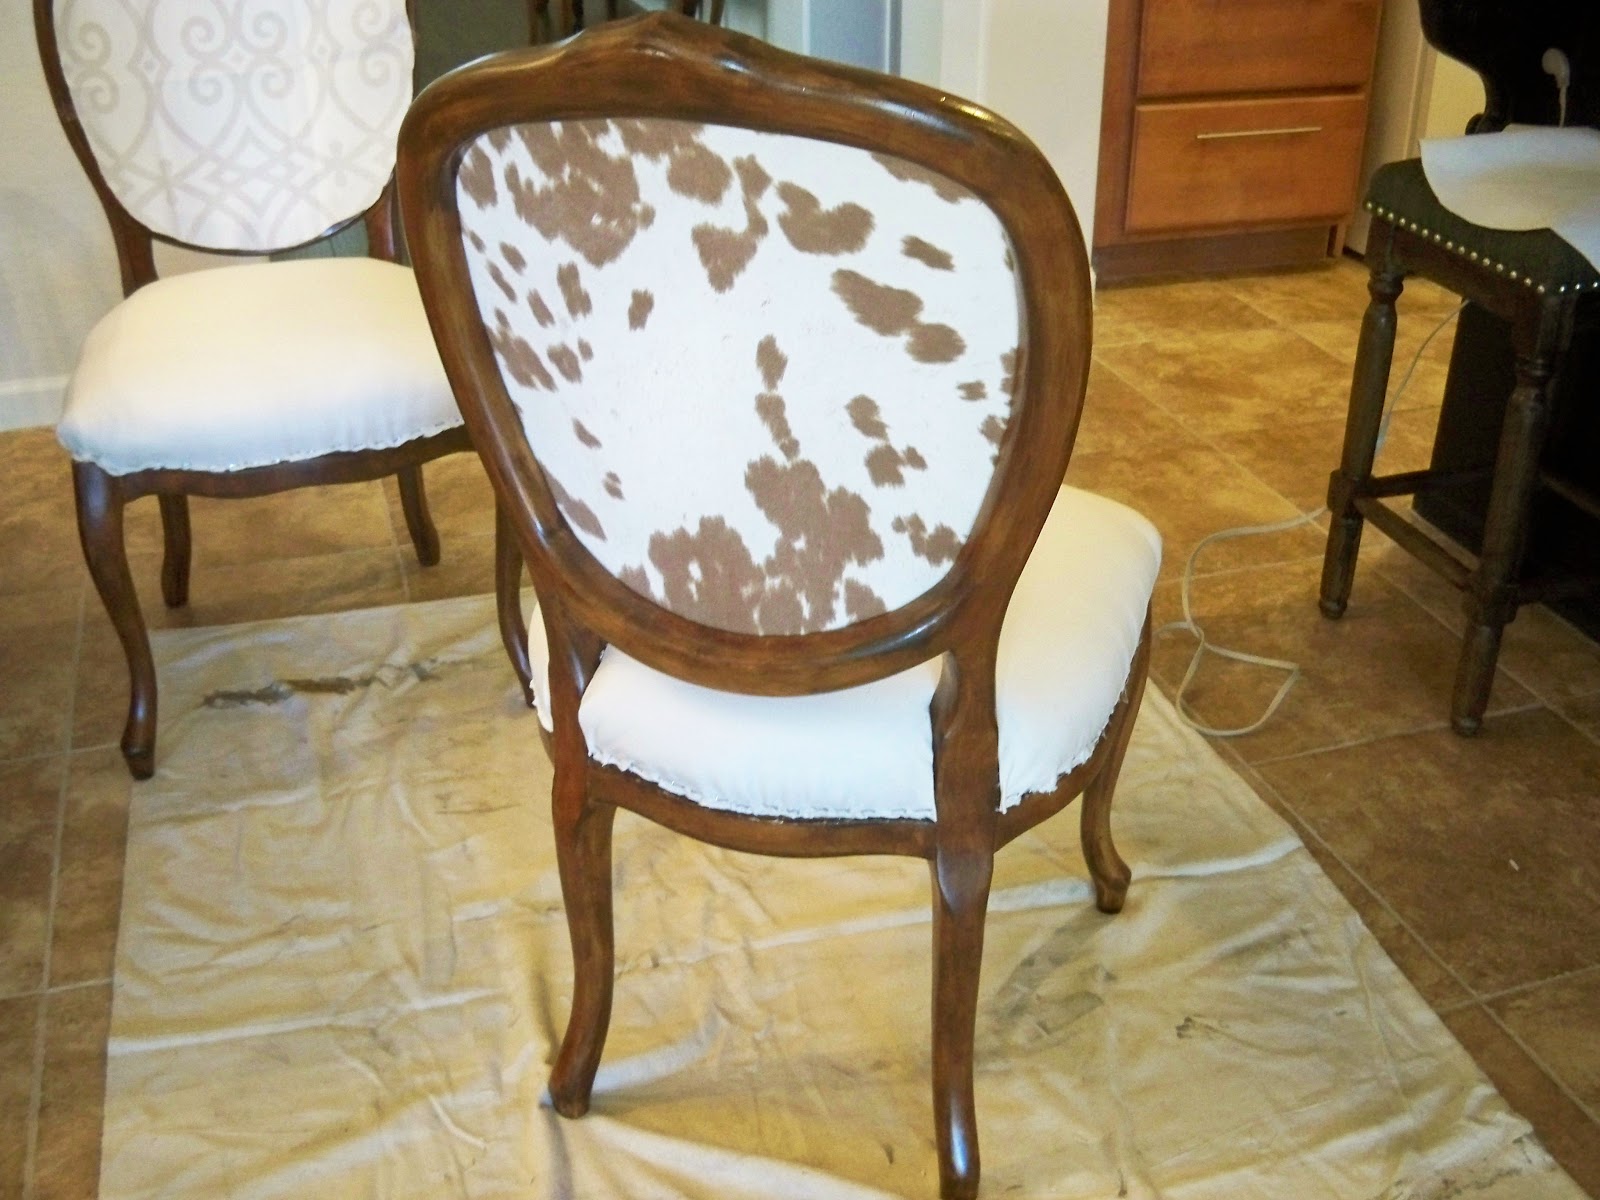
In the end I went with the cowhide and a little whimsy. Now I may be tired of it in the future, but since I learned how to upholster them, I can change the backs when I want to.
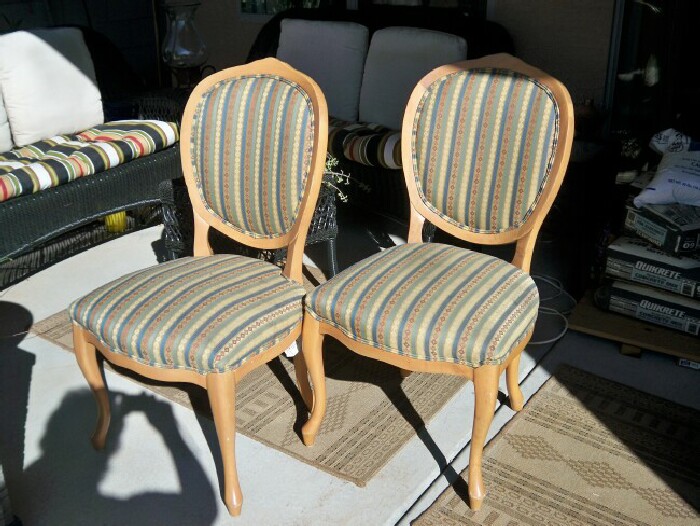
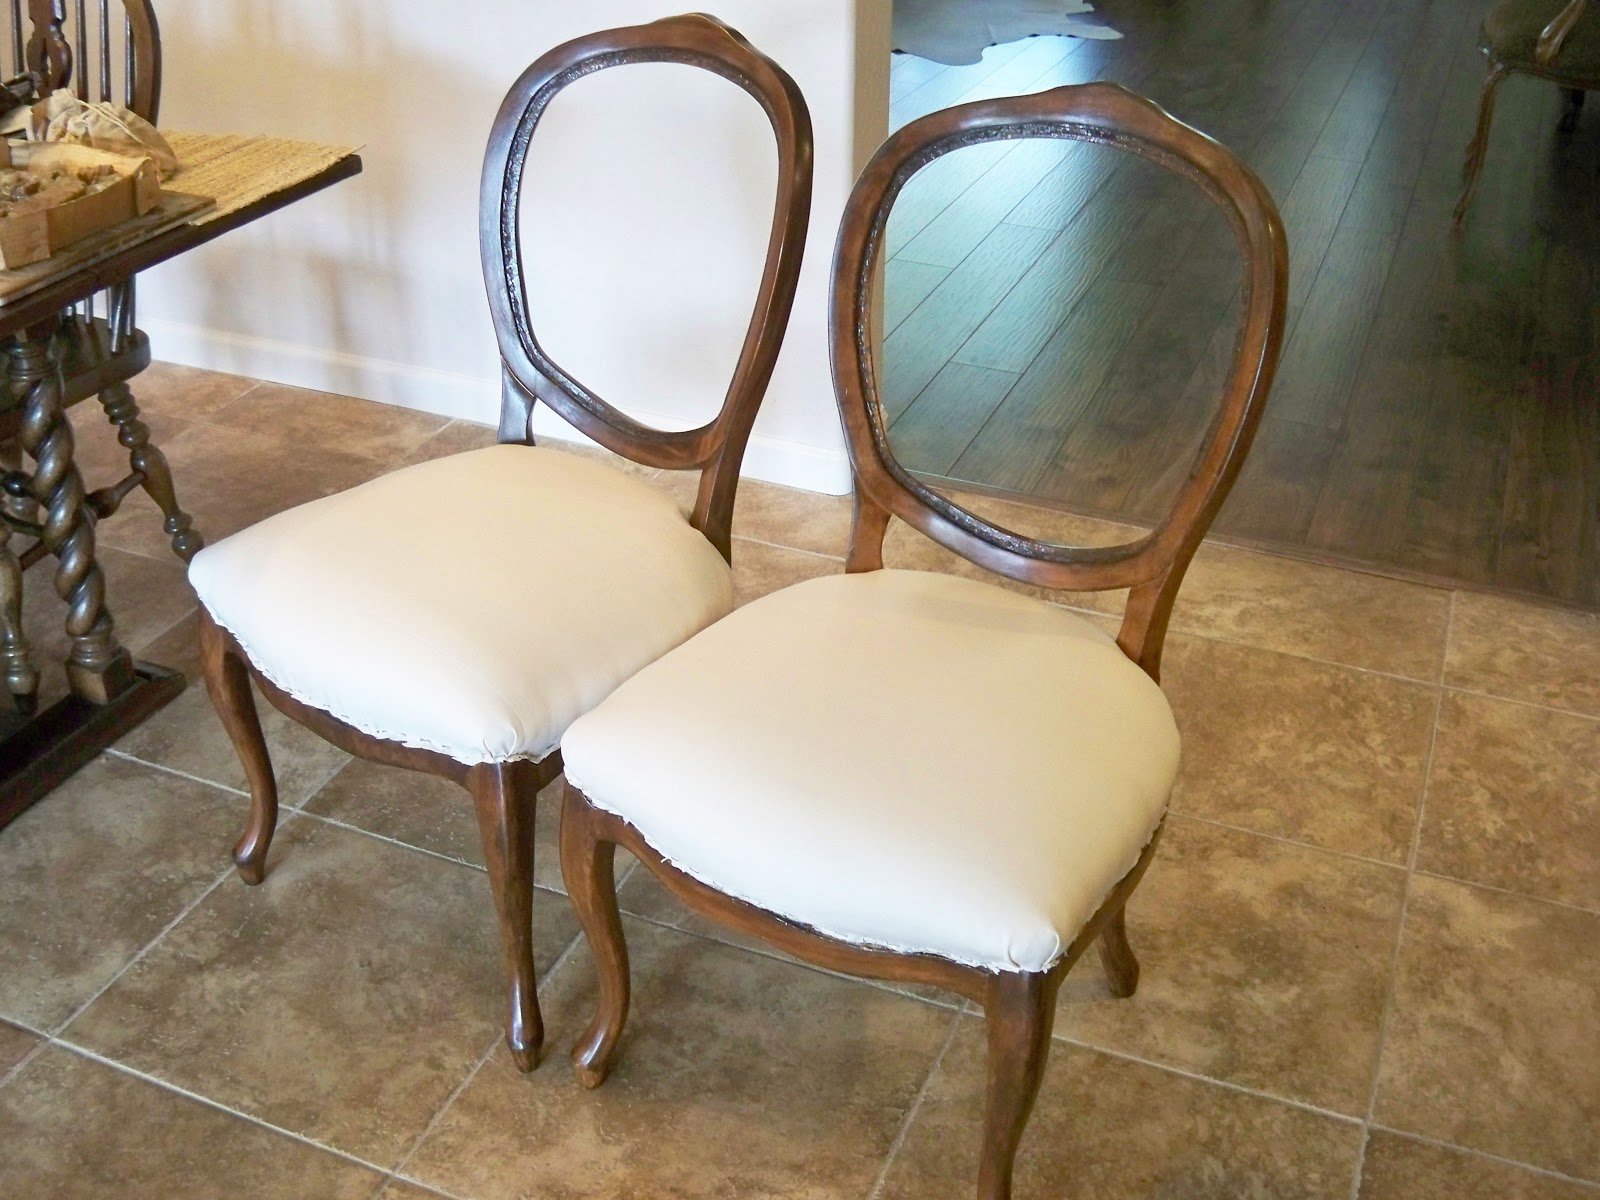
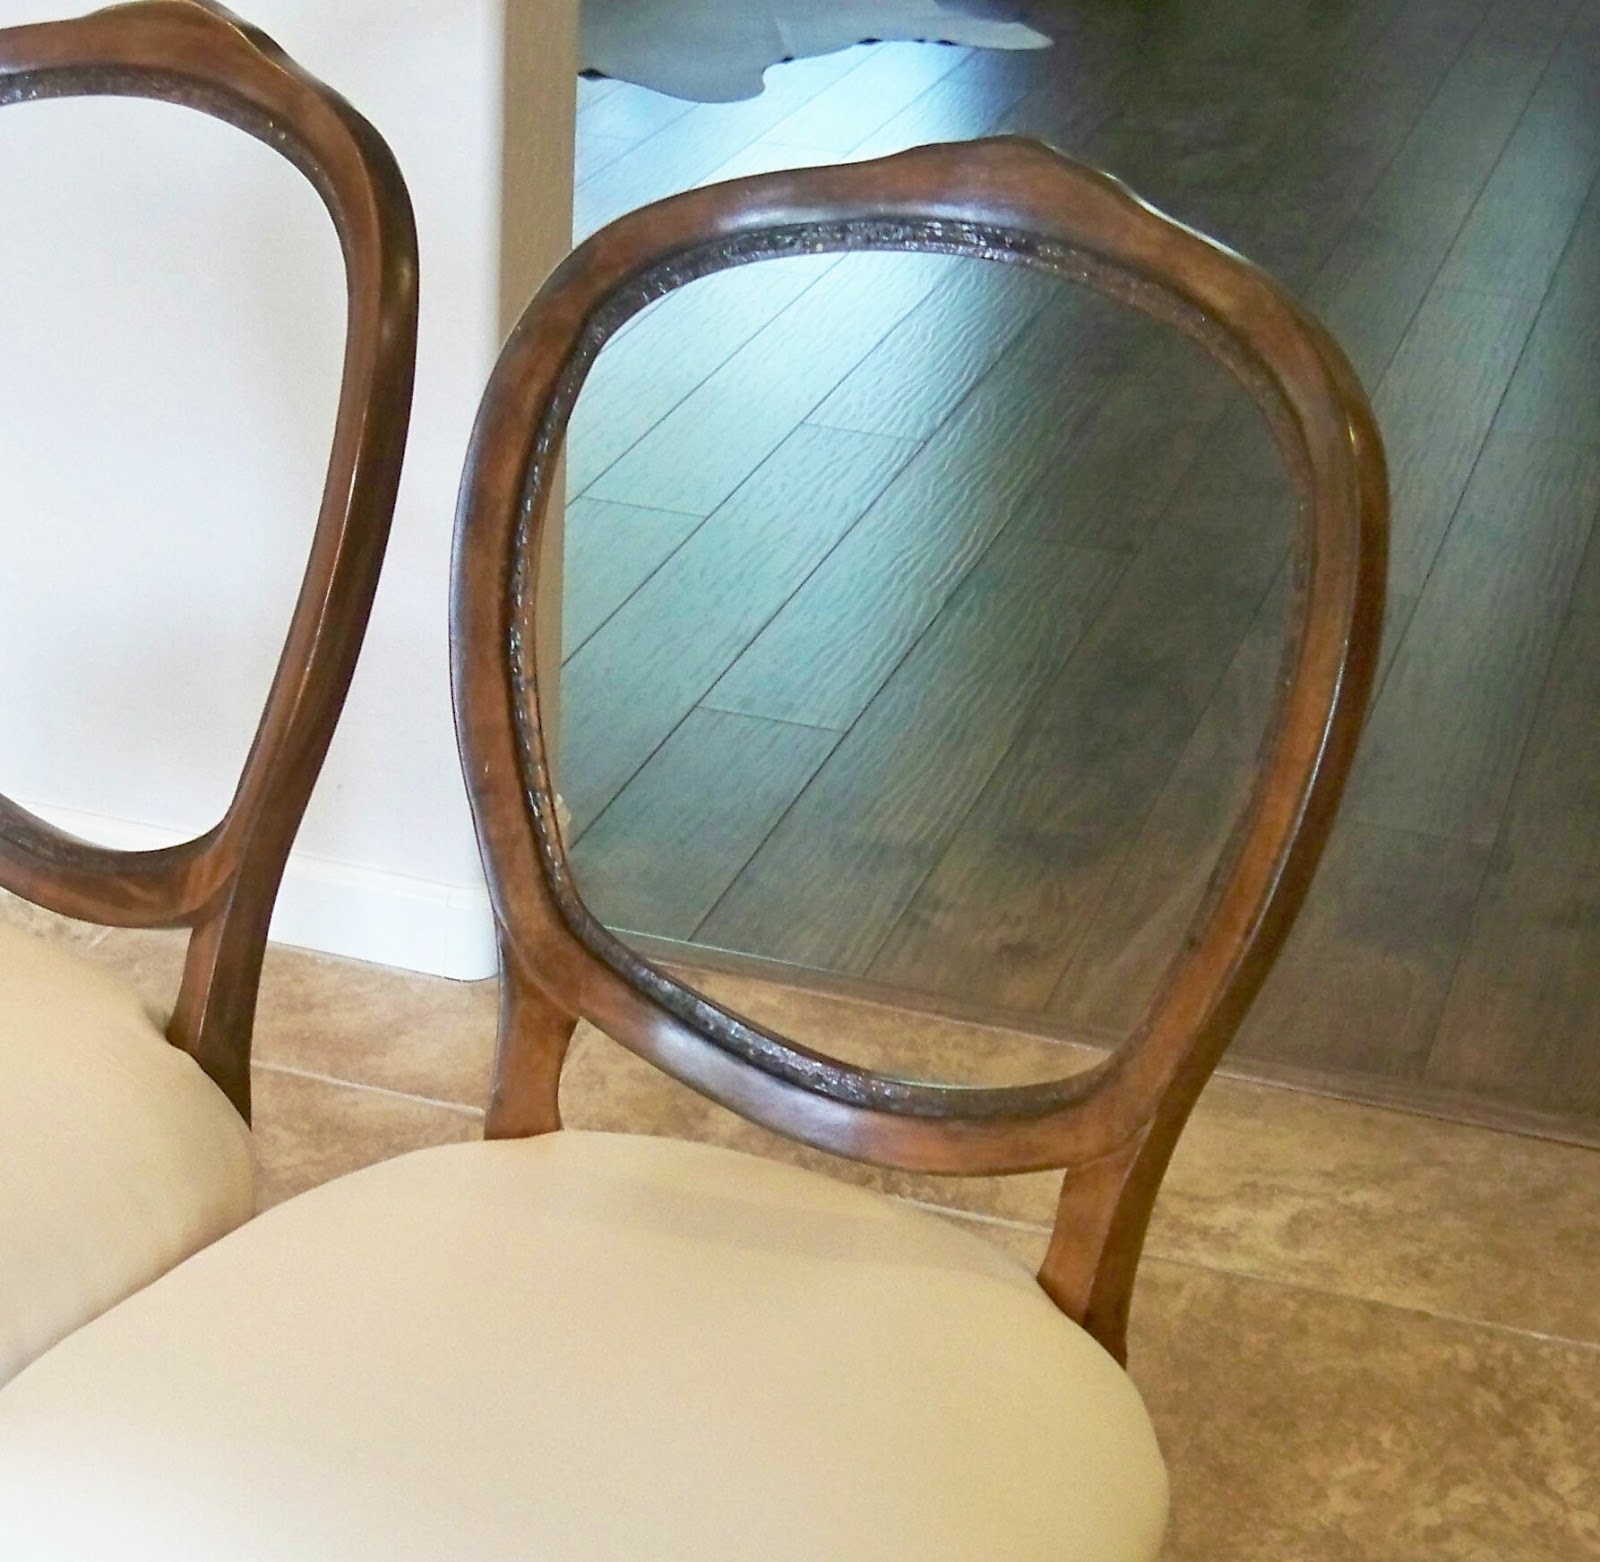
Remember, this is what they looked like when I bought them. Really ugly upholstery and kind of an orange/blonde wood frame color.
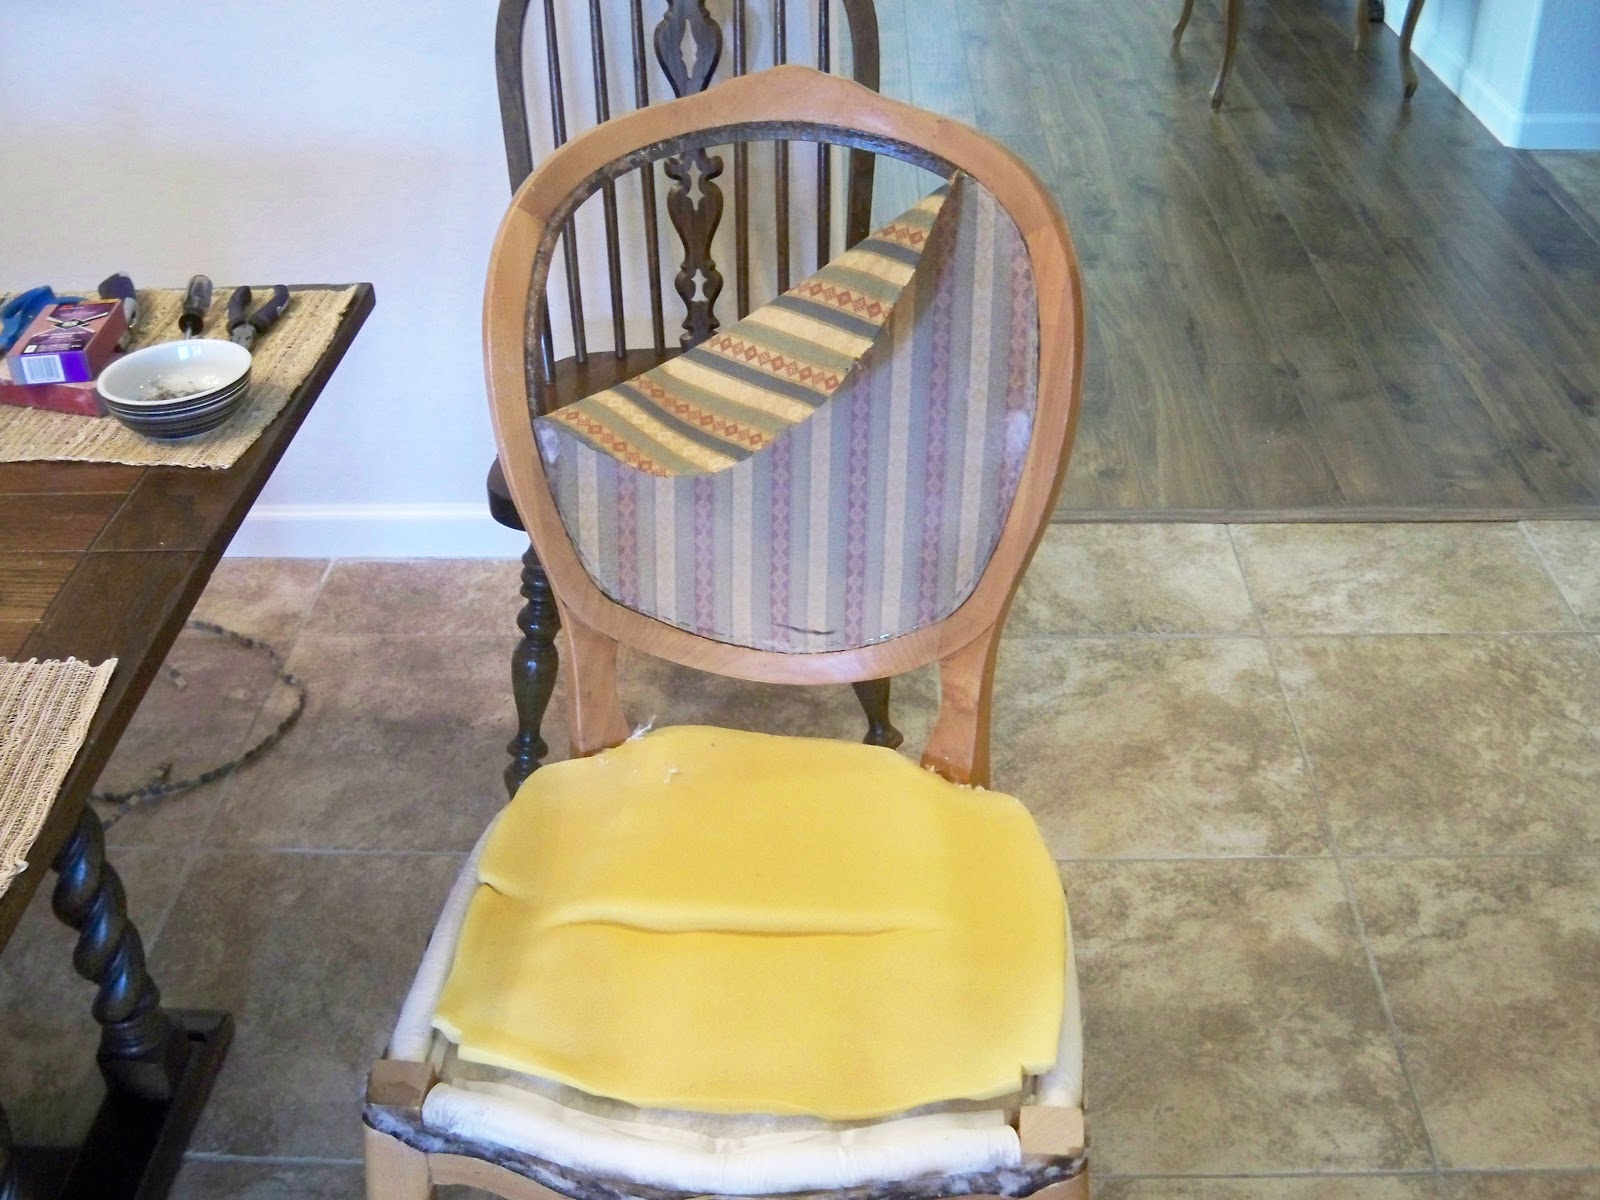
I started by removing the double welting cord that was around the edge of the chair seat, then I pulled the gazillion staples that held the fabric on. I discovered that the fabric was glued to a piece of batting that was also glued to a piece of foam. This came off all in one piece.

I took the cording off the back of the chair and then removed all the staples on the fabric and found the same thing. The fabric glued to batting and foam and it also came off in one piece. (You can see the cording laying on the floor) That left me with the back fabric, I removed all the staples in that piece of fabric too.
Now I had the fabric off the seats and back of the chairs, so time to redo the frame.
I removed the bottom piece of foam and left the rest of the seat in tact since nothing was touching the outside frame anymore. Then outside for a good sanding.
You can see all the steps I did in refinishing the frames in this post.

OK now here is where I am a bad blogger. I didn’t take any pictures step by step on the seat part, but it is pretty self explanatory. I just put all the foam and batting back on the same way it came off and then covered it with my fabric and stapled it down.
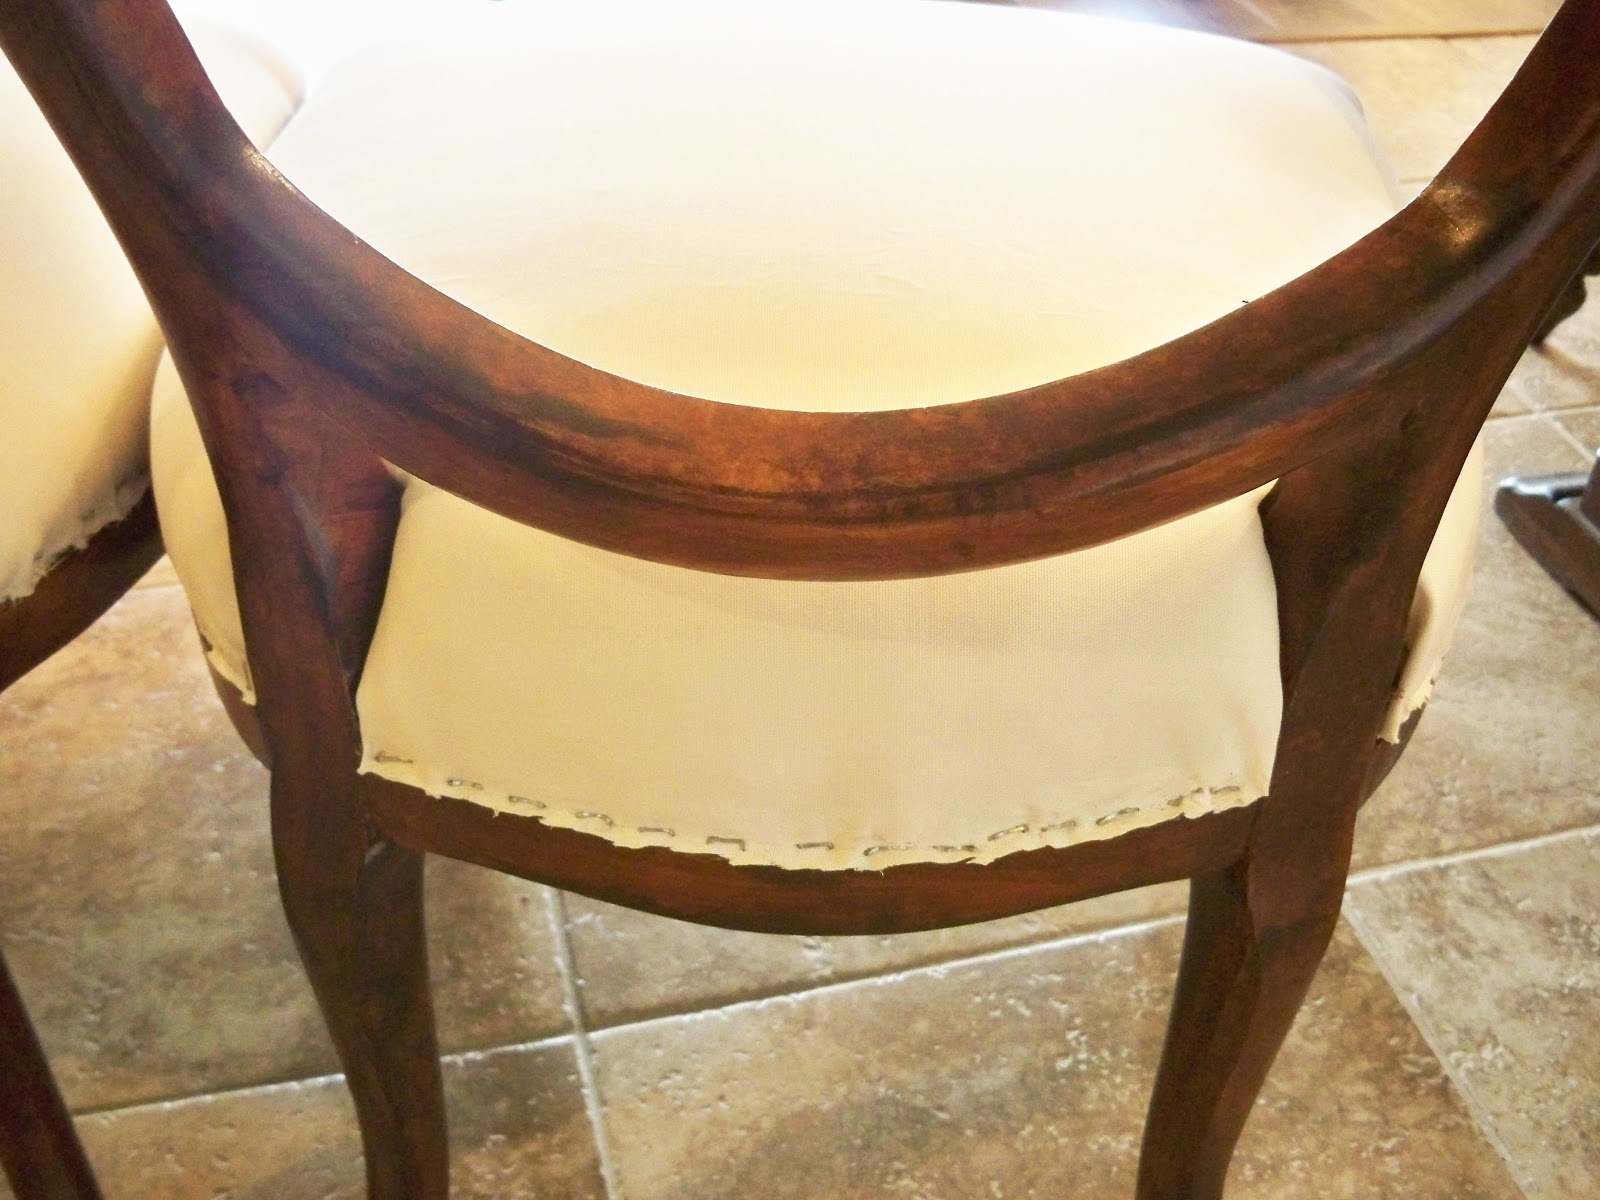
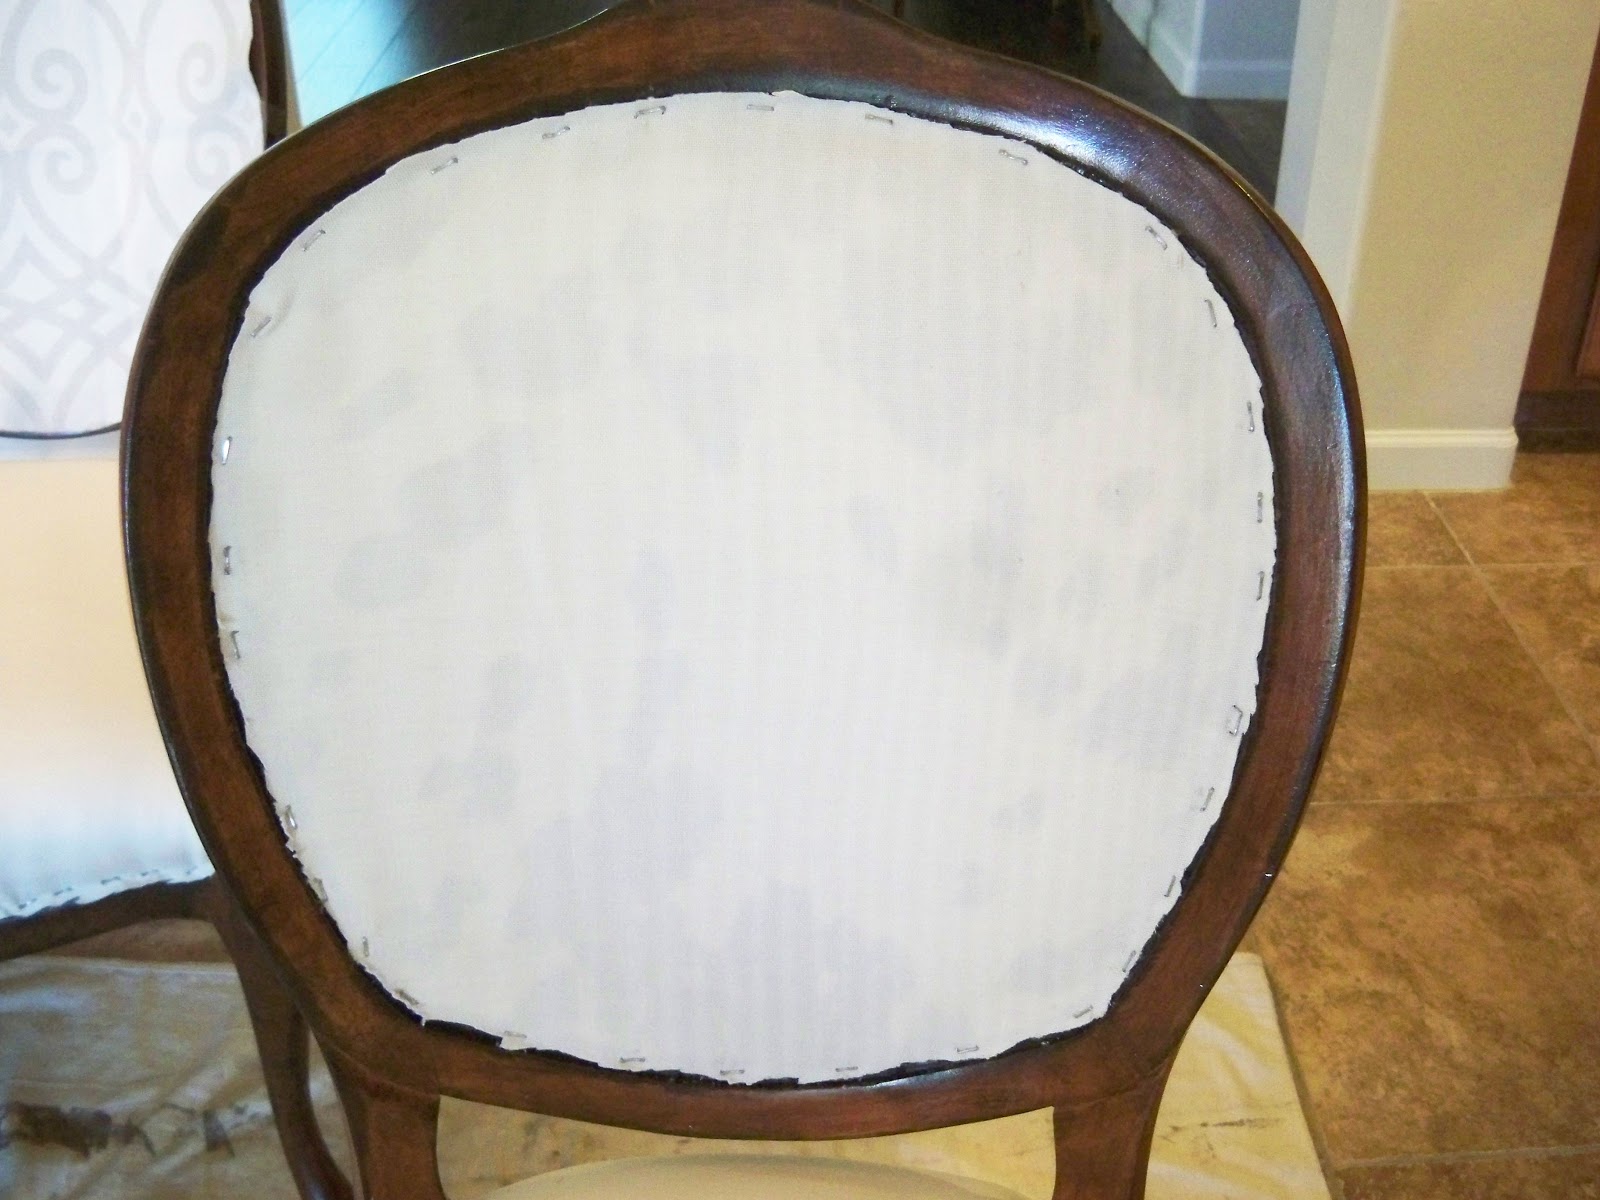
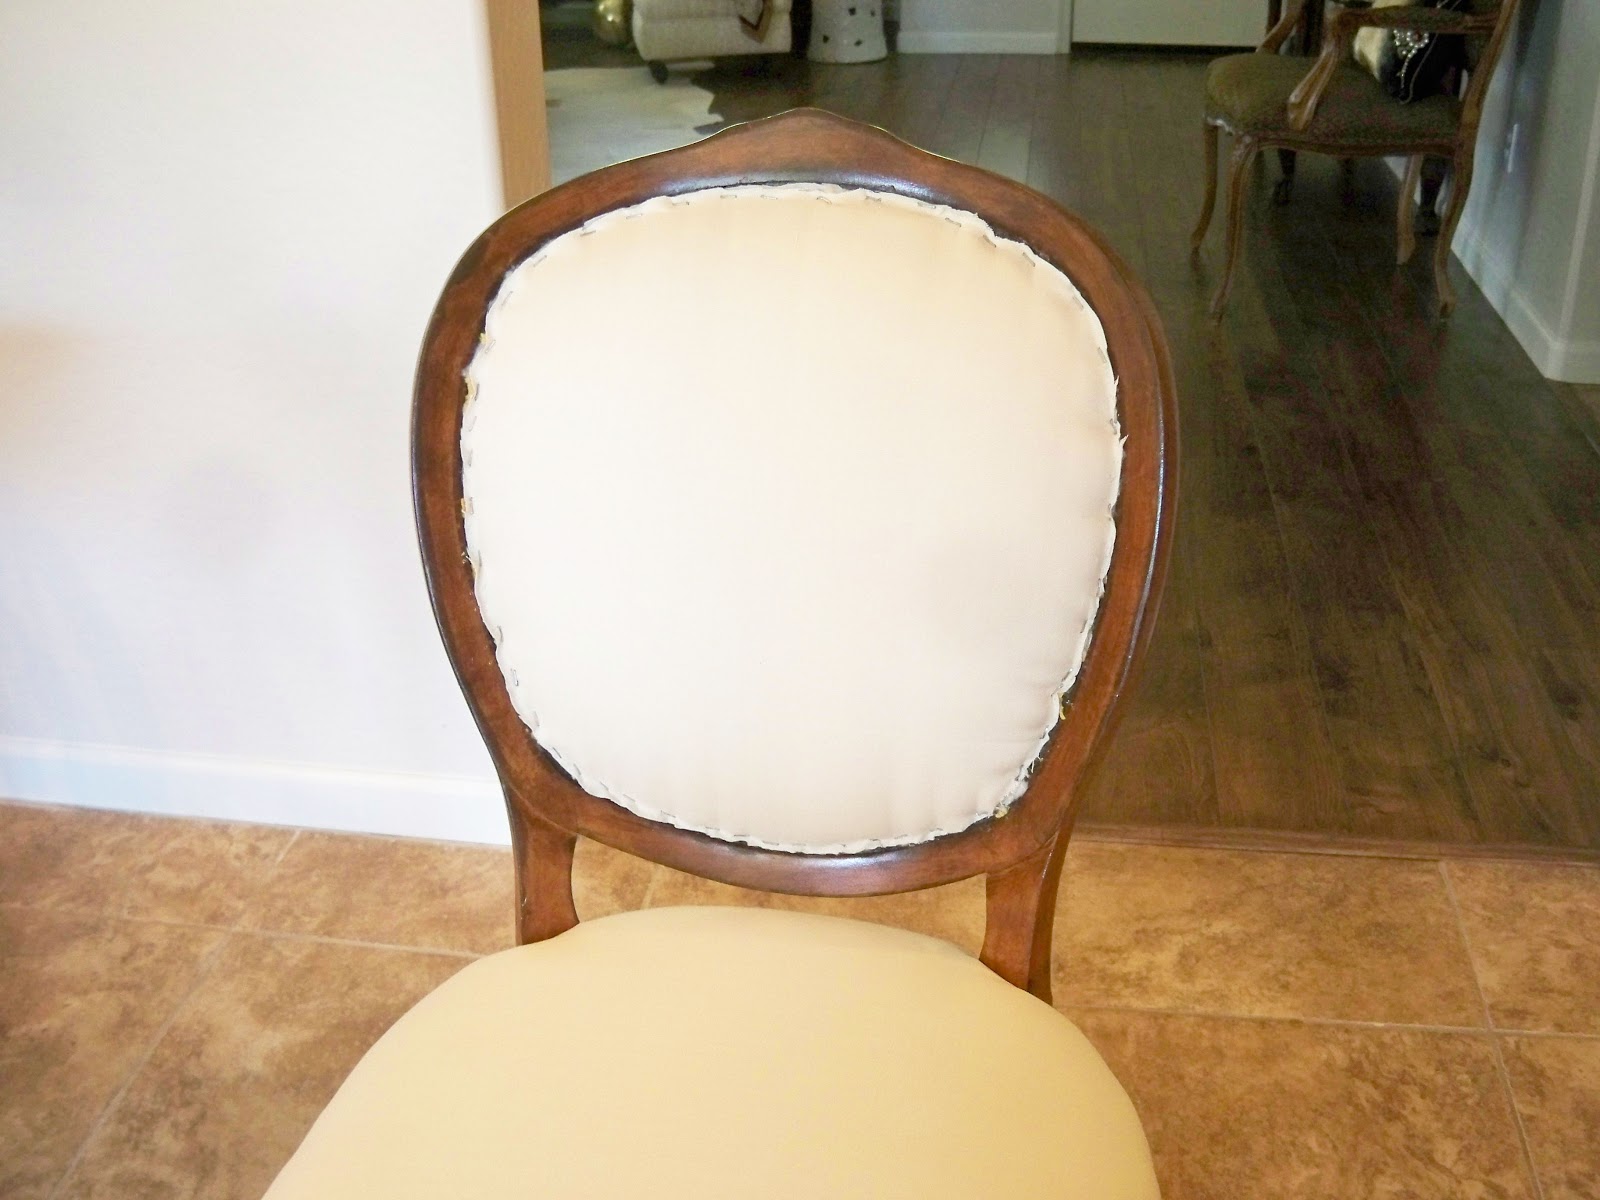
Here is the back.
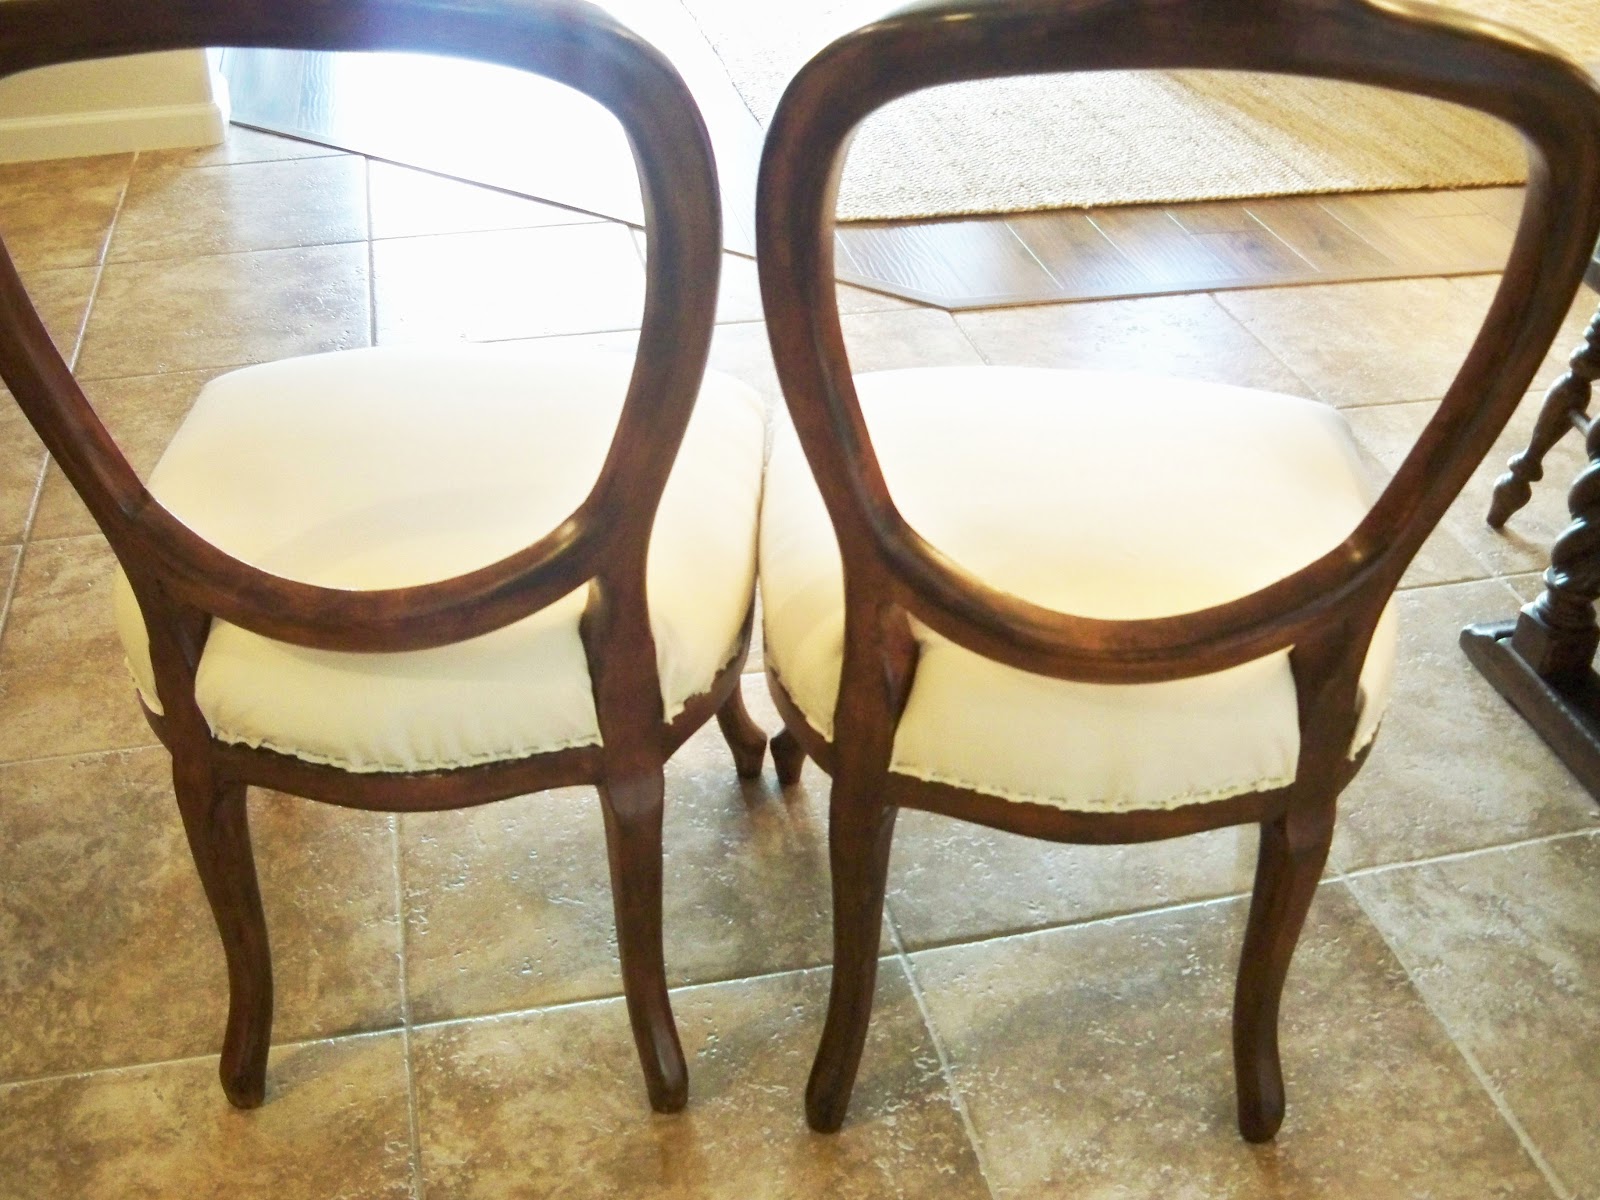
Not perfect but I tried to keep my staples in a neat straight line.
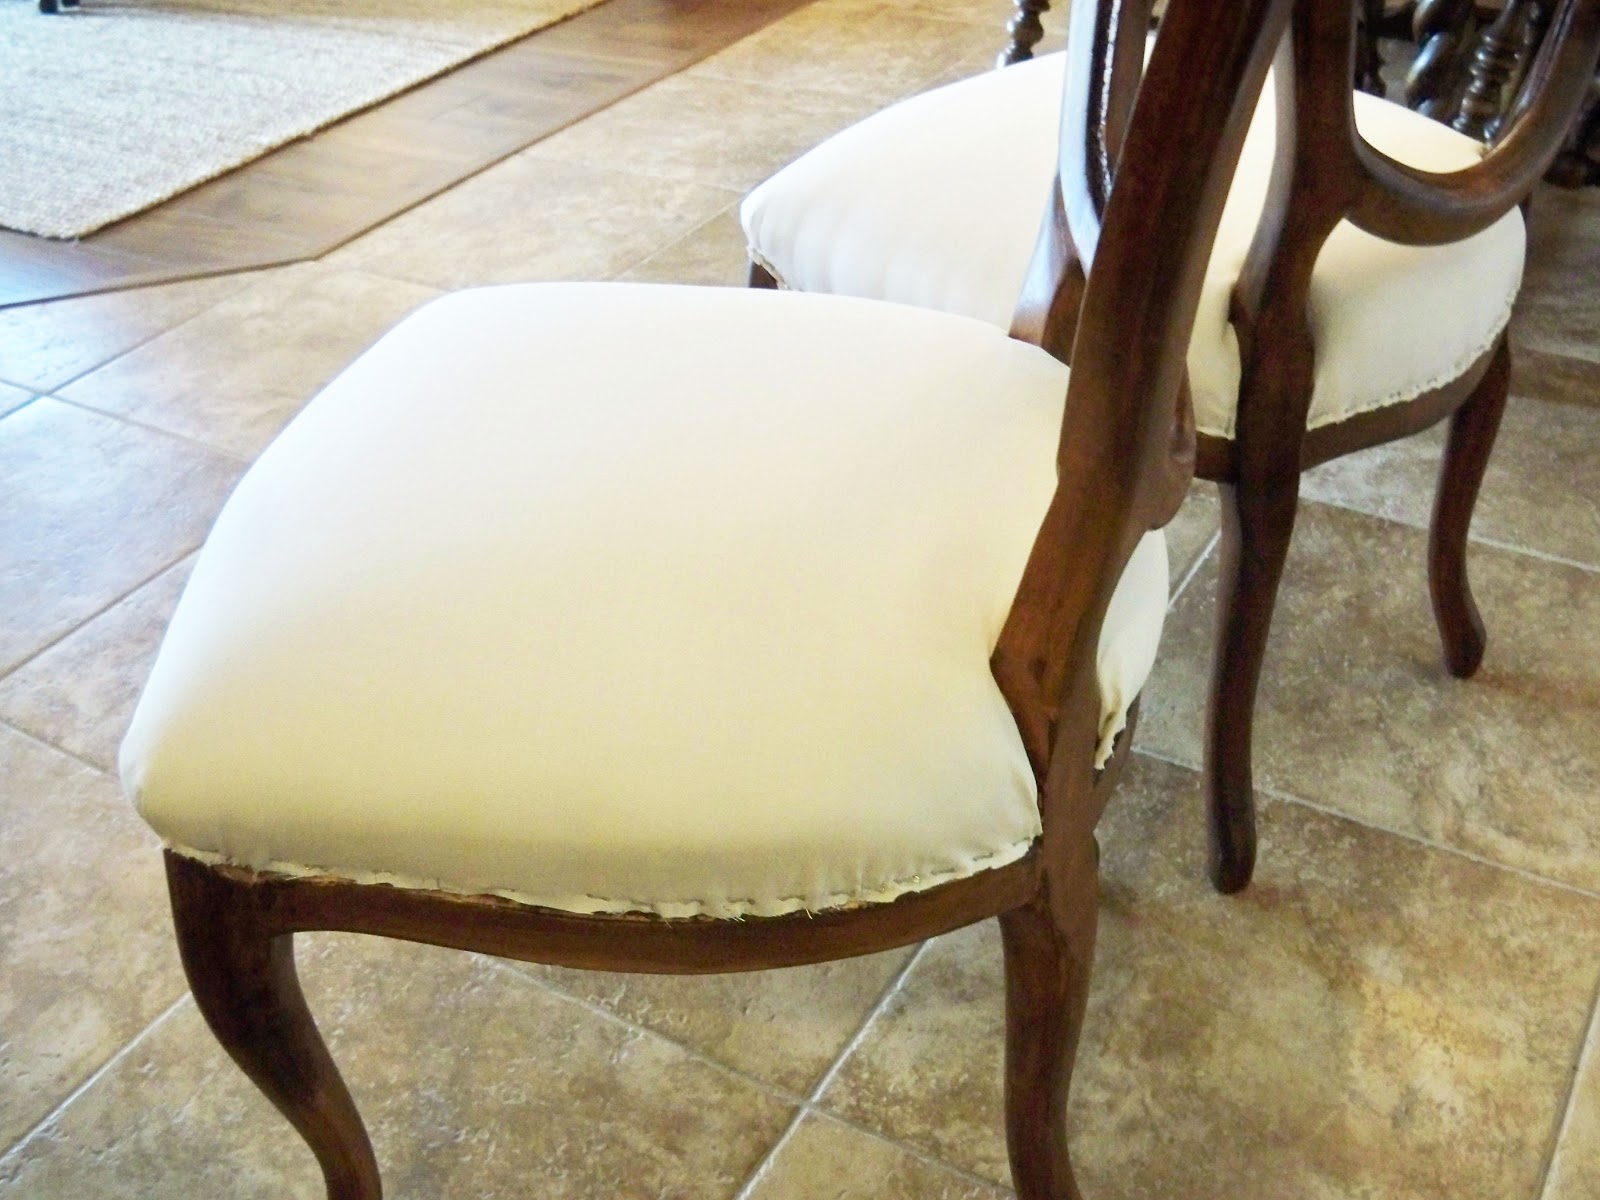
The sides. I trimmed all the fabric close to the frame. This will all be covered with the double welting cording.
Miss Mustardseed has some of the most detailed YouTube videos of how to do this kind of chair. I watched several she had on how to remove all the fabric and then how to put the new back on. I used my old fabric that I took off the seat as a pattern. I did learn to cut about an inch larger around the fabric so you had something to hold onto to pull tightly as you stapled the new fabric back on.
Now to do the backs of the chairs. You can see that there is an indented edge on the frames. The fabrics all go inside that rim.
I used the old fabric as a pattern to cut my new fabric.
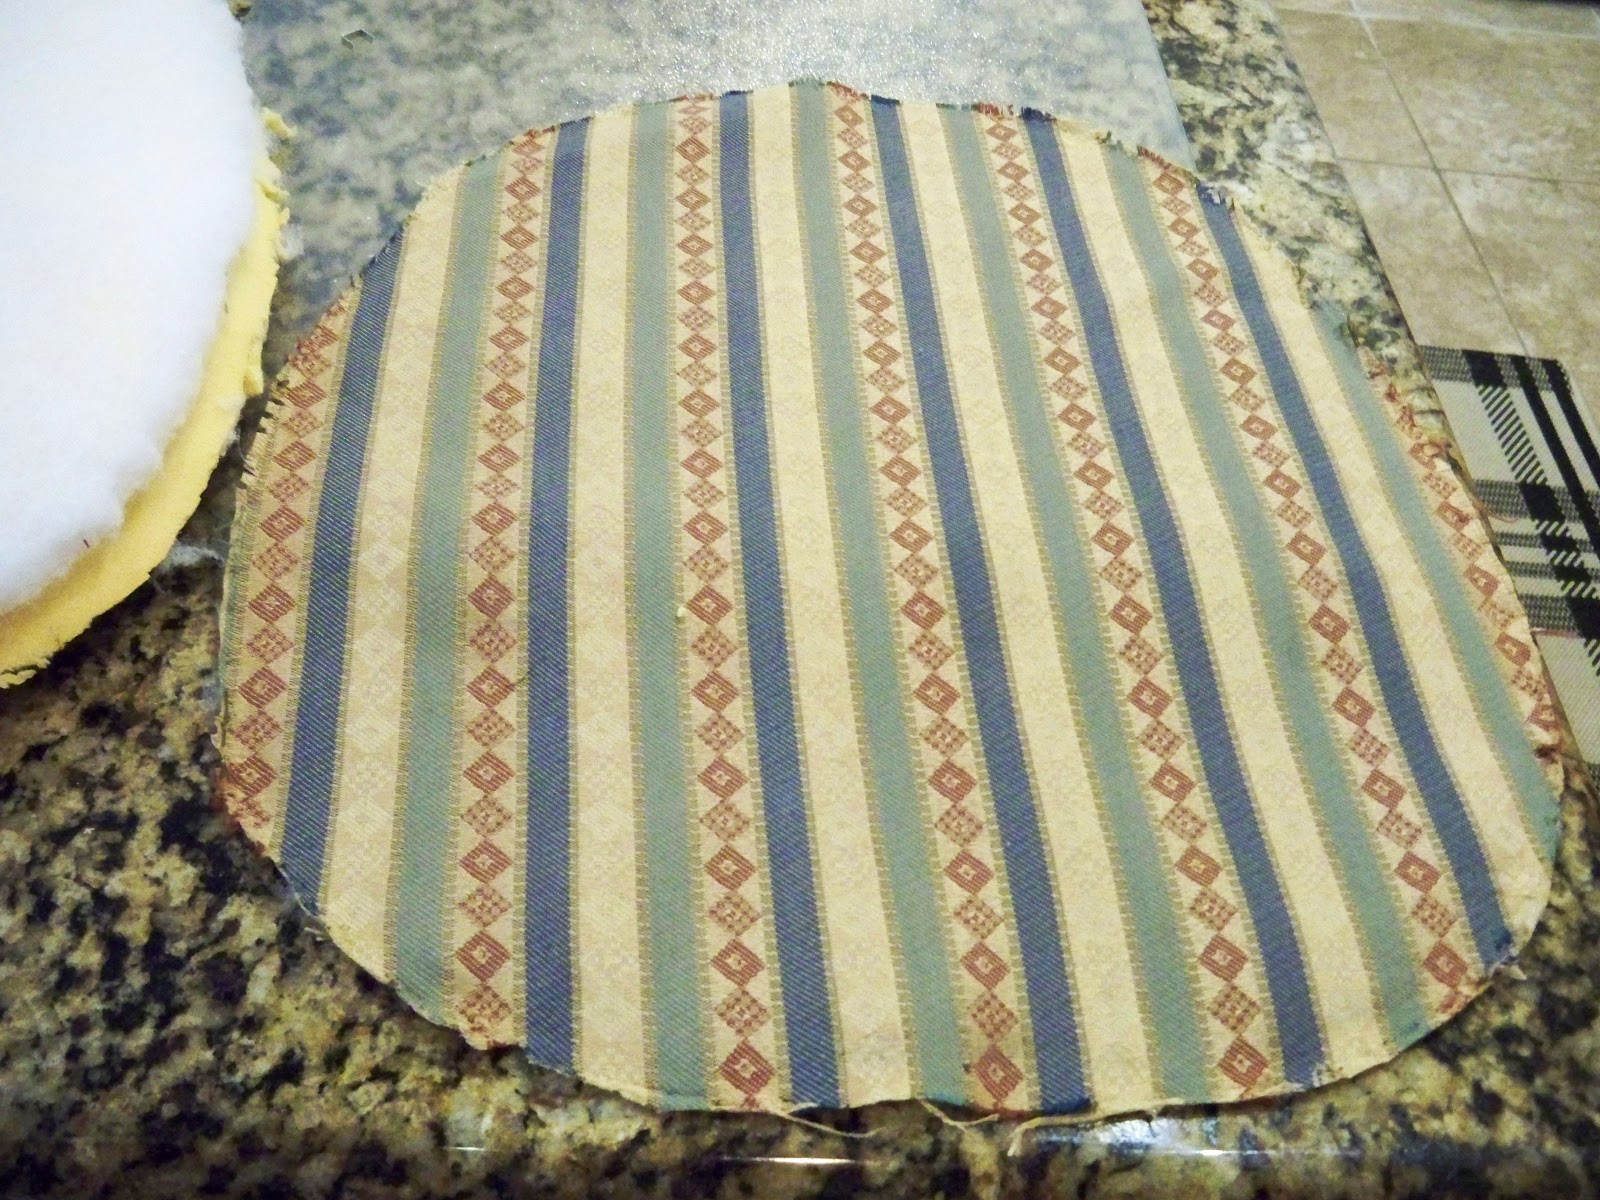
I made sure to cut mine about an inch bigger all the way around so I had something to hold on to as I stretched the fabric tight.
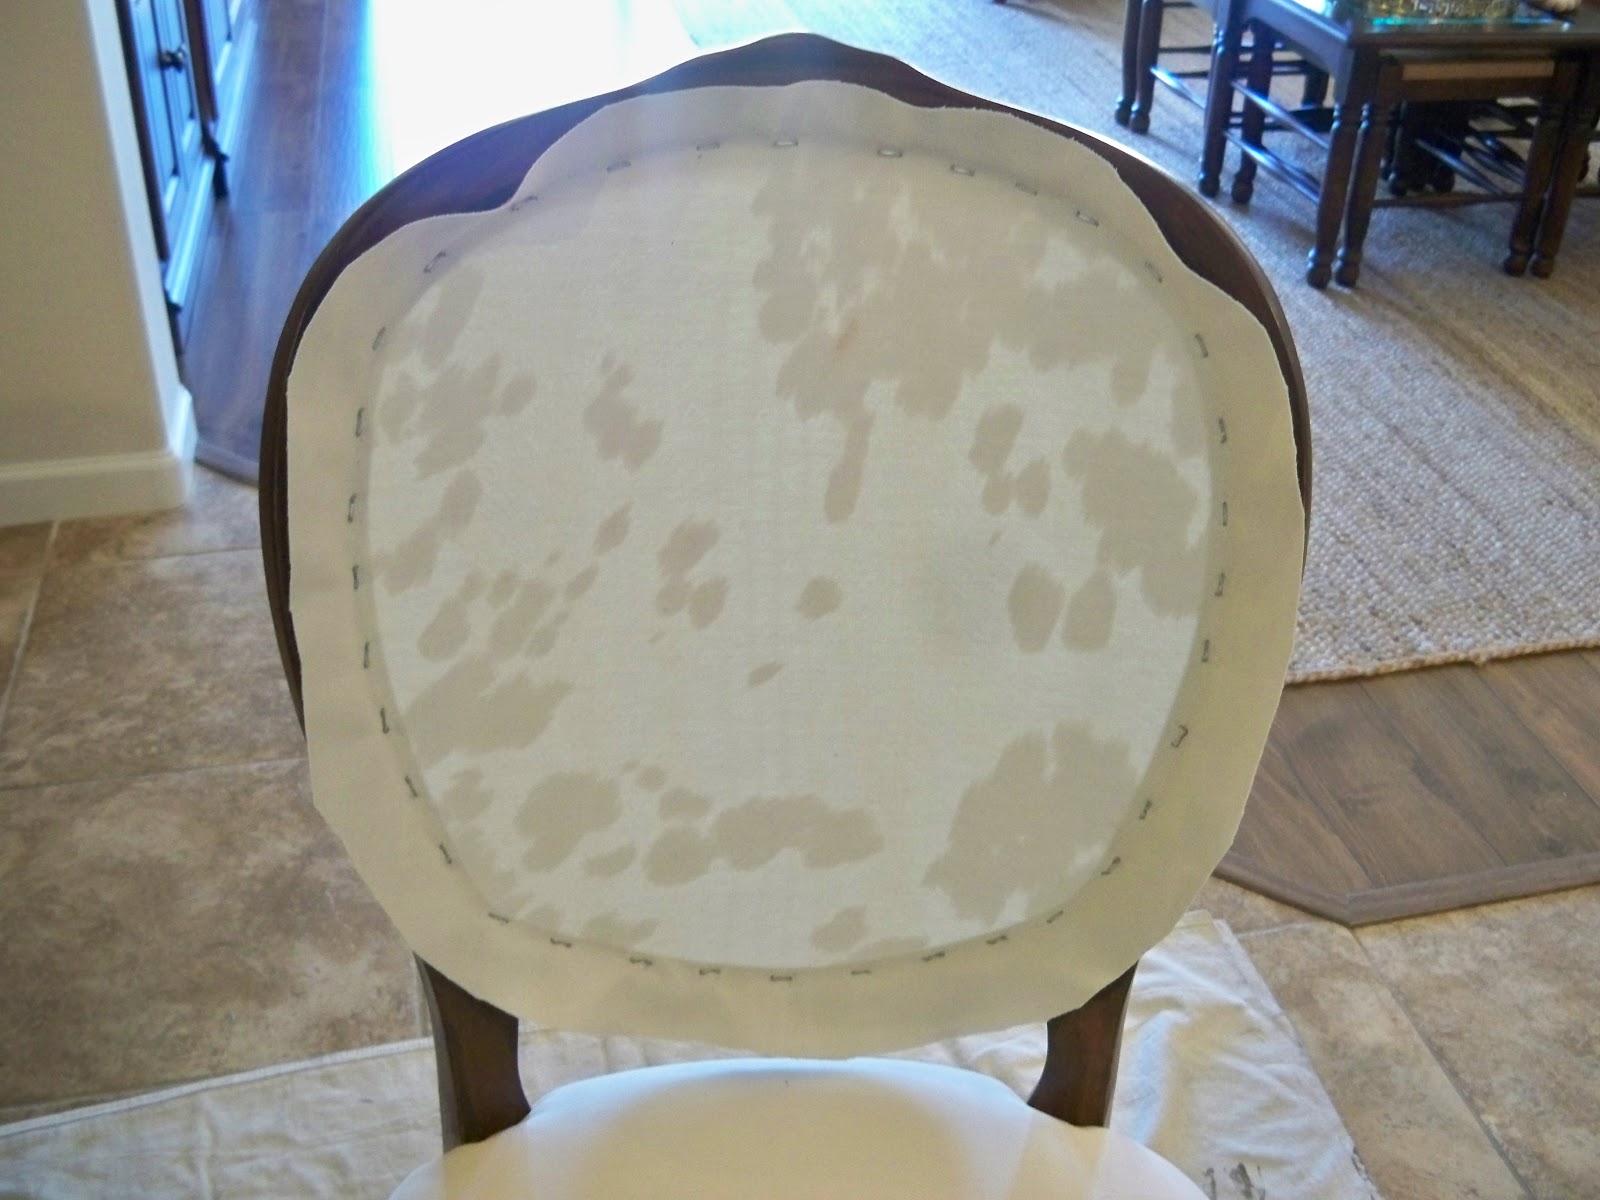
I double checked to make sure the fabric was nice and tight and straight on the back.
Then I trimmed all the excess off keeping the fabric inside the frame rim.
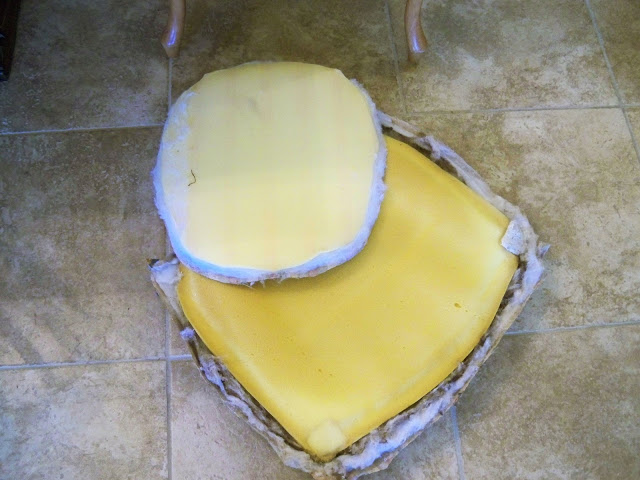
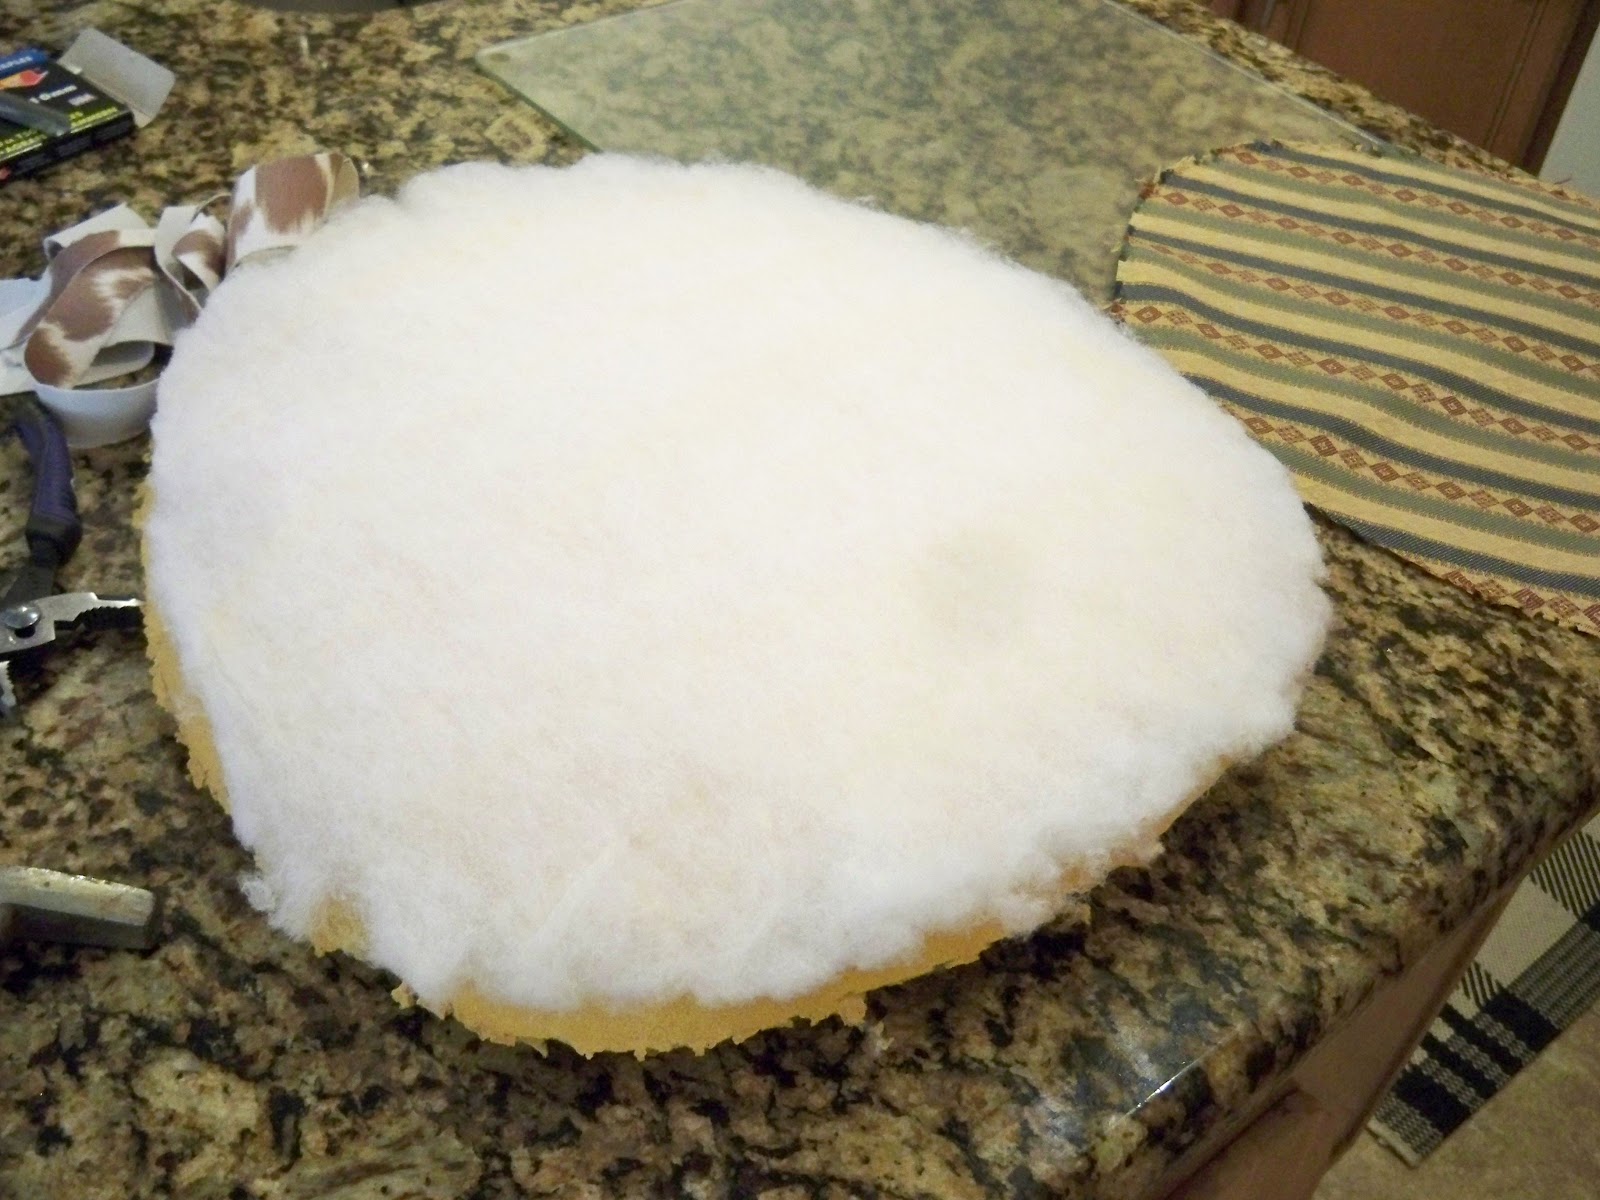
This is the foam and batting that I took off the chair when I took it apart.
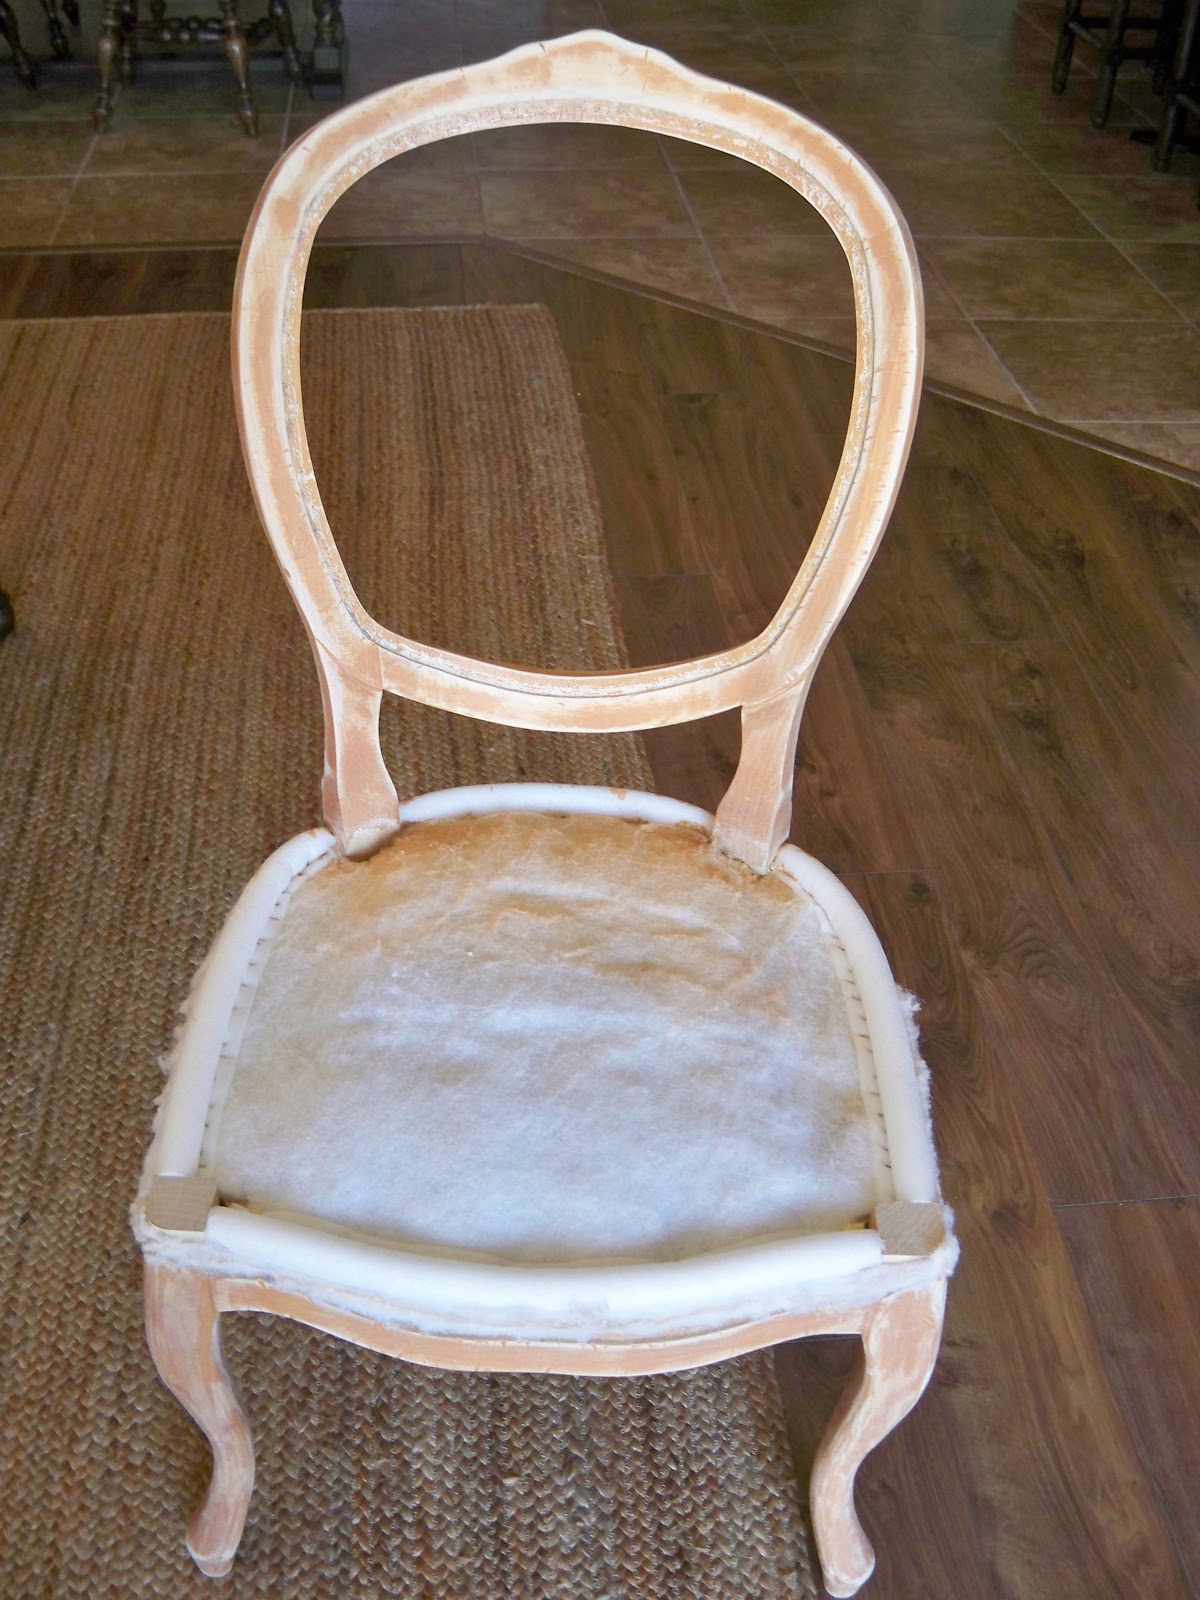
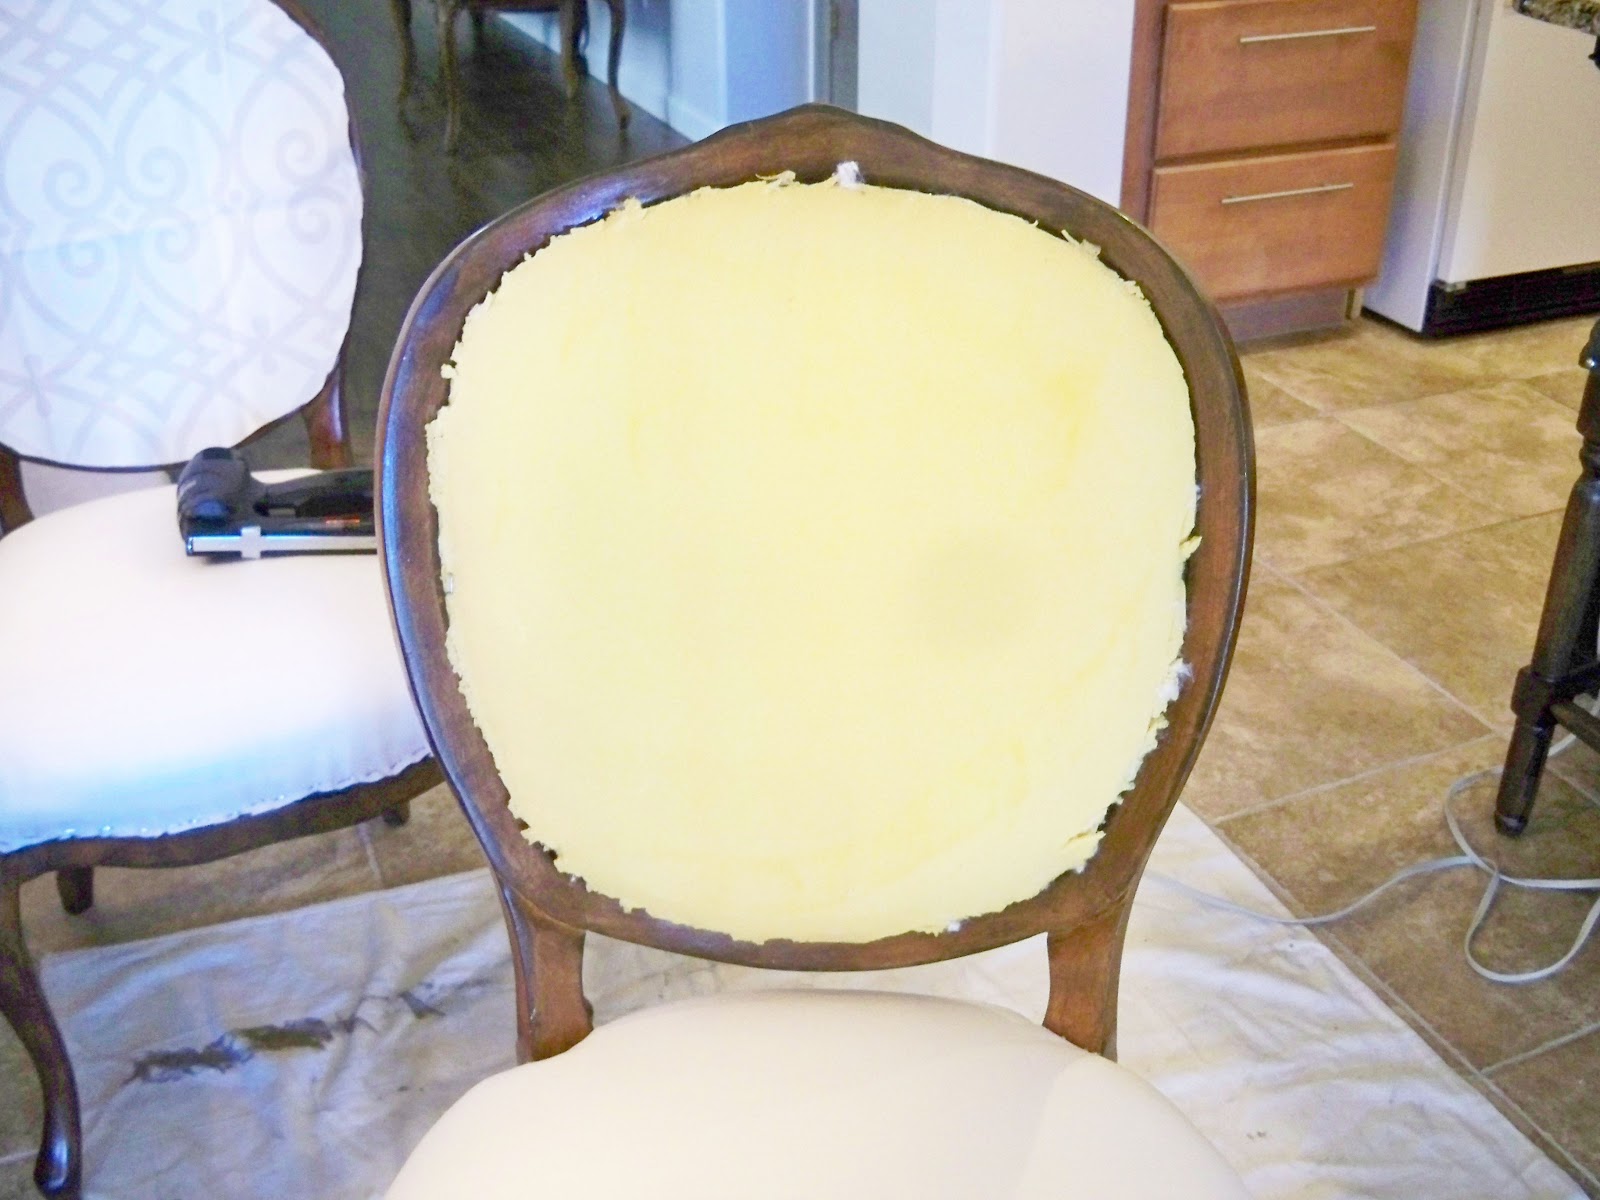
Next I placed the foam that I took off back into the back frame and tacked it in a couple of places to hold it.
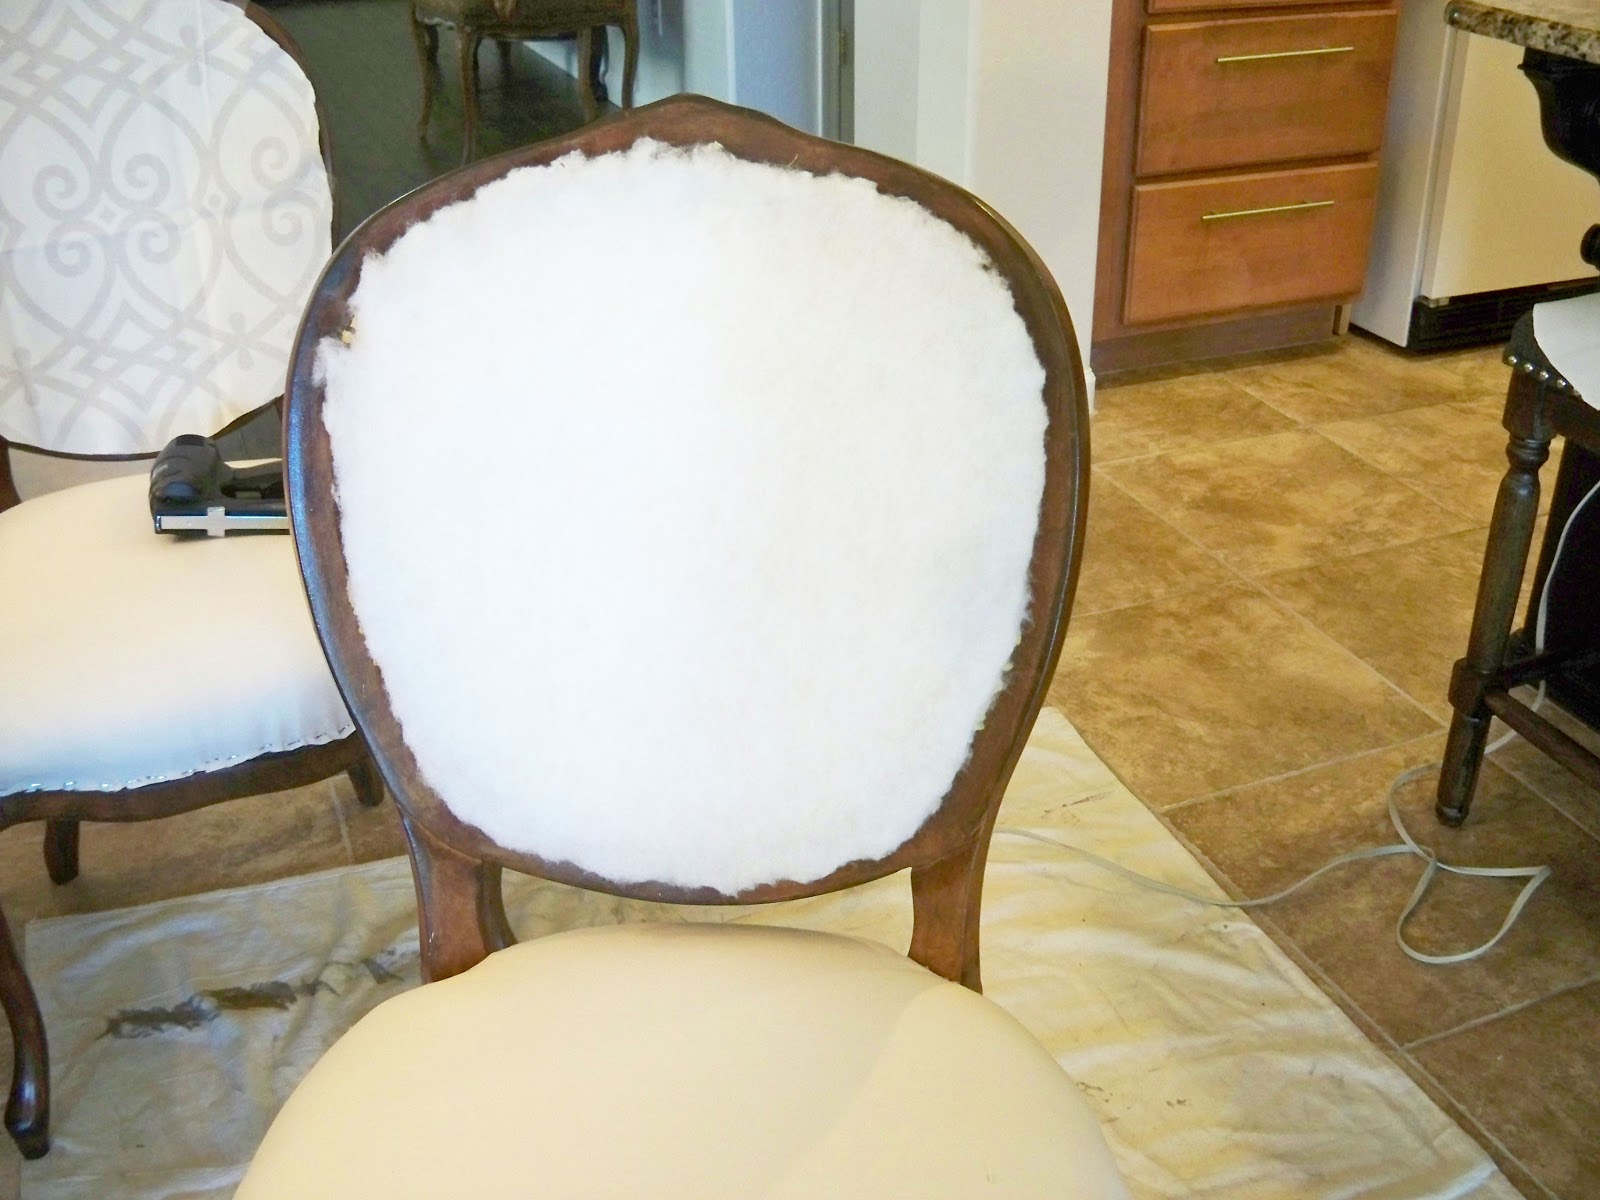
Then the batting went back on. I used some spray adhesive to hold it to the foam.
Now my top upholstery fabric goes on and it also needs to be trimmed so everything is inside the rim.
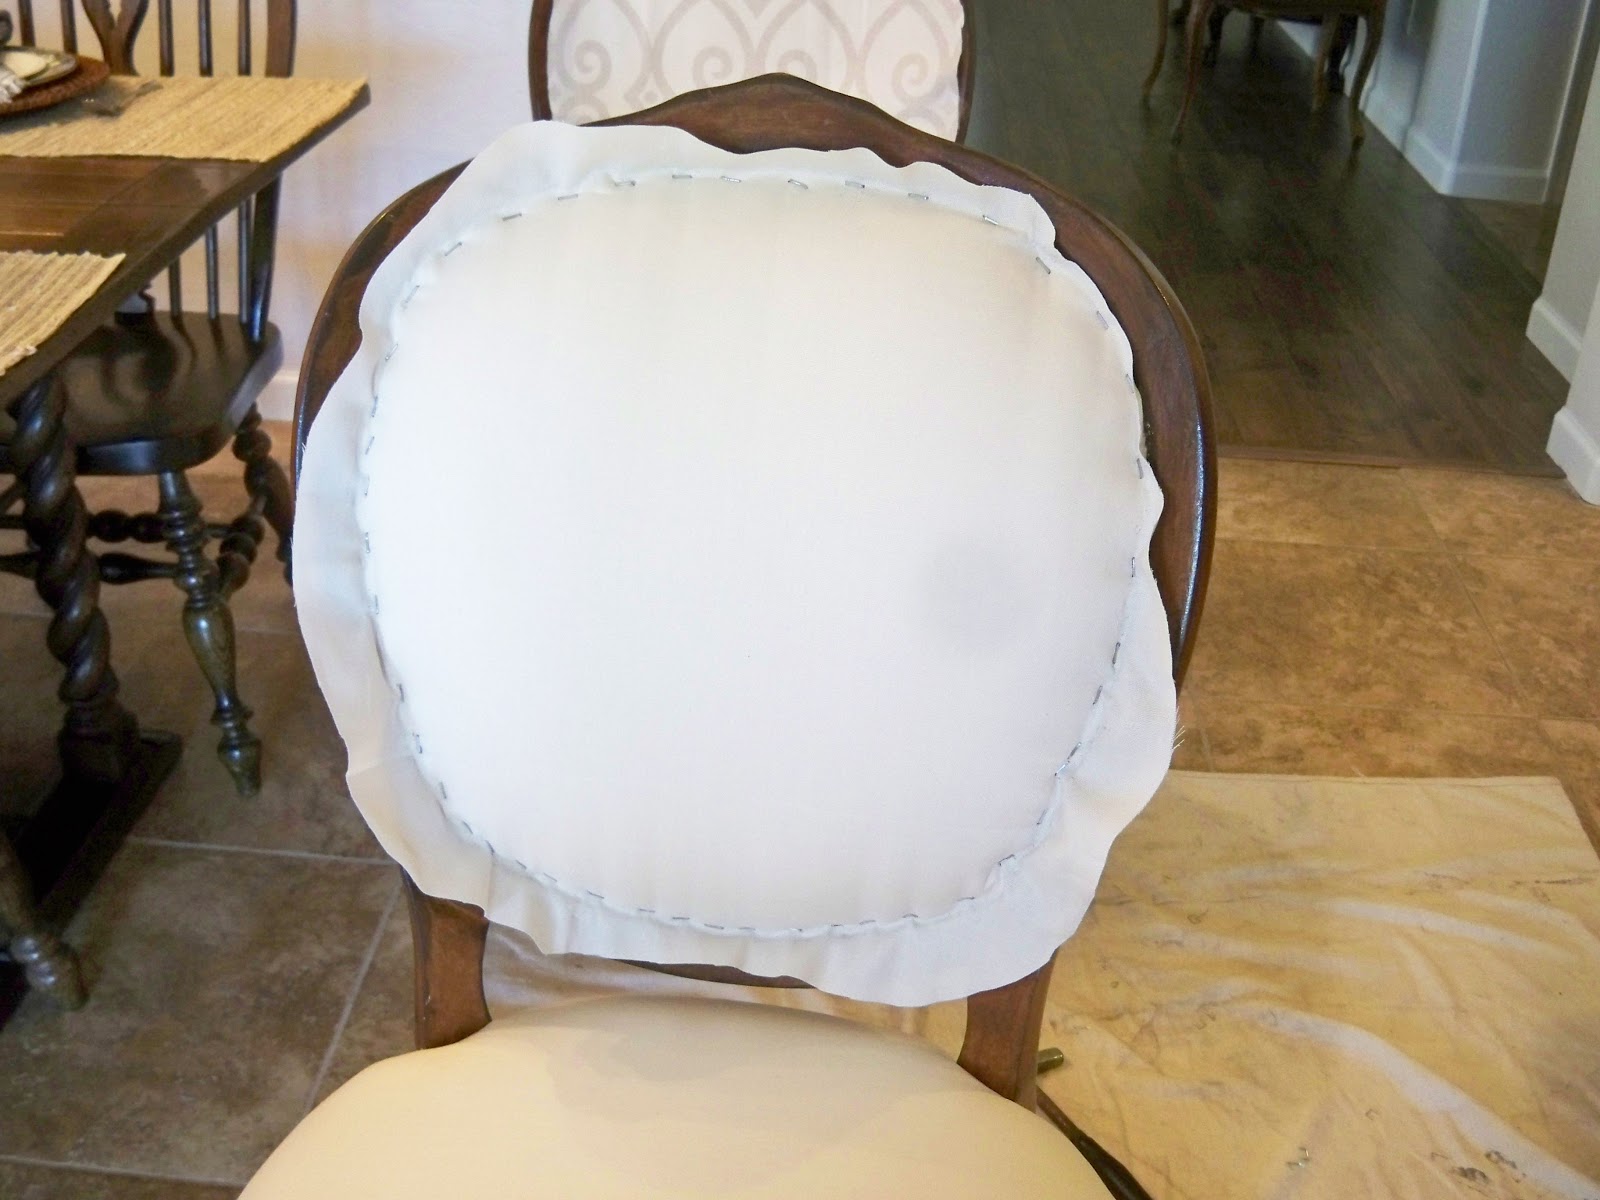
Here is the front all done. Now I just need to make the double welting and glue it around all the edges to hide all the staples.
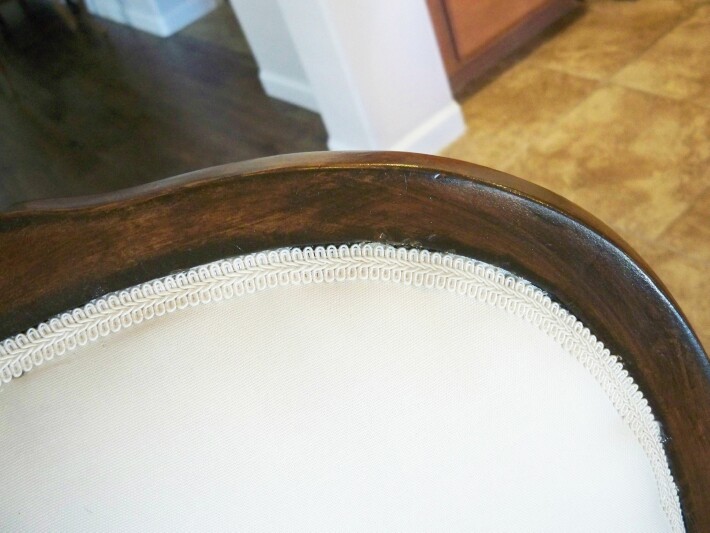
UPDATE – – – We have way too much going on right now for me to try and figure out double welting, so I looked at another one of Miss Mustardseed’s videos and she showed how to add Gimp. So that is exactly what I did.

So, what do you think?
Be sure to get all your projects lined up for Inspire Me Tuesday. Party goes live Monday afternoon at 3 PM CMT. Can’t wait to see you there.
If you like Thrifty & Chic on a Budget, I would love to have you follow me.
Have every post delivered to your inbox with Bloglovin
Check out Pinterest & See behind the scenes on Instagram


I can’t believe you tacked the back fabric & foam on/in the big round opening of the seat back??? Seems like you might need to stretch webbing across to build a foundation to apply the foam onto. Since you did the upholstery 3 years ago, did it hold up?
There was no webbing on the back of the chair originally and it was used in a hotel. Mine has held up perfectly. You can see it in all my latest posts. The back is not large enough for a persons body to push through the frame, so I dont think there is a need for webbing. Their chair held up and mine did too. So must be ok.