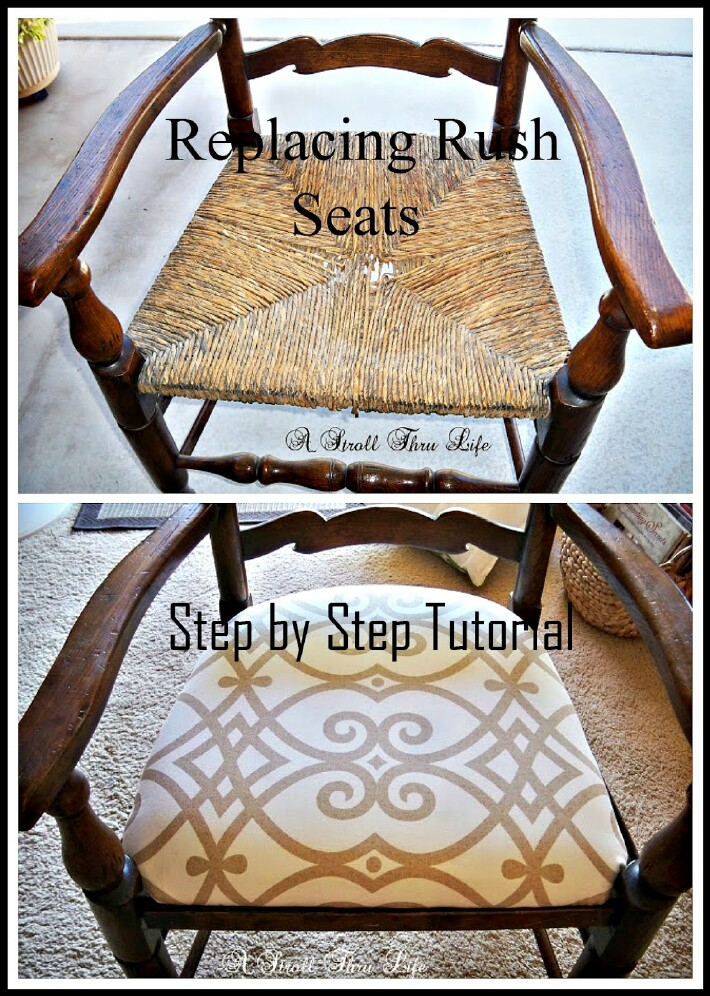
Have the rush seats in your chairs started to fall apart? Replacing Rush Seats – Step by Step Tutorial – Updated and Revised.
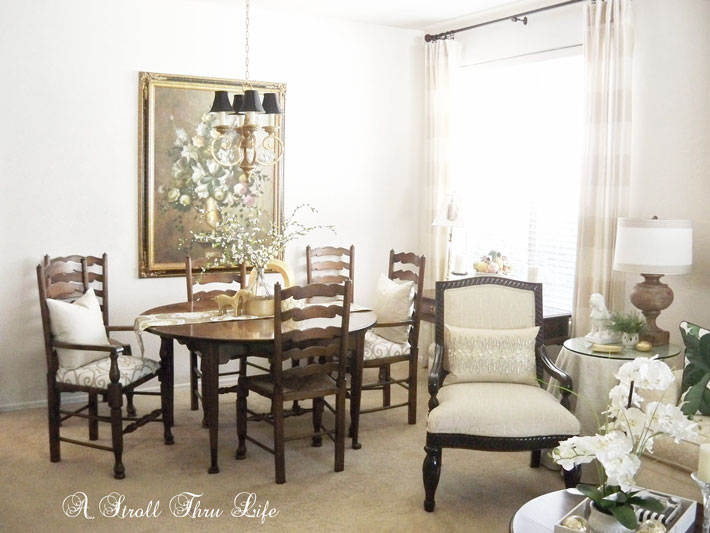
I love my dining set, a gorgeous table with 6 chairs and 4 leaves so it can extend to seat 12. This was my first really nice piece of furniture, and it is still a favorite. Years back I had the opportunity to buy a few things from the LA Furniture Mart through a designer friend that I met. She took me to a showroom that specialized in European imports. I saw this table and chairs and just fell in love.

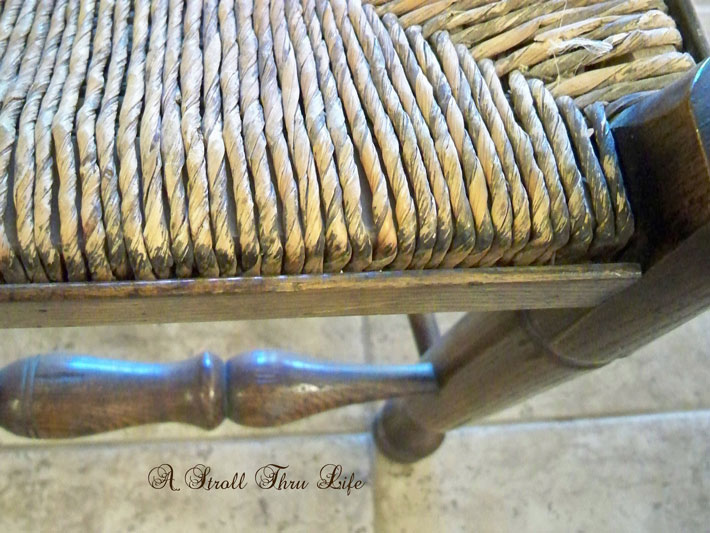
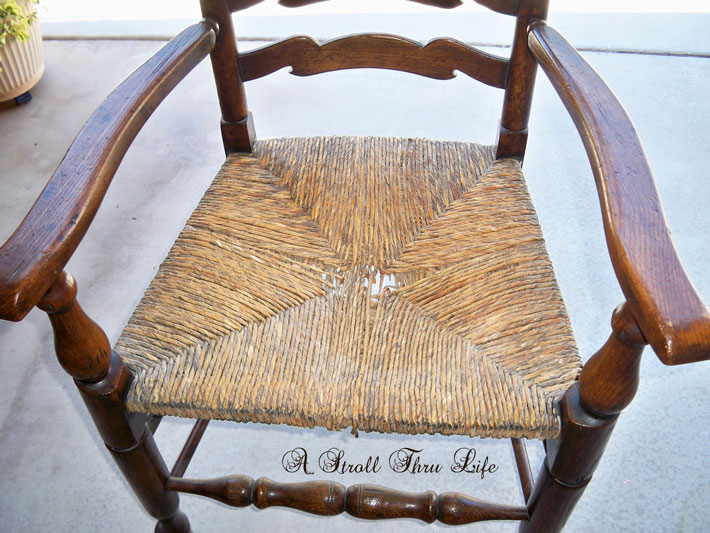
Without any leaves, it is 54 inches round and comes with 4 side chairs and 2 captain’s chairs. The leaves have full aprons too, so it is glorious even when you use all of them. The ladder back design is so pretty and so are the spindles and the spoon feet on the legs. This is my problem, after years of enjoying them the rush seats have deteriorated. I have looked for someone in the area to replace them, but only found 1 person that said she might do it and that it would be approx. $125 to $150 a chair and it would take her a while to get to me. The side chairs are all still in perfect condition, so I have been on a mission to figure out how to save the captain’s chairs and not have to pay that huge price and to be able to use them now, not someday.

First up, I need to take all the rush off. After studying how they are made, I see that these small strips of wood around the rush are just tacked on,
With those carefully taken off, I moved the chair outside to remove all the rush.
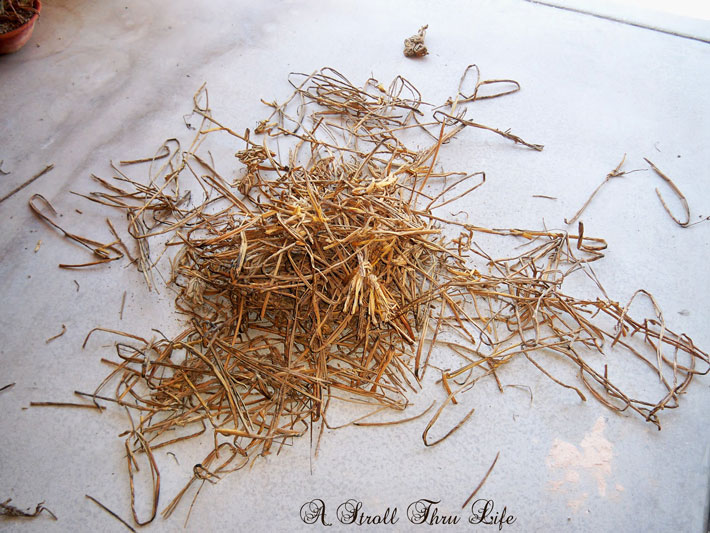
Wow, this is a mess. I have to cut part of the strips to get them to unravel.
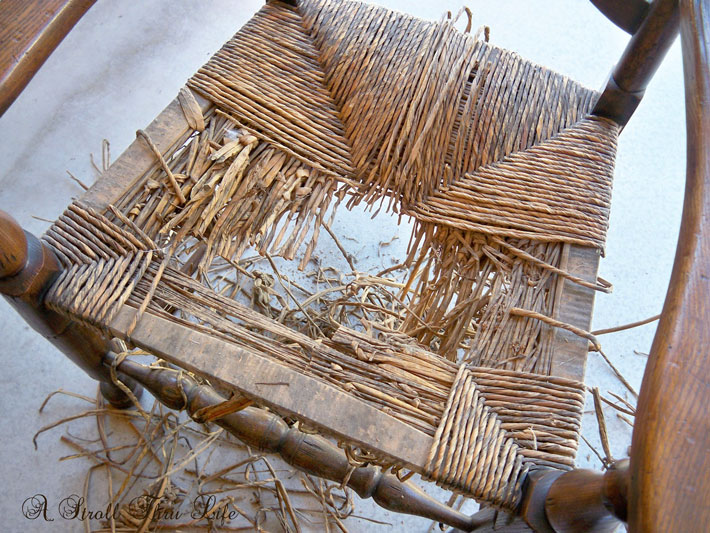
Finally, all done, I do have a big pile of rush.
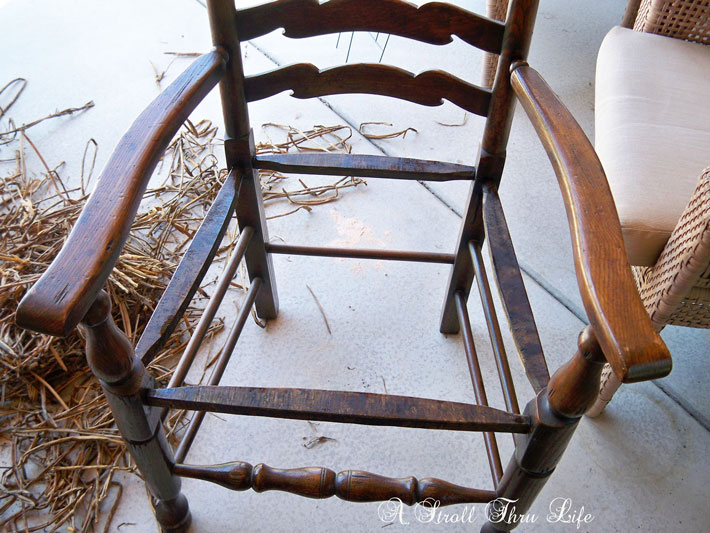
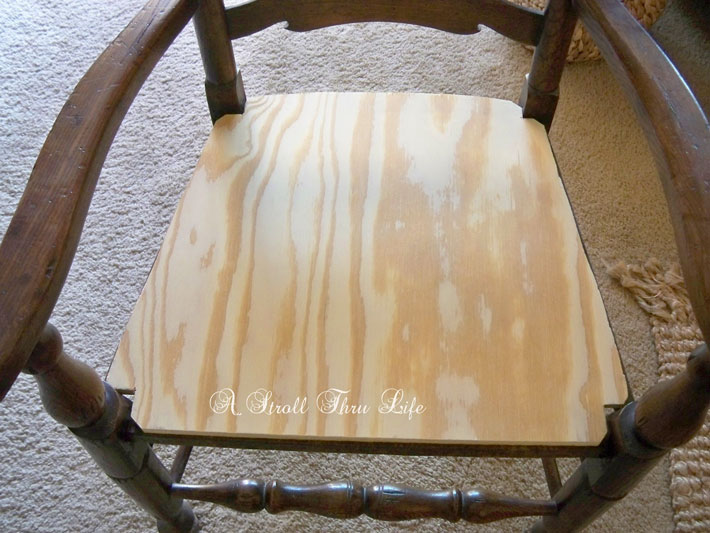
The frame boards amazed me that they weren’t stained. Now I want to be able to put a new seat on these chairs but still leave them so I can have the rush replaced if I choose to in the future.

I don’t want to staple the new seat cover to this frame, so I stained it to match the rest of the chair.
Hubby and I took a piece of fiberboard and traced off a template for the entire seat.
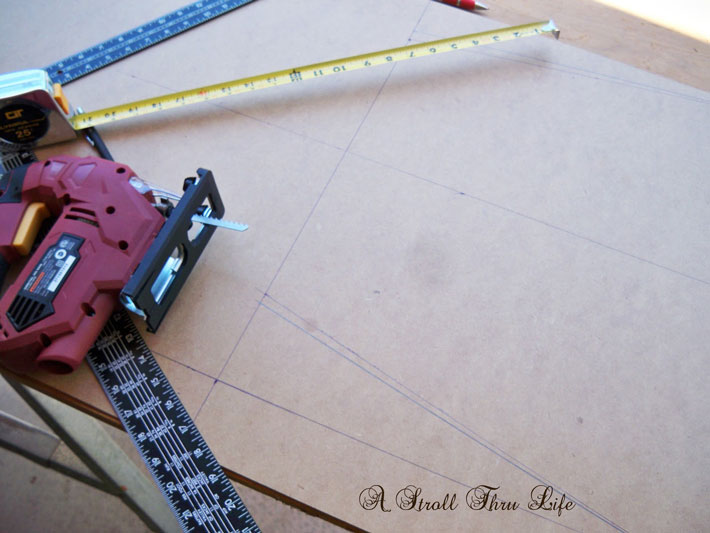
Once that was done we then traced it onto 1/2 inch plywood and cut it out.
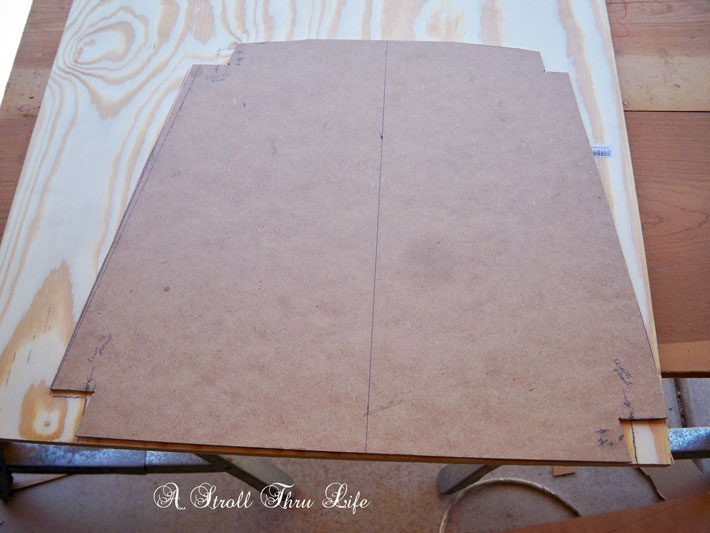
Checking to see if our seat is going to work.
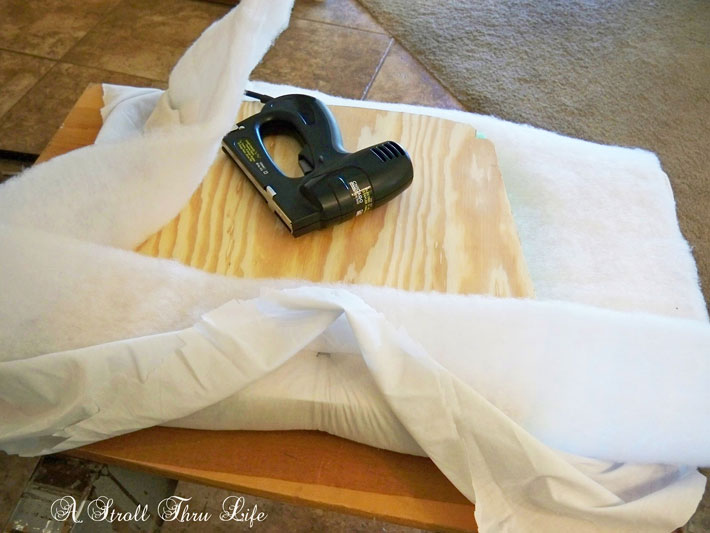
Once I had the woodcut for the seat I started the upholstery process.
1. Next I covered the plywood with 2 inches of foam cut to the outline of the plywood, then covered the foam with batting and a piece of an old white sheet. I flipped it over and started stapling the batting and sheet to the underside of the plywood seat. To start, put the staple in the center of each side, pulling the fabric and batting tight over the foam. Then continue around each side in the same manner, making sure you do each side a little at a time, this will keep the fabric tight and smooth.
2. This is especially important as you are stapling on the finished fabric. If you are using a pattern, this will make sure that the pattern stays centered on the seat cushion and you won’t have anyone area pulled too tight.
3. I put one staple in on each side of my center staple and then turn and do the opposite side the same way. Then the next two sides and etc.
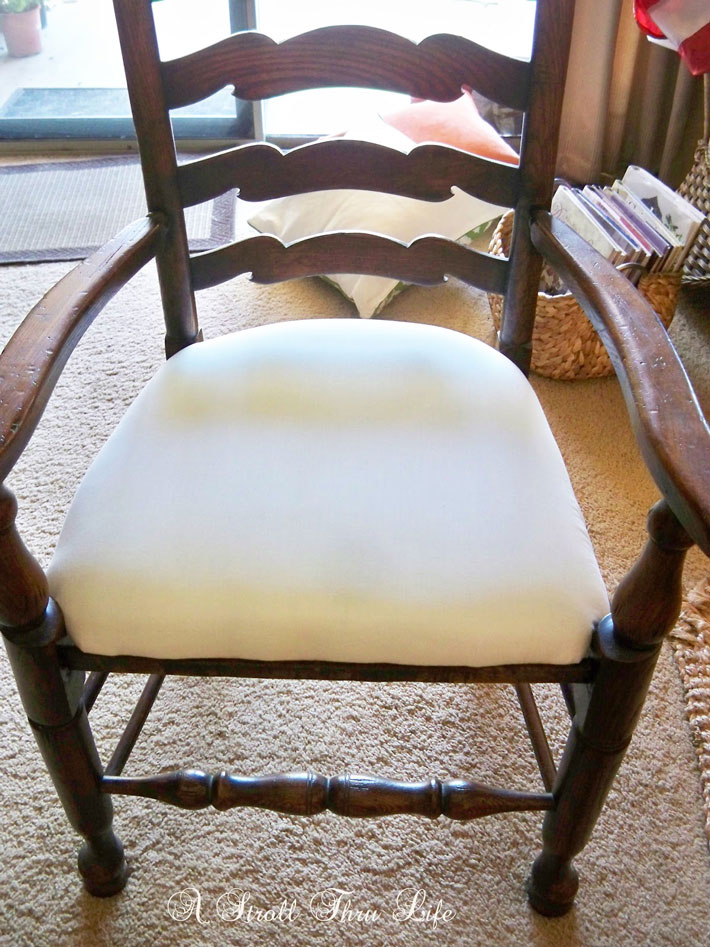
4. When everything is done and nice and tight, check your fabric, make sure the pattern is perfect, then do small pleats for the corners, making sure the fabric is smooth and tight and staple well. Trim all the excess fabric and batting off, turn the cushion over and enjoy your hard work.
5. Looks fabulous. Now I can cover it with my designer fabric and if I want to change it in the future, all I have to do is take the designer fabric off and add a new pattern or color, I won’t have to redo the foam or batting.
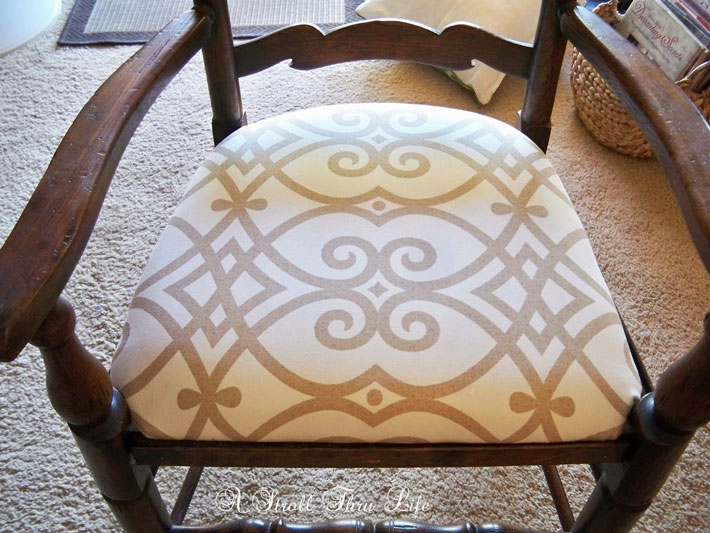
6. TA-DA ALL DONE. This is the finished chair with the new fabric stapled on the same way as the sheet. Then I replaced the wood strips all around the seat. Nothing is screwed to the frame, so it can be put back to the original with rush in the future if I choose to. The wood strips hold the seat in place so it can’t slide out.
Now I have all 6 of my chairs to use around the table.
Great save for now and the total cost was only $48. That is a win, win for sure.
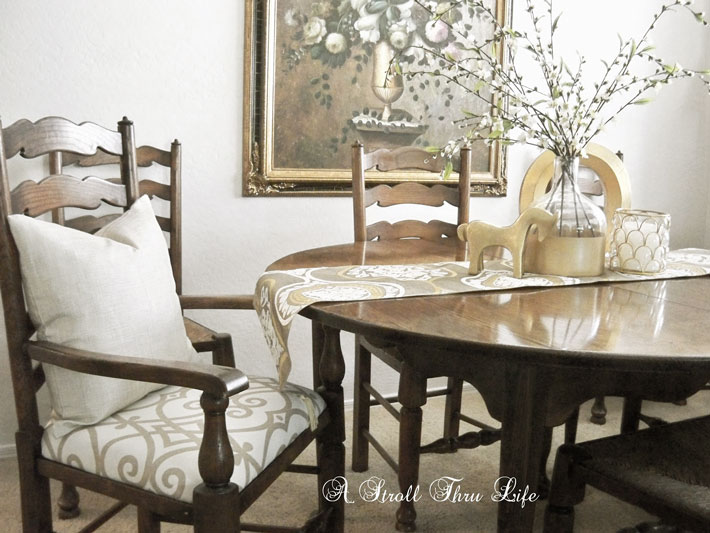
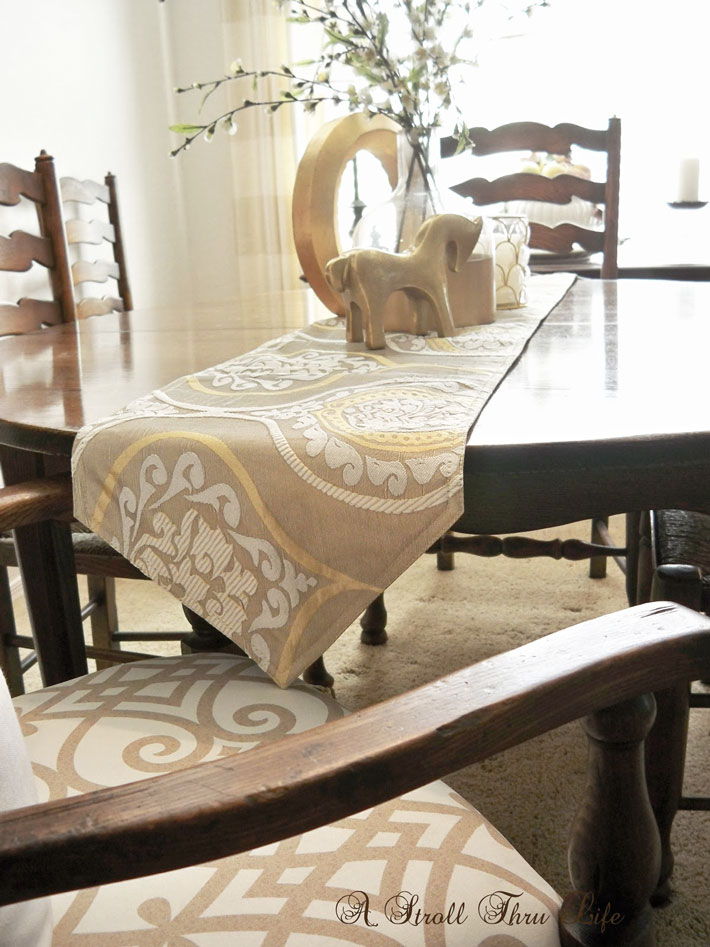
I really like having these chairs with upholstered seats, it brings more light and pattern to this end of the room.
Replacing Rush Seats – Step by Step Tutorial. This really is an easy fix, hope you try it if your chairs are broken too.


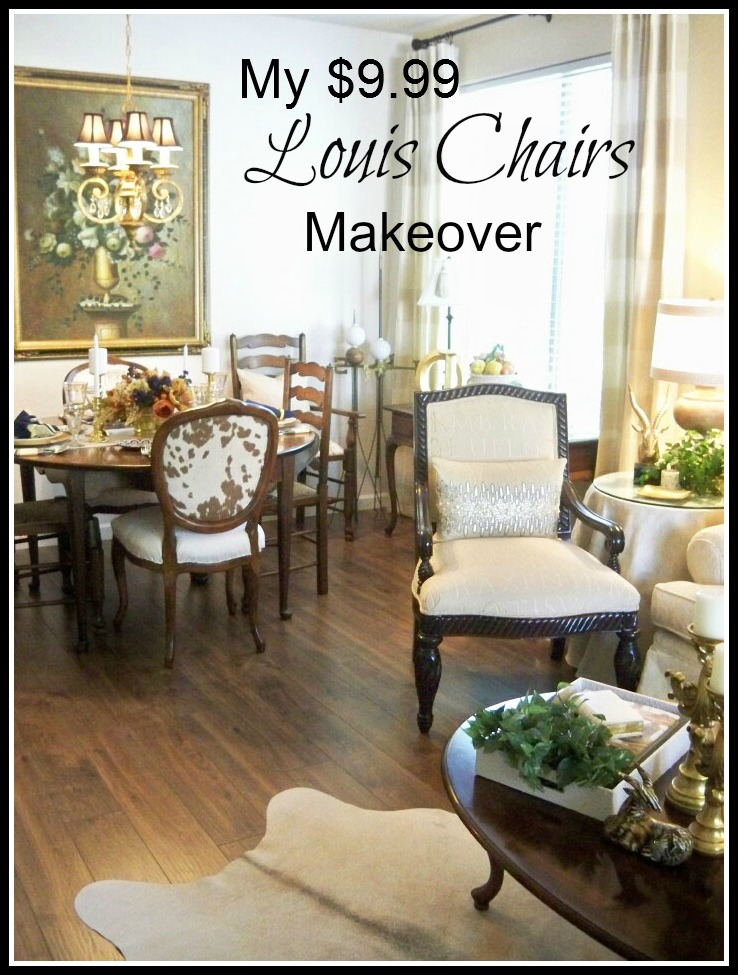
You might also like this chair makeover too.
My $9.99 Louis Chairs Makeover
NOTICE: Google is discontinuing Feedburner, so if you are receiving my posts by email into your inbox, please sign up with the Subscribe box on my sidebar or the Popup Subscript box on the sidebar to continue receiving all my latest posts. Thanks for following, I always look forward to your comments and friendship.

Hi Marty,
Your captains chairs look marvelous. What an excellent transformation and tutorial! I appreciate all the work that goes into a project like this because I have reupholstered armchairs, Parsons chairs and sewn many cushion covers! Your home is beautiful!!
Thank you for the great blog. I’m subscribing today.
Hi Marty,
I have captains chairs as well as the ladder back side chairs to a dining table set that was my mom’s. The set is over 50 years old. The wood frames are still in great condition. However the rush was damaged by her cats. We use the table and chairs for our dining set. The chair seats are duct taped in spots.
I was going to try and hire someone to upholster them. However with your tutorial I think I may attempt it myself. How much fabric did you use per chair?
Thank you,
Linda M
Gosh, I don’t remember now. I know that my fabric was 45 inches wide. I just measured my chair seat from front to back and around to the bottom and mine measures 28 inches. So to do the two chairs that I did, the 45 inch width was fine and and I needed 56 in long to do two chairs. A yard is 36 inches so I must have bought two yards because I still have a small piece. Just measure your chairs and go from there. Remember you have to account for the thickness of whatever foam you use. Good luck.
I love what you have done! I am doing a very similar project but was hoping to just go over the wicker portion instead of getting a new piece of plywood? Do you think that would work?
If the wicker is weak, then your foam will just push through it. You can buy scraps of a really thin plywood and then you would be sure. Marty
I have a question about the fitting the seat. Your side rails are higher than your front and rear rails. It seems like the cut board would “sit” on the side rails and not touch the front and rear rails. I have an old child’s chair (70+ years) that had seat woven with paper rope. Has to be replace. Like yours, side rails higher than rear and front. How did you accommodate that difference?
If you look at the pictures, I took the wood slat rails off then cut the wood to fit inside, upholstered it and then nailed the all the rails back on. Hope that helps. My rails are just really thin pieces of wood that were tacked on with small nails. Marty
Hi
I am so glad to have found your tutorial. I have ladder-back, rush seat dining chairs that unfortunately our cat has destroyed. Because we still have said cat, I did not want to redo the rush:) I contacted a local re-upholsterer who quoted me £75 for each chair and then the additional price of the fabric chosen. I decided I’d have a go at re-upholstering them myself and found your tutorial and now feel more confident about doing so. Thank you for posting such clear instructions.
I want to thank you for this tutorial! I’m about to redo my rush seat kitchen chairs. Your clear photos and explanation helped me plan what materials to get and what to do. I had done a poor job a few years ago adding some cushions and spare cotton fabric over the rush. I’m looking forward to doing it right this time: plywood, new foam, upholstery batting, and upholstery fabric.
I was excited when I saw your instructions on how to replace the seating on your chairs. I have similar chairs where the rush is breaking. However, when I look at my chair frame, the front and back sit slightly lower than the two sides and they are round, dowel like, not flat like your chairs. What do you suggest to do to if I follow your pattern to compensate for the difference in height? The wood seat would only sit only on the two sides. I worry that it would wobble.
maybe a spacer of some kind to make them level.
These are so nice. Probably more comfy too. Have a good weekend.
I can’t tell you how happy I was to find your info. I have reed seats on my Napolean chairs I purchased unfinished a few years ago and had white washed them making cushions held with ties. Now I consider them a pain and having purchased beautiful sheets online I am going to use your directions to change them into something I know I will make me happy instead of frustrated.
I took apart my chair seat to re-do and found the seat frame is badly warped. Appears to be one inch of pressed wood. It has wide webbing in middle for support. What type of wood should I use and does the middle need cut out?
Thank you.
Author
Mine didn’t have webbing, but if your does I would leave it. We just used a piece of 3/4 inch plywood, but just use something strong enough to hold a person’s weight. Make sure how ever thick the wood is it will fit down at the seat level on your frame. Good luck. Marty
thank you for clear and concise instructions. i am doing my 6 chairs this week. just tired of the rush
Have you find a solution for your chairs? It sounds like we have the same chair and problem!
Hi, have you find a solution to your problem? It seems we have the same chairs!!! we started years ago and than didn’t do anything about it. I wanted to go back into the project and found this post in which the author was using the same system ( plywood ). I was wondering if you finished your chairs.
Hi! I was wondering if you finished your chairs: years ago we started to fix our chairs that seems to be very similar to your using the same system that Marty used ( plywood) but never finished. Today I want to try again and found your post: let me know please if you were successful! Thank you!
Author
We fixed ours years ago and I love them. They have been some of my favorite chairs.
322186 108811Id should talk to you here. Which is not some thing I do! I quite like reading a post which will make people believe. Also, a lot of thanks permitting me to comment! 954916