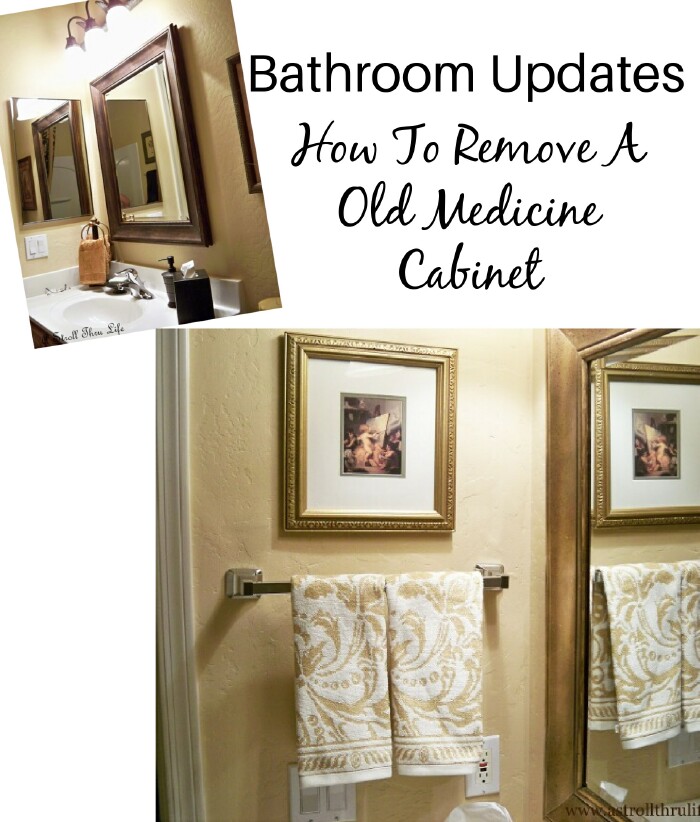
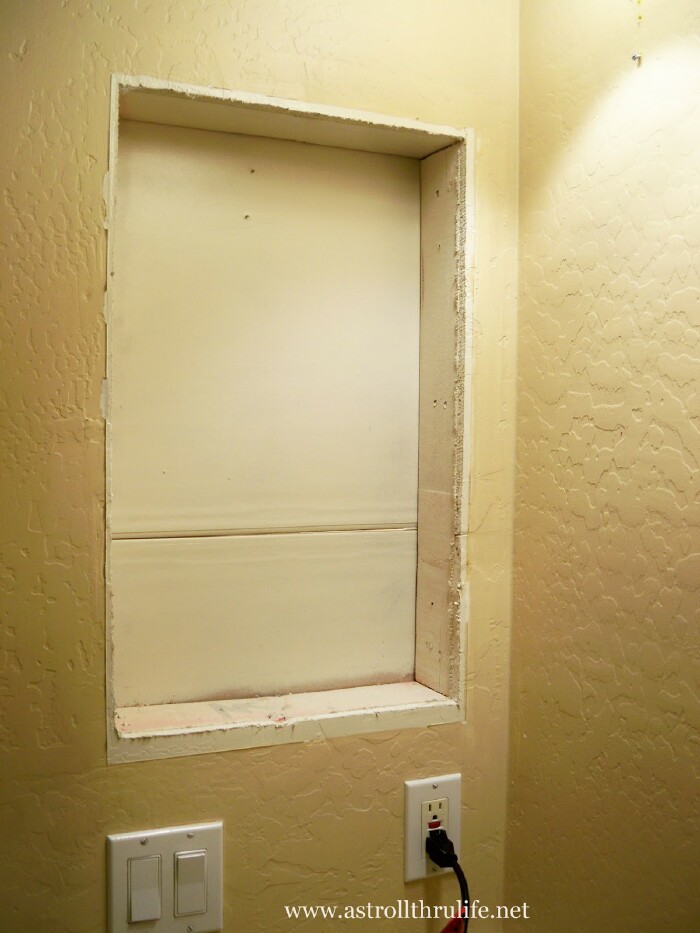
Bathroom Update – How To Remove An Old Medicine Cabinet. The medicine cabinet was really small and was installed so close to the outlet switches that there was no place to hang a towel bar . Time for it to go. I need to take it out and patch the wall.
Since I got really cheap thrifty and redid the hall bathroom just by shopping the house, I figured it was also almost free to remove the medecine cabinet and patch the wall. All I would have to buy is a piece of drywall, tape and some mud. I even got a new towel bar to hang there too and all for $21.04. I love the results, so much better. Now there is a place to hang a hand towel and it looks prettier too.

Here is how you do it. Now I am not a pro, but mine turned out just fine.
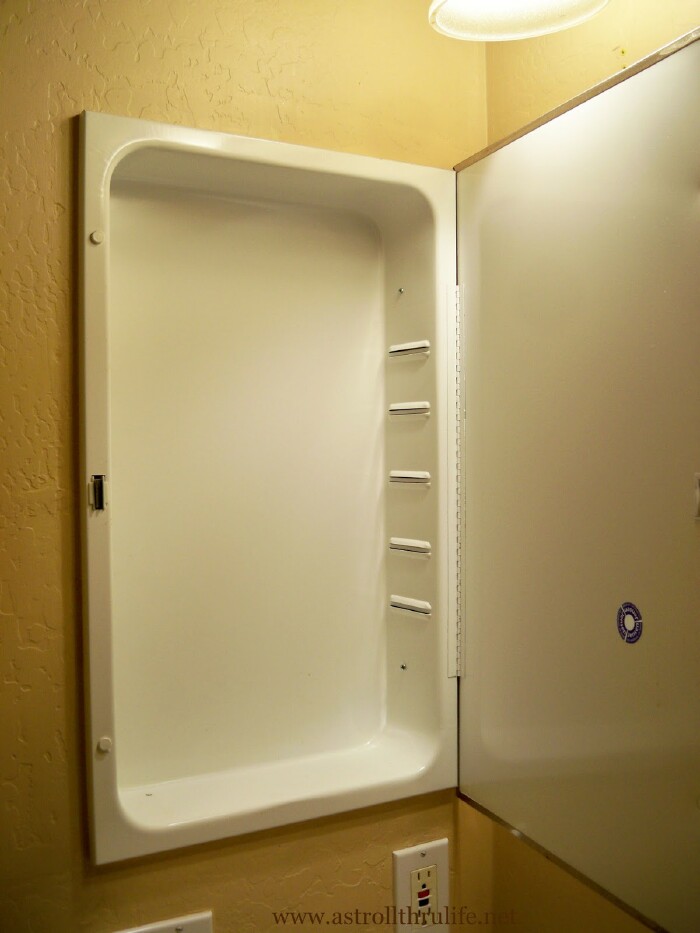
Just remove the shelves and then remove the 4 screws that are holding it in.
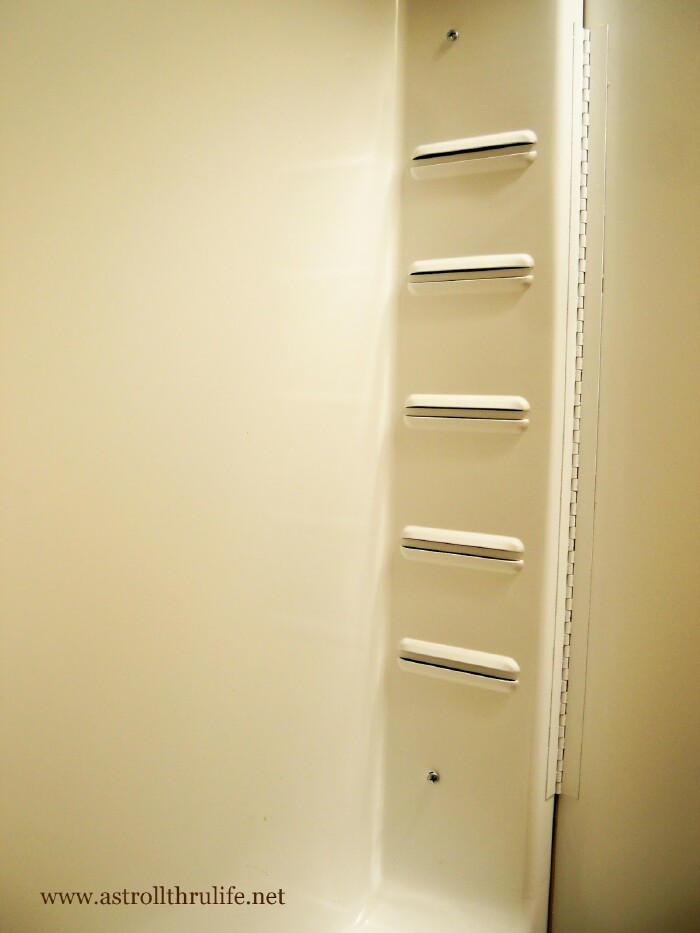
When it is out you have a nice hole that you need to clean out really well of all builders debris. I forgot to get a picture of the this next step, but I had a piece of 2 x 2 and I cut it to frame out the inside so I could add my piece of sheetrock and have wood to nail the sheetrock to. I cut 4 pieces so I could frame the inside of the opening. I needed to cut a piece of sheetrock to fill in the opening, so the wood frame gave me something to nail the sheetrock too.
There are tons of DIY Videos that show you how to patch drywall. This is the one I watched.
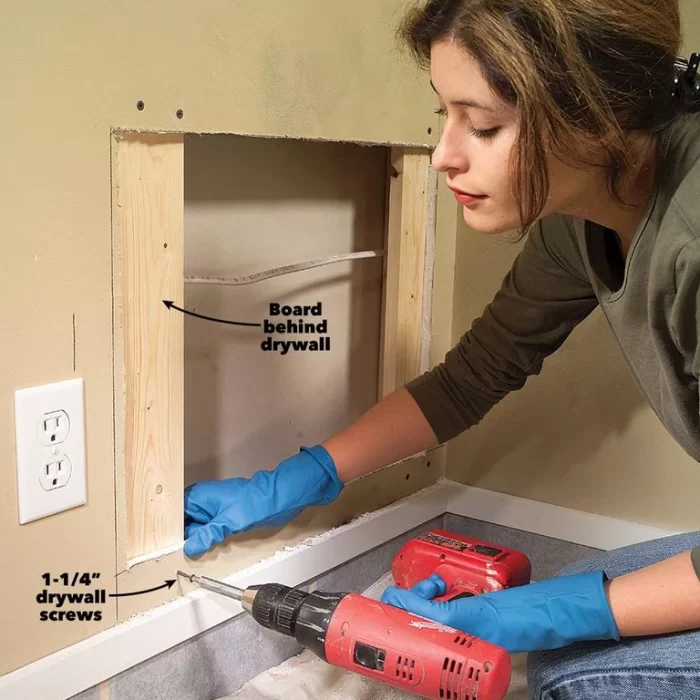
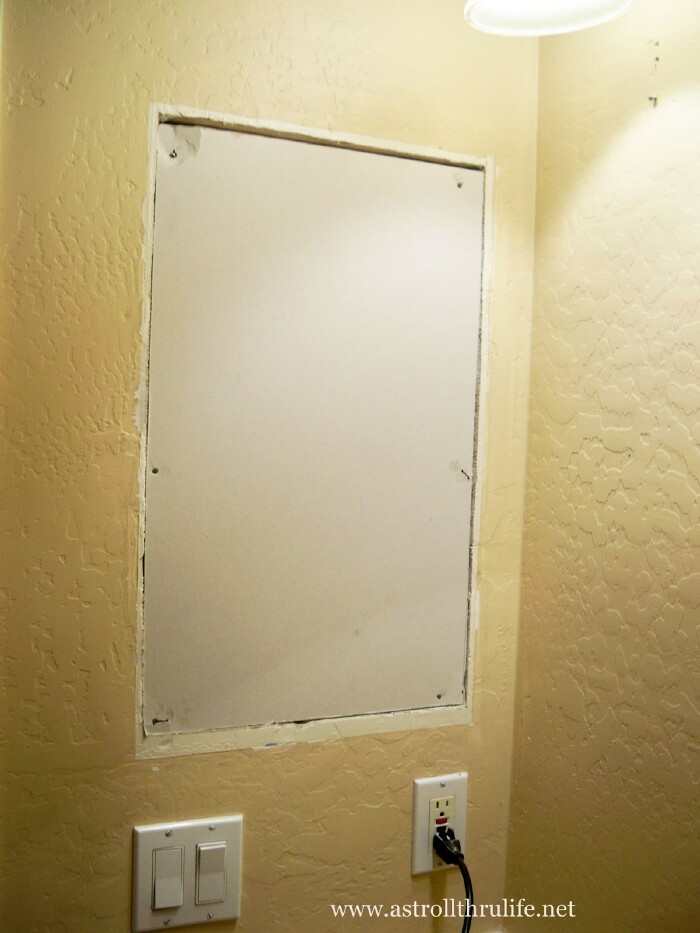
The sheetrock should be flush with the wall when you nail it into place.
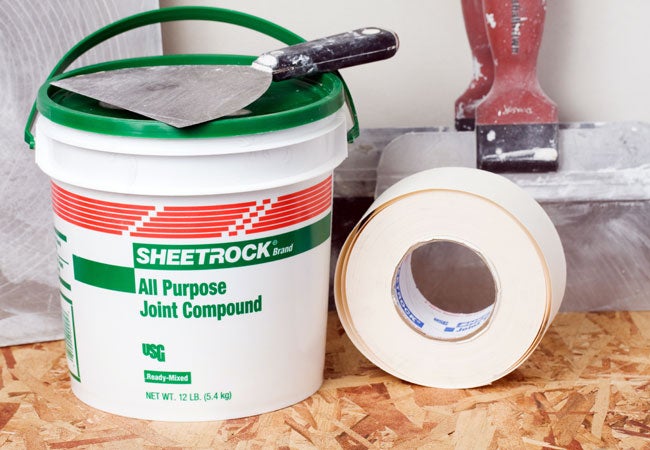
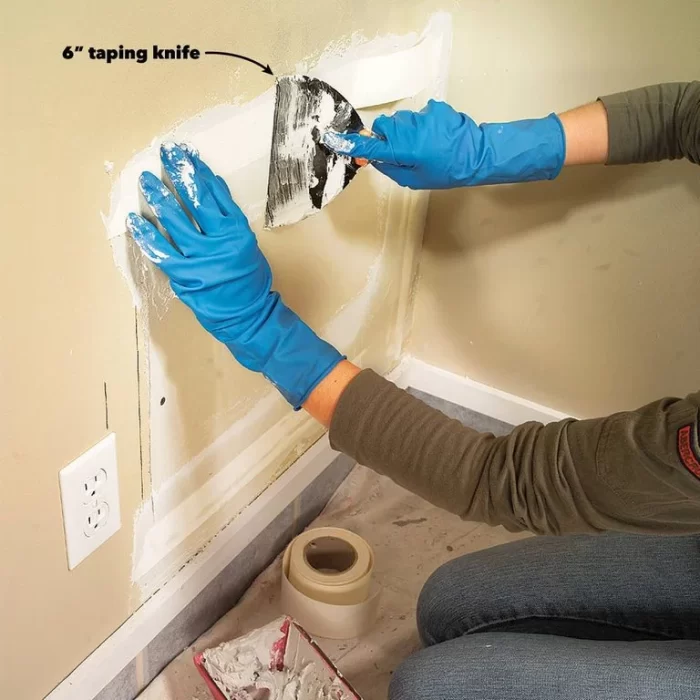
Lay a 1/8-in.-thick bed of patch drywall compound over the joints and press paper tape into the compound with a flexible 6-in. knife. Immediately apply a thin layer of compound on top of the tape. Allow the compound to dry as you work your way through.
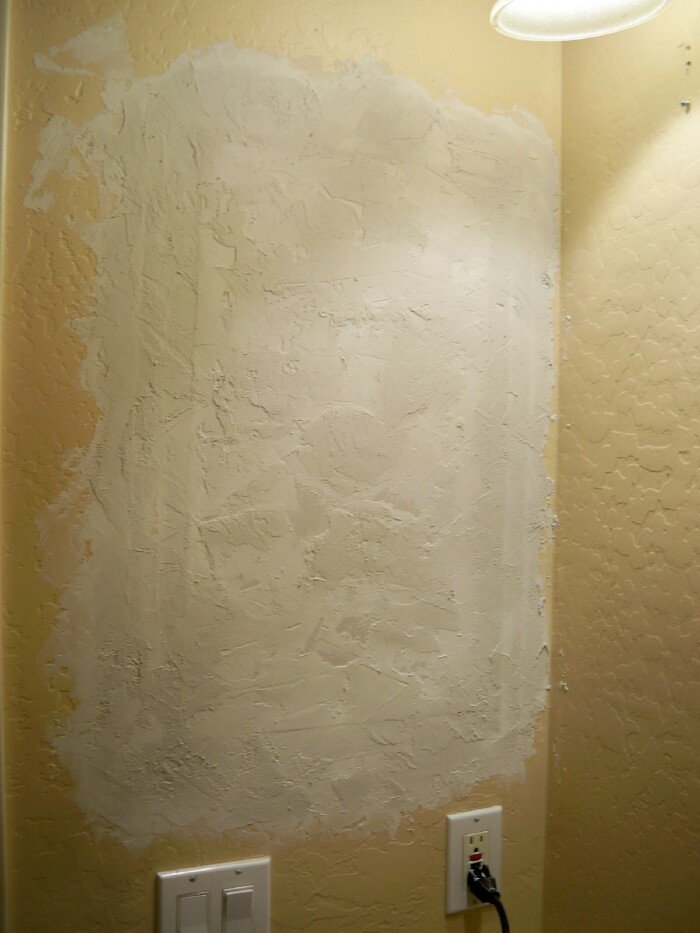
My walls have a texture called knockdown. After the seams are sealed, I needed to add a thin coat of mudd over the entire patch. This is the first coat. Now I know this looks really rough, but when it dries and I give it a light sanding, it will look really good. As you can see, the original finish on my walls is what they call “knock down” and it is pretty rough to begin with. I am trying to simulate that finish. I think we are getting close. Now to sand and do the second coat.
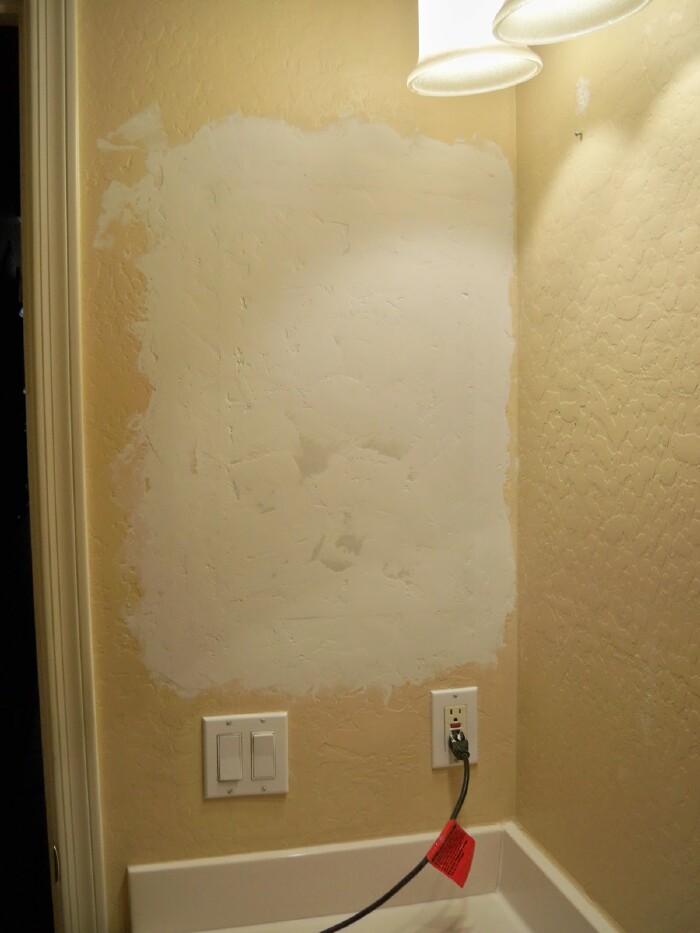
Dry, sanded down and ready to paint after the second coat. Be sure to let the compound dry thoroughly. (I kept the small shop vac handy to keep vacuuming up all the mess.) Sanding drywall mudd is really messy.
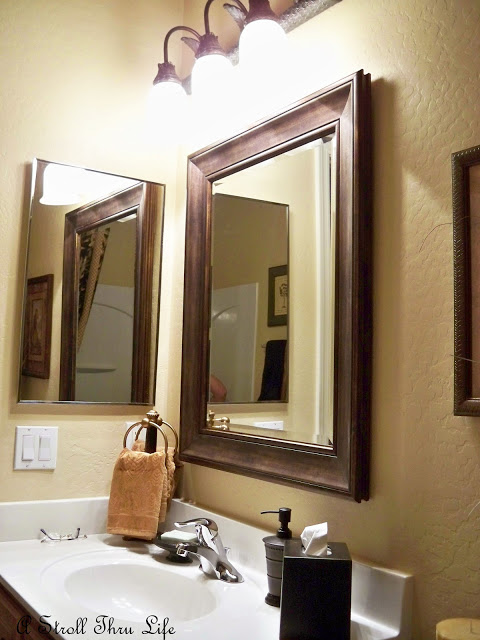
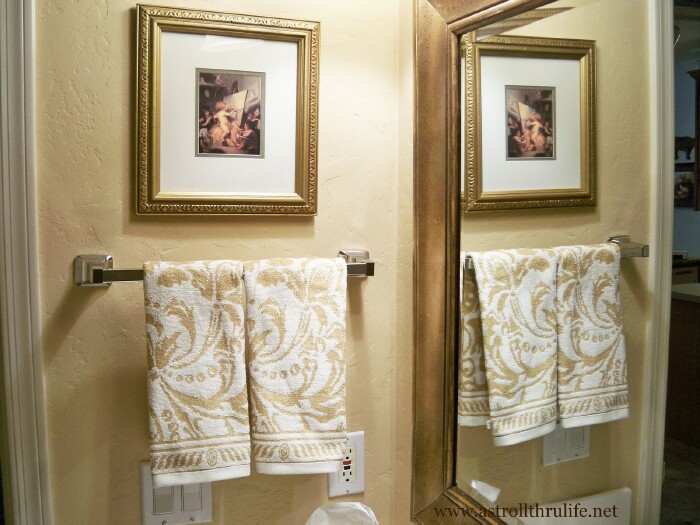
With the wall patched and painted, I was ready to hang the towel bar and accessorize.
TA-DA the reveal – Bathroom Update – How To Remove An Old Medicine Cabinet.
So how does my wall look and isn’t this so much better than the medecine cabinet. You can’t see where the medicine cabinet use to be and having a towel bar is so much better. Now you can reach a towel to dry your hands. This was a really easy project if you need to update your bathroom too.

Thank you for this ! My daughter’s new house has the same situation in her guest bathroom…..now I know what to do to change it!
Your’s looks beautiful !