How To Make And Upholster An Ottoman. Ottomans are a wonderful addition to any home. Perfect to prop your feet up on,or how about using one as a coffee table, or as an extra seat when you need it. This is a project I did several years ago and it has been pinned thousands and thousands of times, so I thought it was worth repeating for those that missed it.

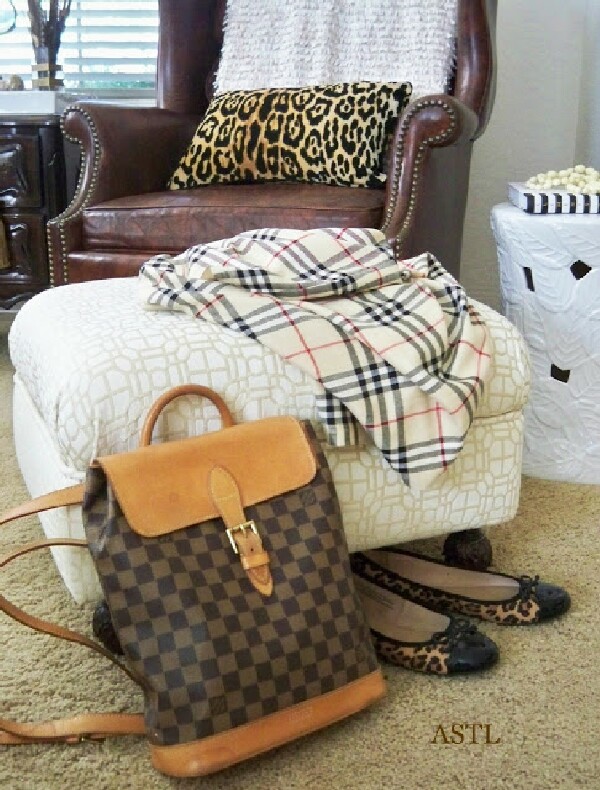
We didn’t have an entry in our last home, so the ottoman is the perfect dropping zone for me when I come in the door. Packages, purse and of course my shoes usually get dumped first thing. I placed it right inside the front door, so it is just waiting to hold all my junk.
Finding just the right ottoman can be a challenge, so why not make your own. I made this one years ago. So easy – plus I can have the size and color I want.
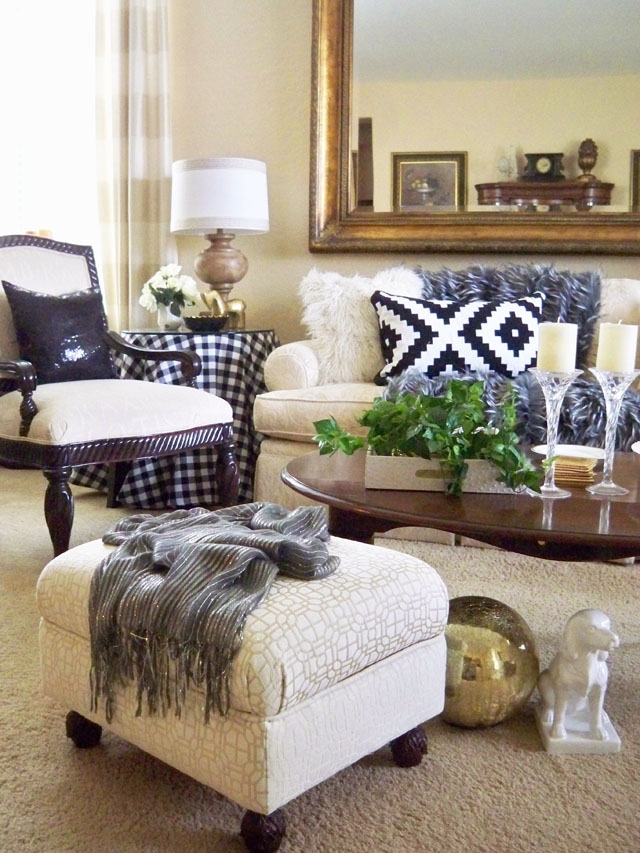
It’s also perfect for that extra seat when I need it.

OK, let’s take a look at how to make one. Really easy, let’s start with mine when I recovered it last time. (This is from my original post a couple years ago and is still one of my most copied posts.)
This is what mine looked like. Time for an upholstery change.
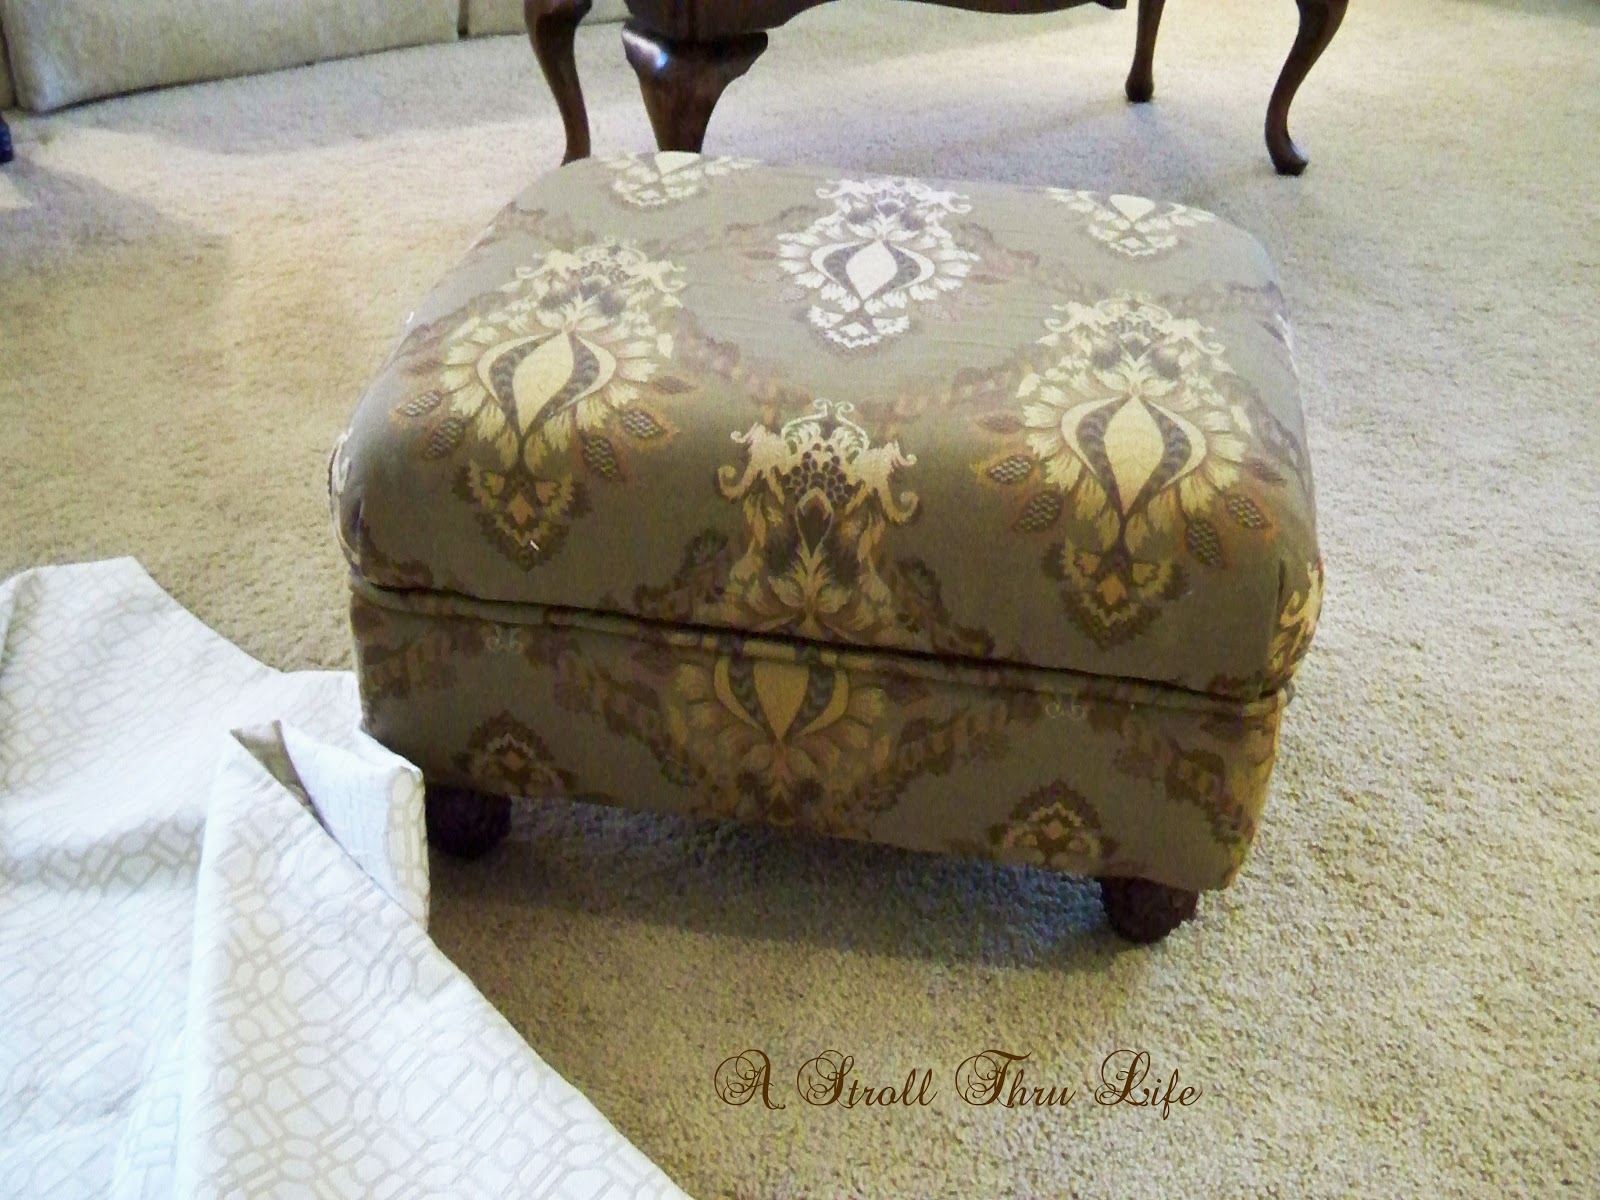
I love this fabric, and the muted pattern looks great with the rest of my furniture.

Ok, time to start. I unscrewed the feet, (they are actually drapery rod finials) and took the bottom dust cover off.

Next I unscrewed the top from the base and removed my current fabric. Woops, looks like I just recovered over the first fabric. This time I need to remove everything down to the batting. So a ton more staples to remove.
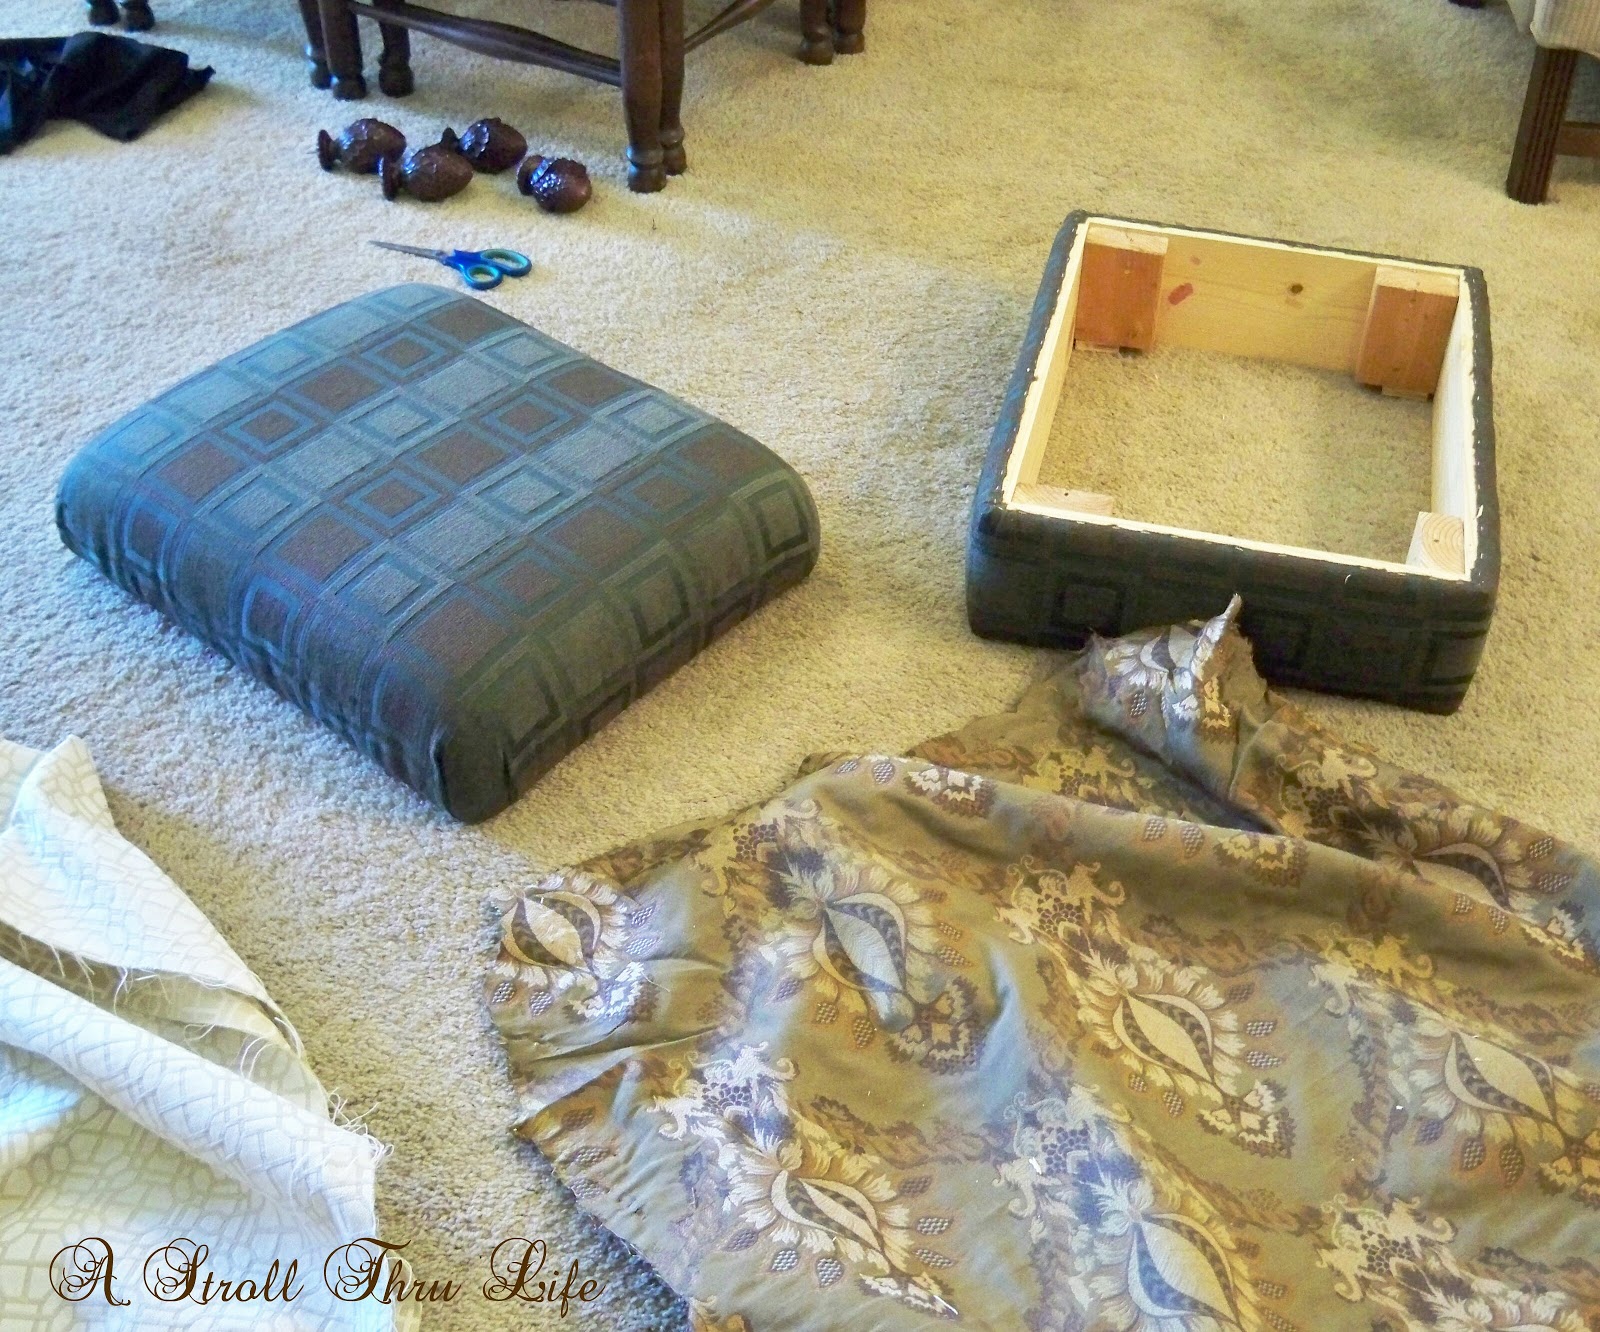
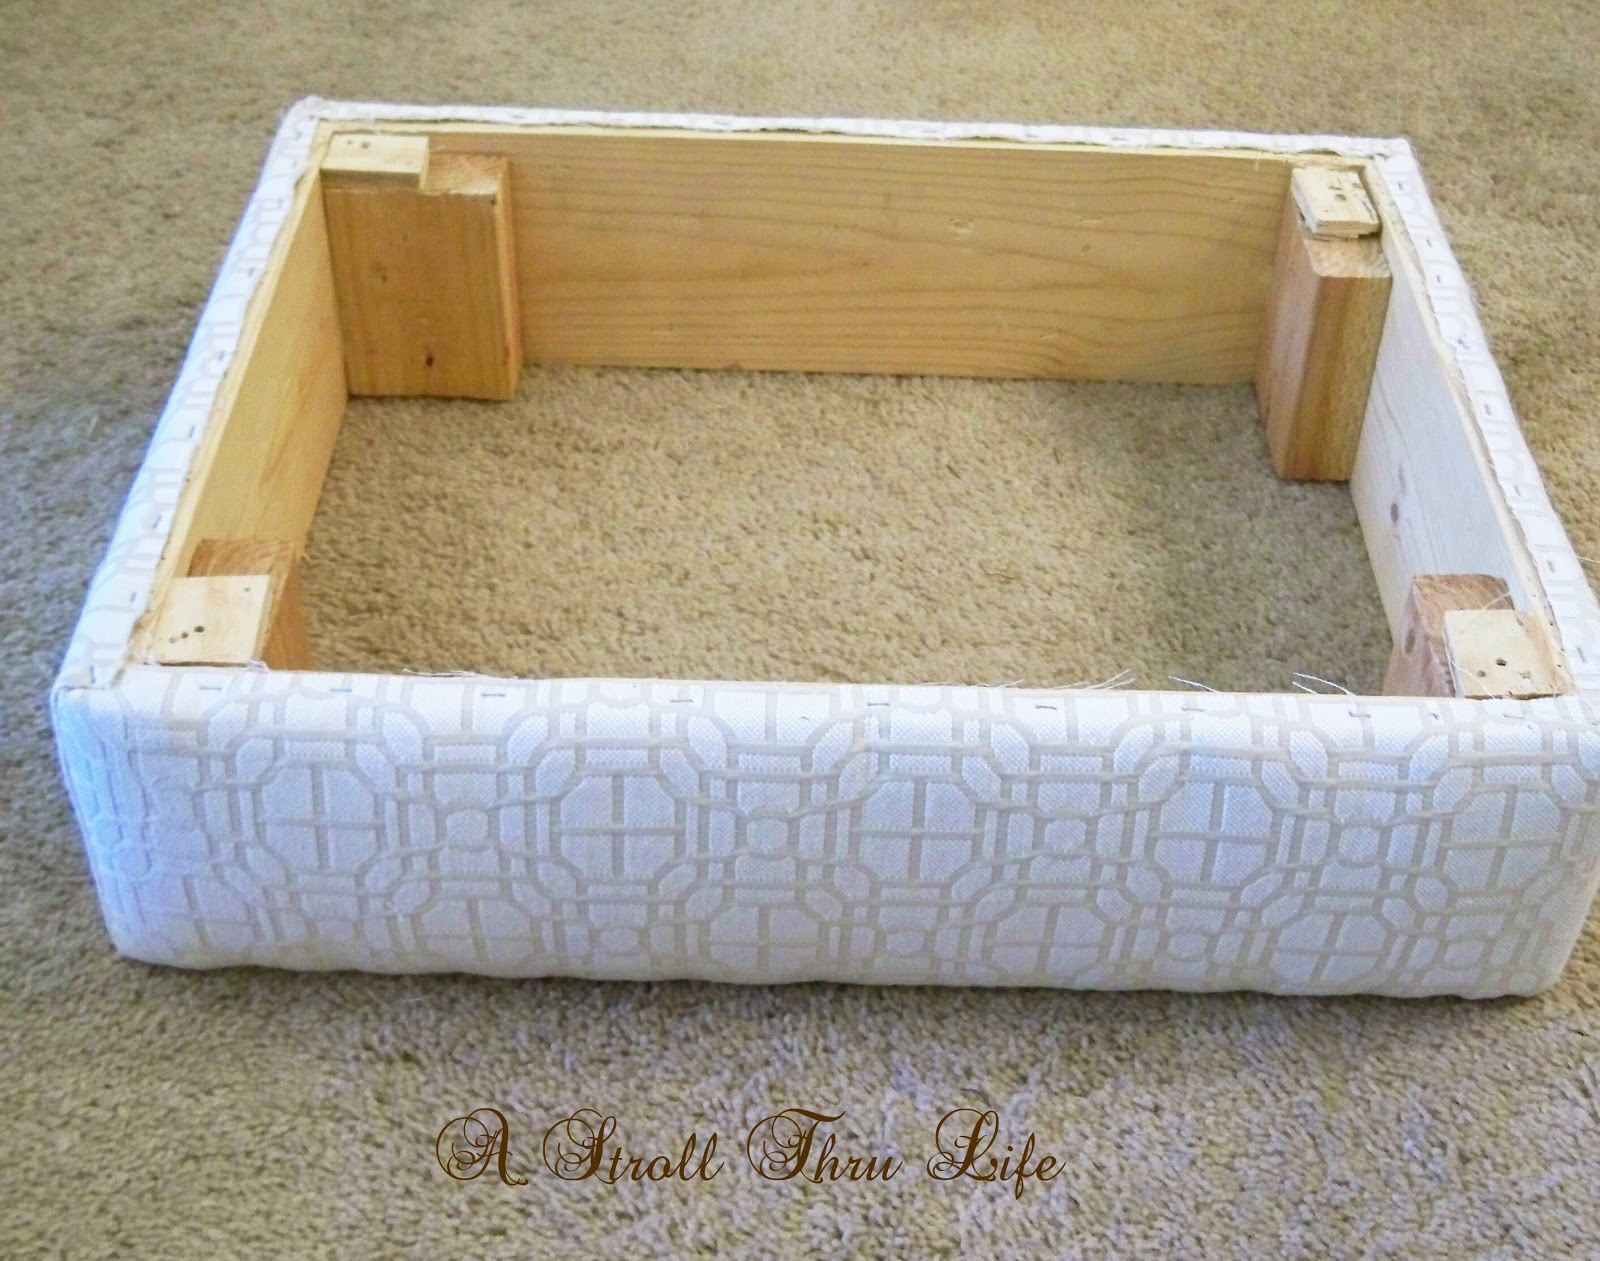
Here you can see just how simple it is to make an ottoman. The base is just some 1×6 boards with some 2×4 corner blocks. (Be sure to cut the 2 x 4 corner blocks as tall as the 1 x 6. I goofed and had to add small pieces of wood for the feet to screw into.) It is wrapped with upholstery batting and then my new fabric.
The top part of the ottoman is just cut from plywood, covered with 4 inch foam and then wrapped with batting and my new fabric. Super easy project. Now all I have to do is make the cording to go between the two pieces and then screw them together. You can sew cording or use hot glue. Just a strip of fabric with cording (rope) sandwiched between the strip. Easy. Tutotial for cording here.

(The cording is stapled to the bottom base and then the top is screwed on from underneath. Finish by adding the dust cover stapled to the bottom and attach the legs.) All done, the cording is a great finishing touch and I love the decorative finial legs.
Tip – You can use a 1×12 for a taller ottoman and you can hinge the top if you want storage.

Perfect for that extra seat you need in a pinch.
Now if you need an ottoman and don’t find what you want, or the size you need – This is a really easy project and one you can create for just a few dollars in just a few hours.
You might also like:


[convertkit_form form=”4952298″]

This is such a great idea. It looks gorgeous!