Do you ever look at your stats or have you ever done a google search on your blog? It is amazing what you will learn. I was looking at mine and I was surprised to find out that my all time most viewed and searched blog post was on How To Make An Ottoman. This one post alone has had over 110,000 pageviews. Now originally it only got 34 comments, but views just keep going on. Amazing. It has also been googled thousands of times as people try to find instructions for making an ottoman. So, just for the fun of it I thought I would repost this post. If you havn’t seen it, maybe it will be fun for you.
This was originally posted in January 2011.
After I said I had made my ottoman, I’ve had so many people ask me how to make one. So here are very simple instructions. It really is so easy.
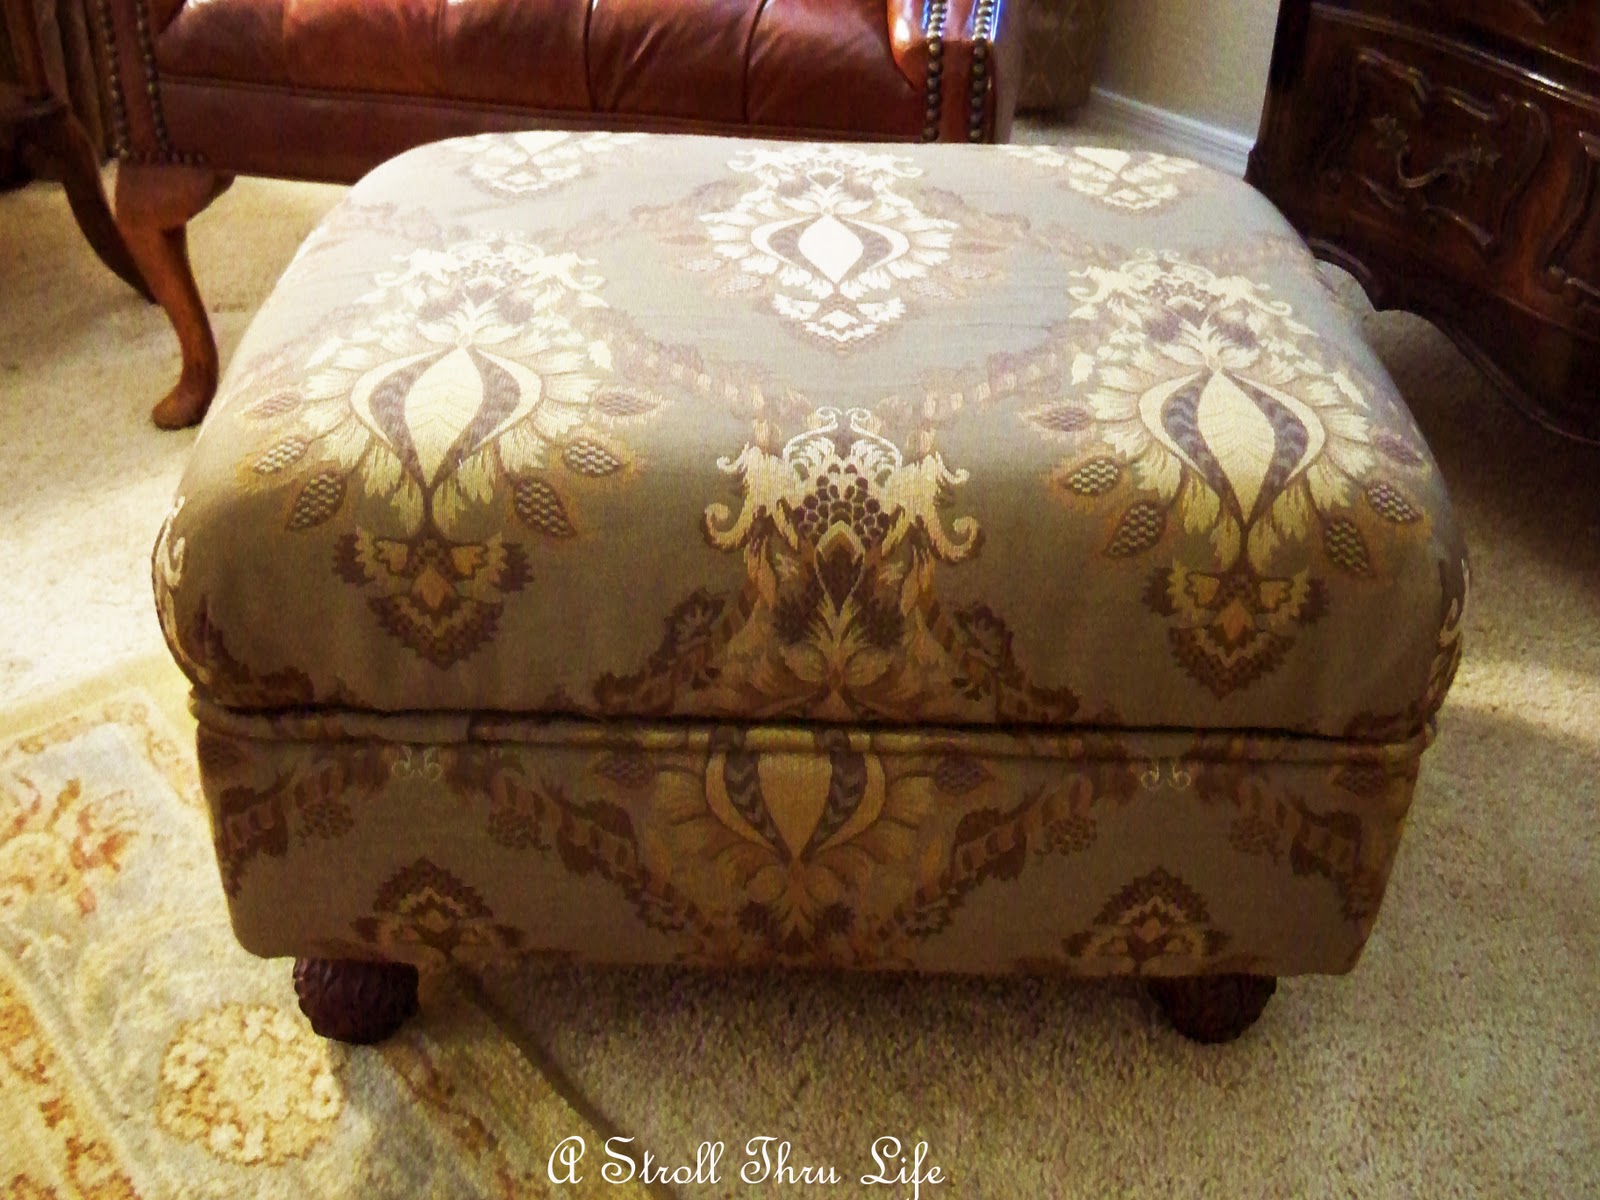
Just determine the size of ottoman you want and build a box. I used 1″x6″pine boards for the sides of the bottom section of the ottoman. Just nail them together in a box. Then take a 2×4 piece of wood and cut to fit the corners on both the top and bottom of the box. Screw the corner cross pieces in so your box is very sturdy. Also cut a piece of plywood the size of your box. That’s all the construction that is necessary. A hand saw is really all you need.

Next, cut a piece of heavy batting 61/2 inches wide and long enough to wrap around the box and staple it on in a few places. Then cut a piece of fabric 71/2 inches wide and long enough to go around the box allowing for a seam allowance. Sew the fabric together and make sure it is going to be a really tight fit. Then just slip it over the box placing the seam on one corner. Staple it to the top and bottom edge of the box. After that is stapled, cover some large cording and staple that on top of the box, again leaving the joining edge on the corner. See the below picture.
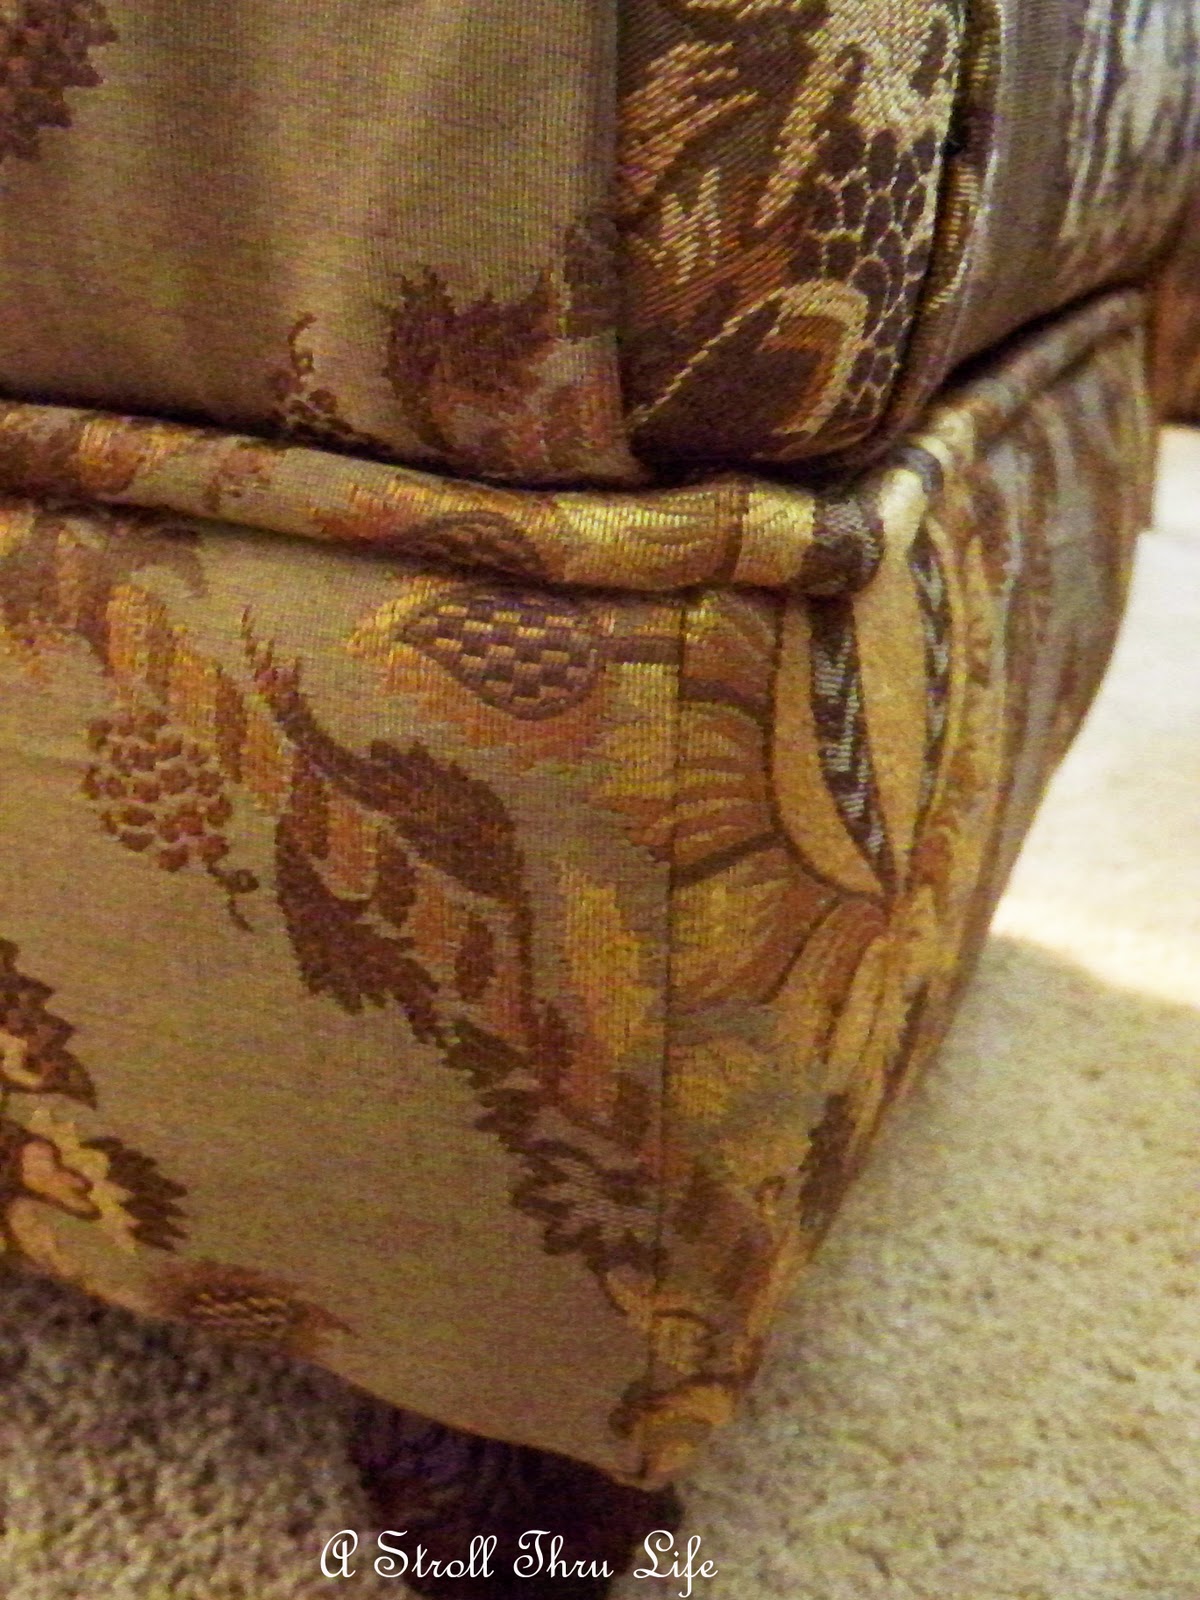
This picture shows the fabric pulled under the box and stapled.

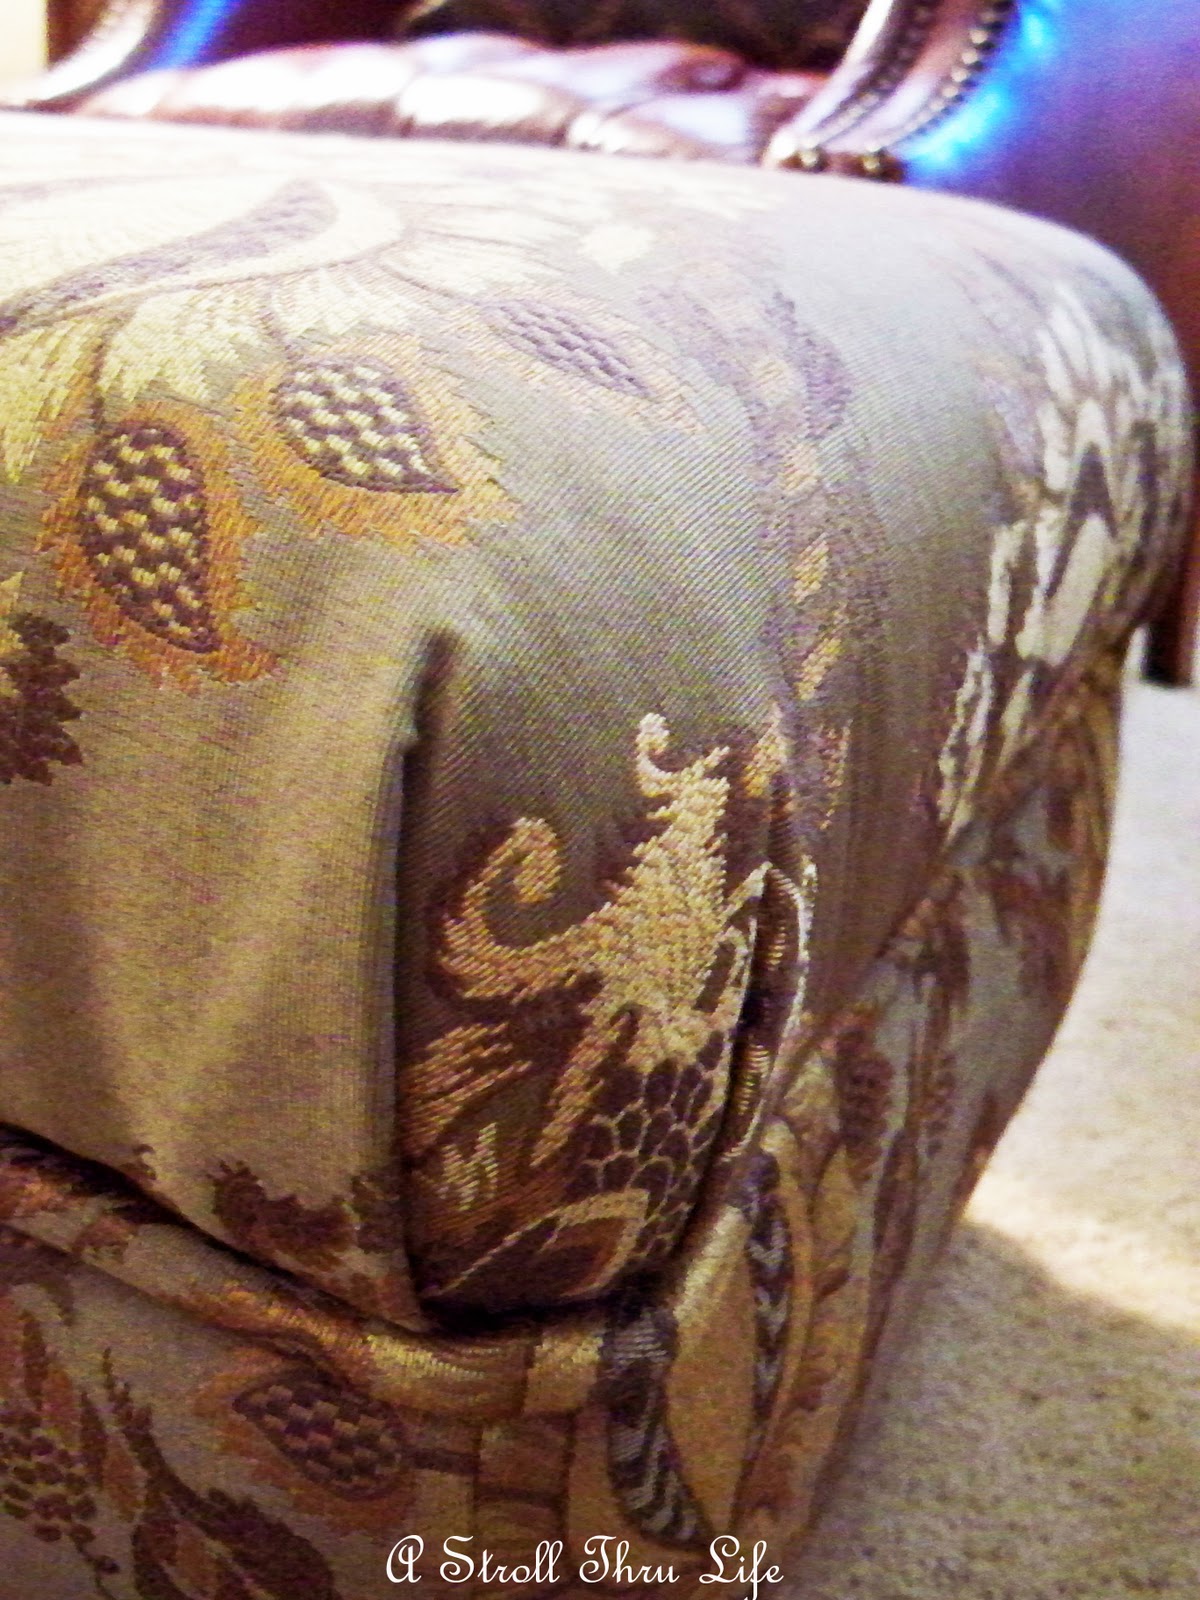
Now, take your piece of plywood and cover it with a 4″ piece of foam cut to size. Then cover that with a thick piece of batting, trimming corners so they lay flat around the foam. Next cut a piece of fabric large enough to cover all of it and enough to pull around and staple to the bottom of the plywood. Pull the fabric taught, but do not stretch so much that you loose the shape of the foam and batting. Make a simple pleat at the corners and staple down. See below picture. When done place it on top of the bottom section and then screw the top and bottom together at the 4 corner braces.
Turn in over and take a scrap of black fabric and staple it to the bottom as a dust cover and to give it a more professional look. Now just pick out the legs that you want and screw them into the cross braces in the 4 bottom corners and you are done.

This really is such an easy project and you can have any size you want, covered in any fabric you want.
I hope this all made sense. I can’t wait to see all the ones you create.
Thanks for stopping by, I always look forward to your visits.


If you want Red wine, I am here to help, with Zogby, we get you amazing deals on stuff like Red http://munsonwinetrail.net/ – Red wine ROCKS