It seems like some of you can take anything and turn it into gold, but when you are a beginner at upholstery, then you need a step by step to show you how. That is me, I always need a step by step on everything, then I feel like I have it under control and can do “it”.
Finding stylish chairs can be expensive and sometimes the ones you have seem to fall apart. Putting them back together or starting from scratch with staining and upholstery is something that seemed hard to me. Finally I watch enough videos and read enough to get up my nerve to just go for it.
These two projects are pinned tons of times and it seems like I am asked about them constantly.
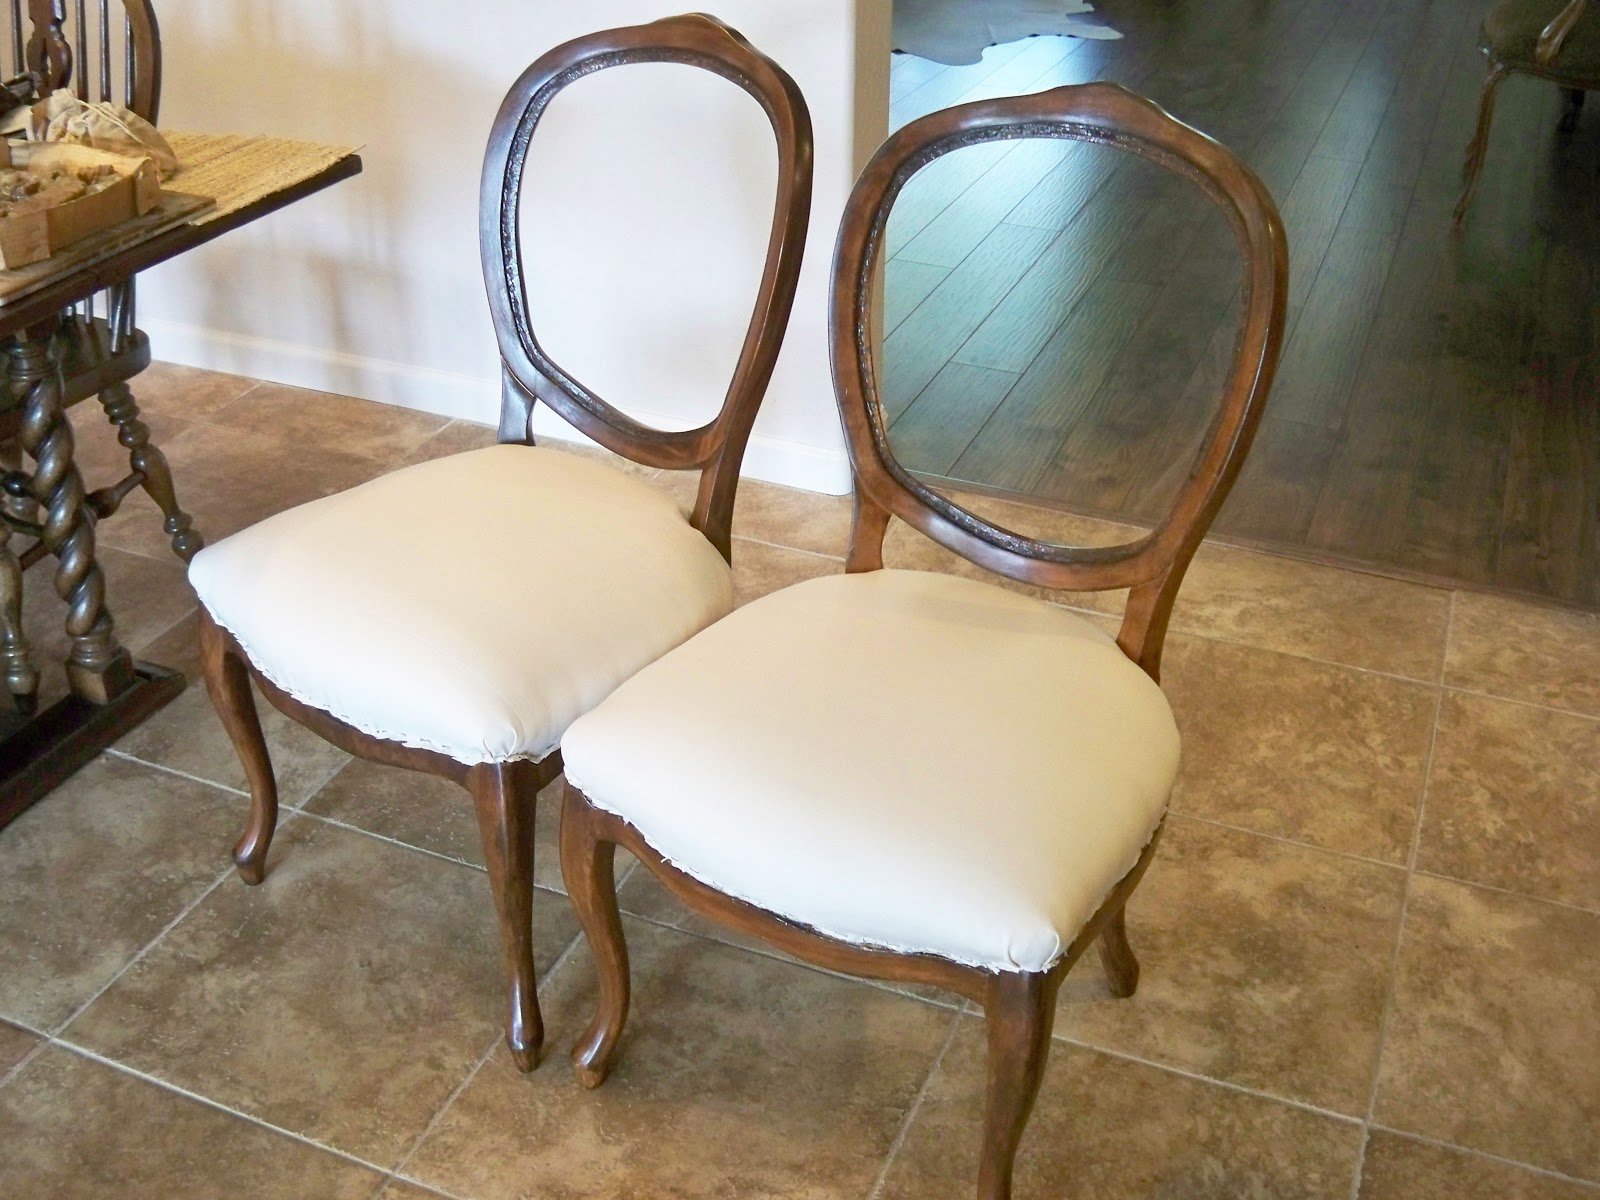
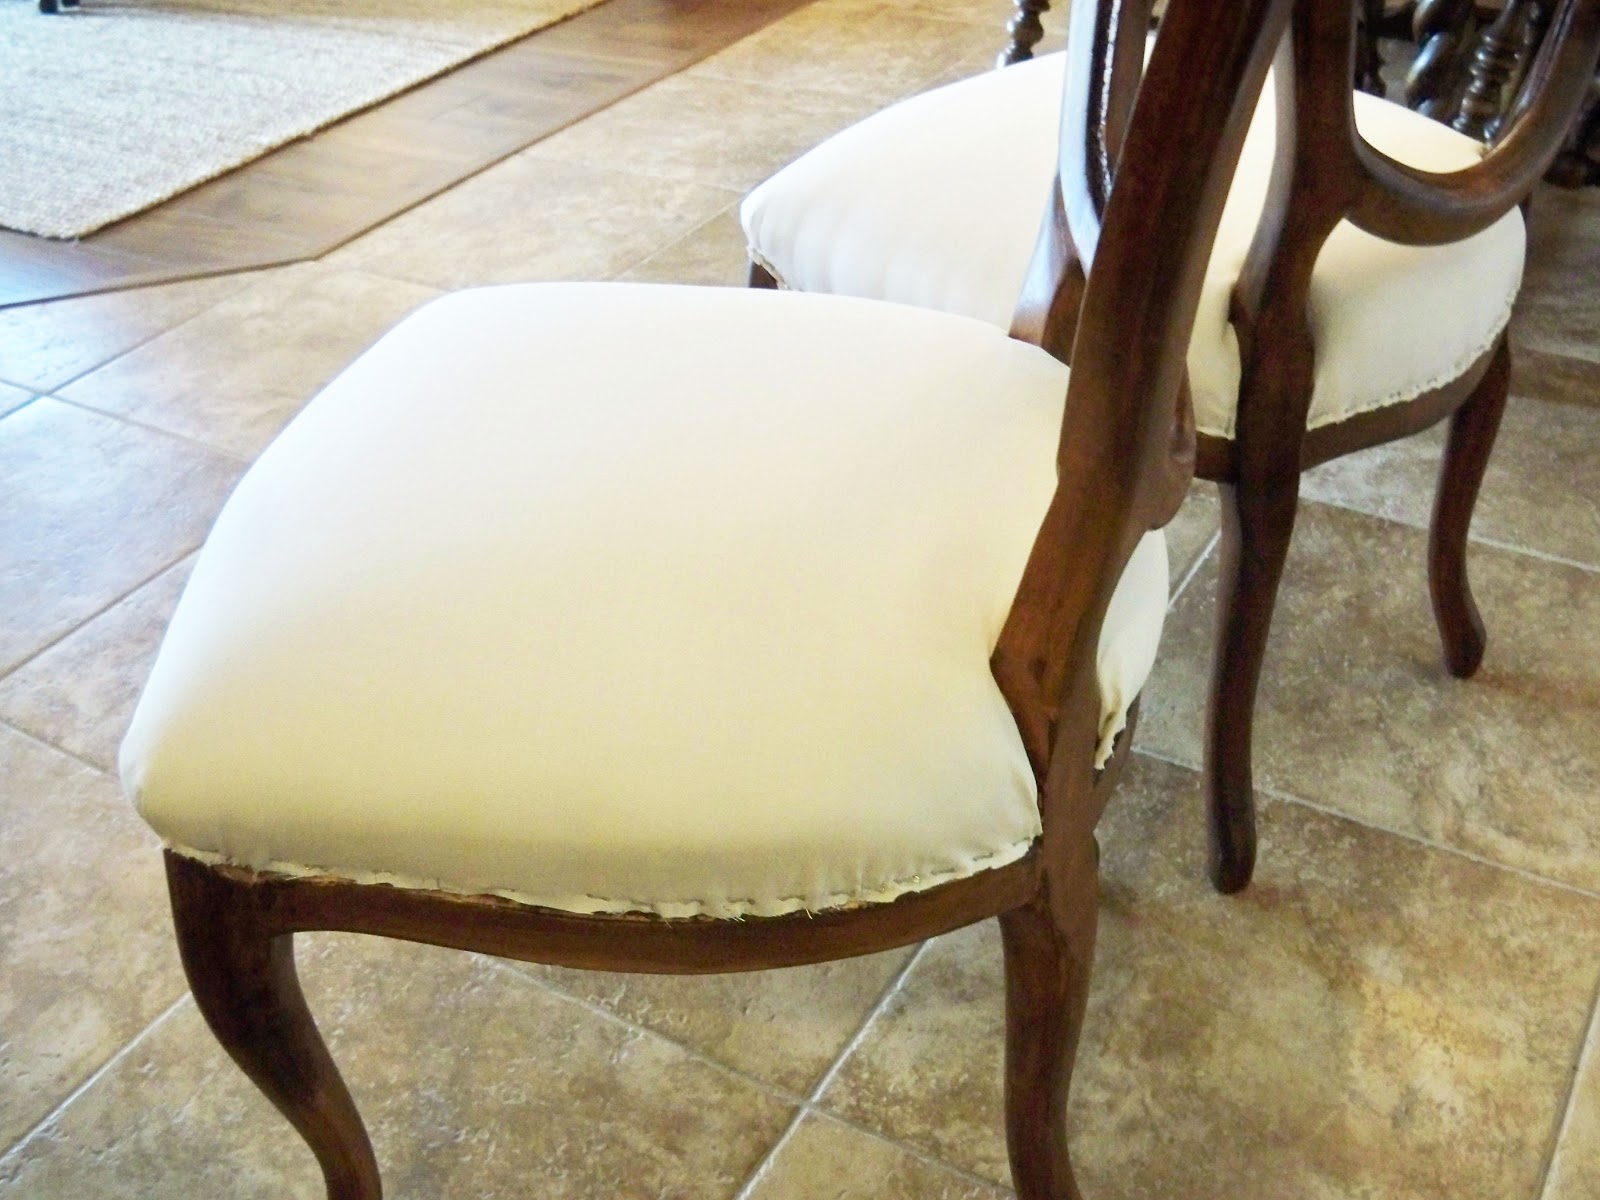
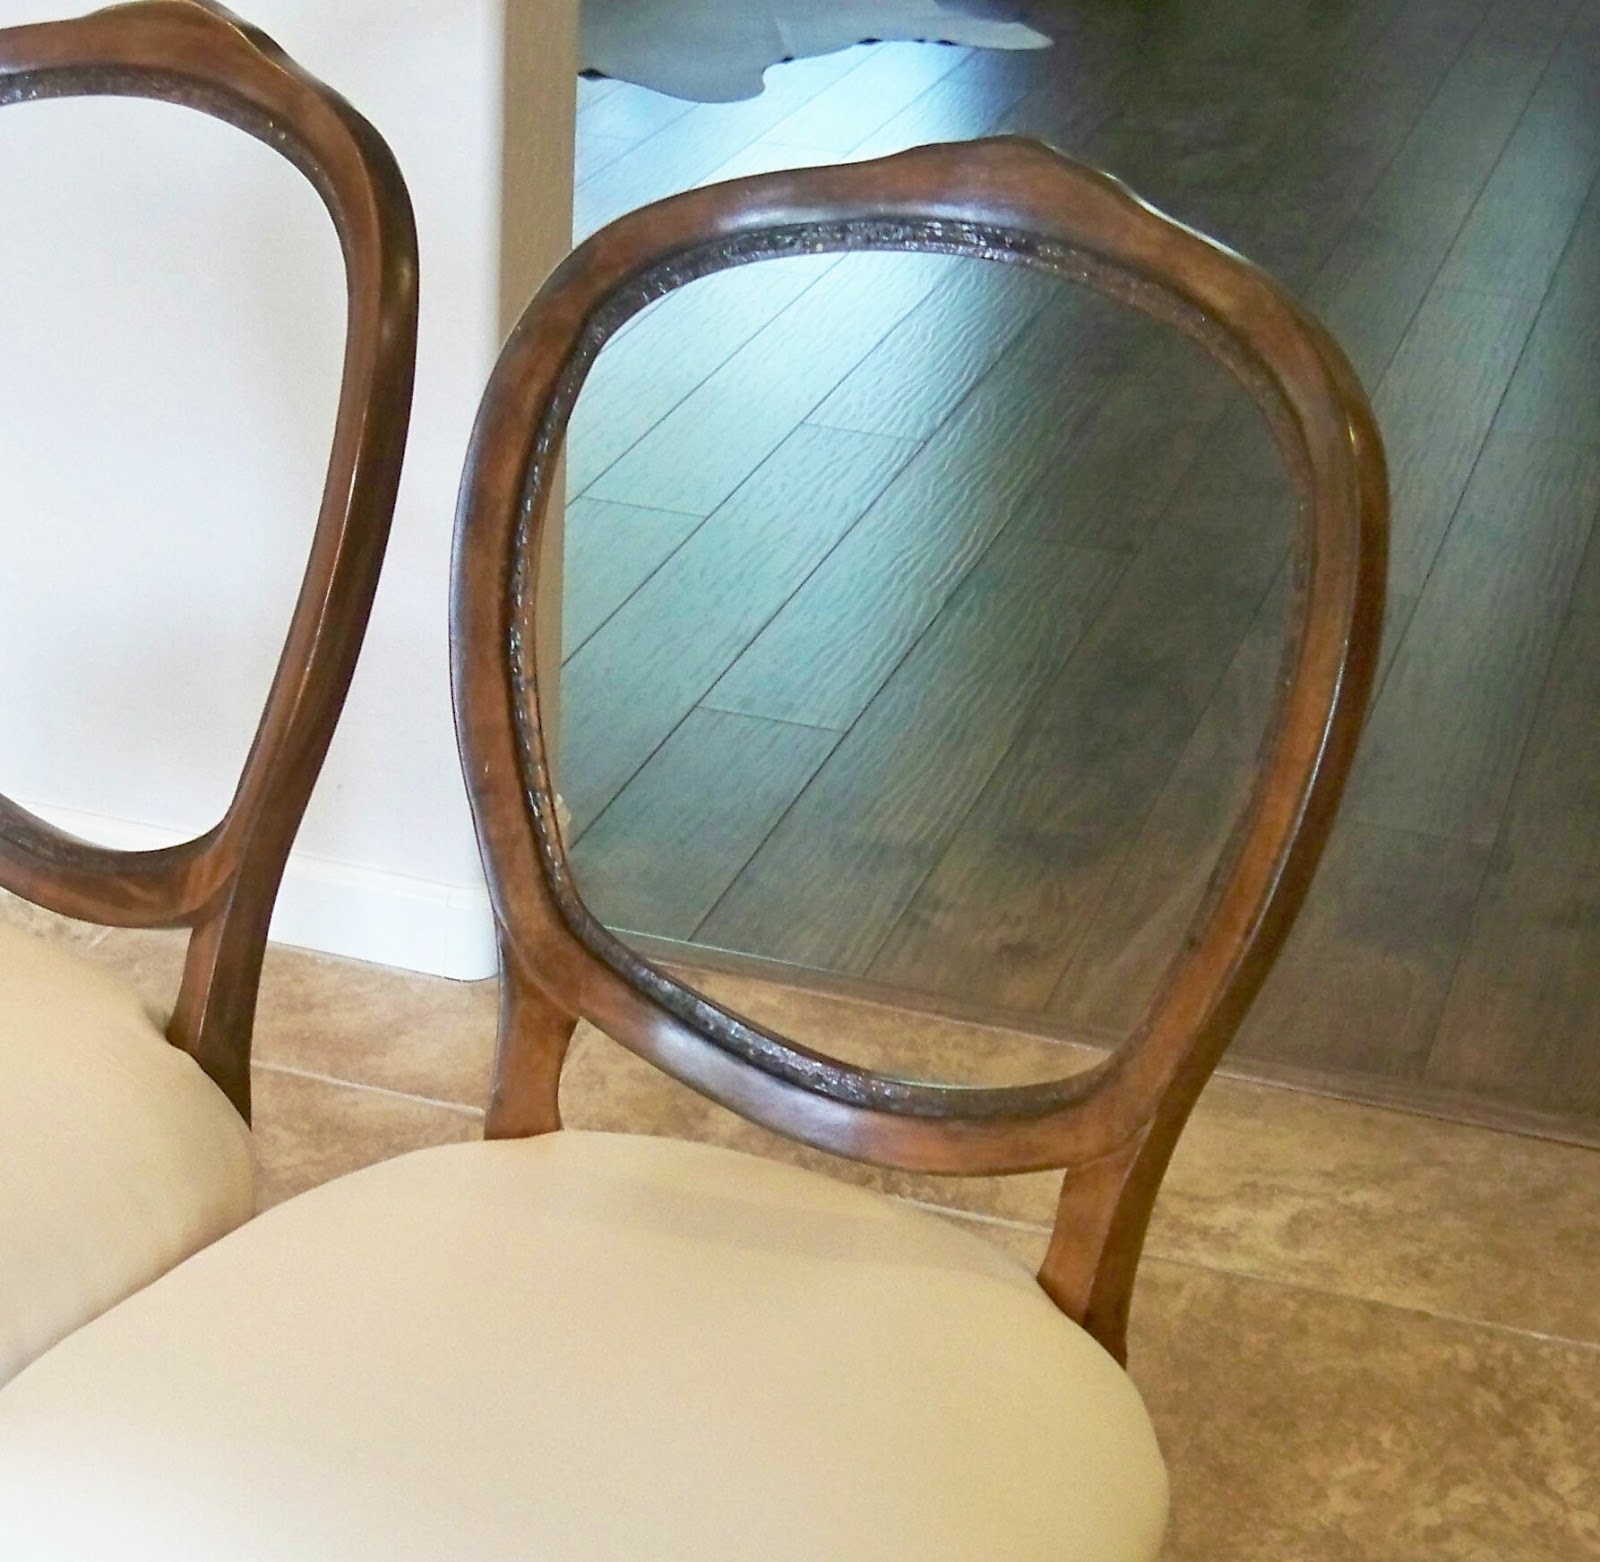
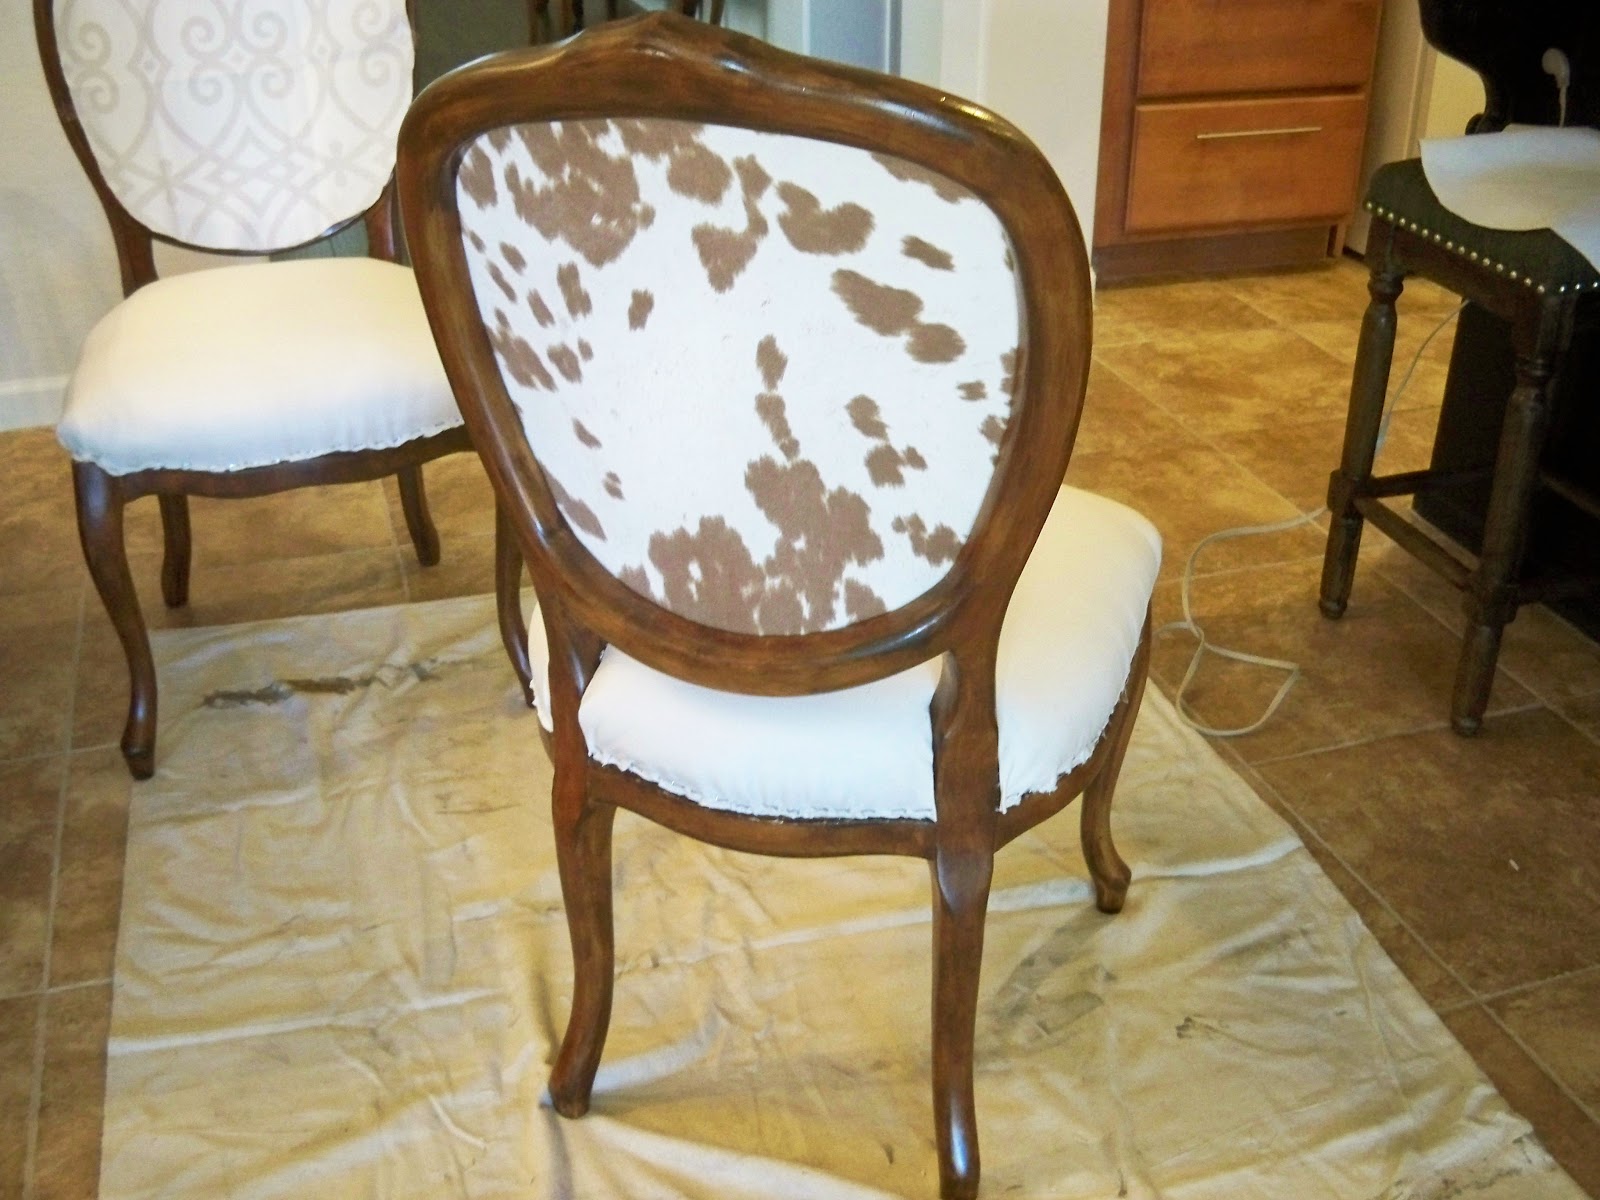
#1. My $9.99 Louis Chairs are the ones that people comment on all the time. I think it is because of the cowhide fabric that I used on the back, but also the style is really popular now. I am so pleased with how the chairs turned out. Now they are by no means professional, but for my first time doing this kind of upholstery, I am thrilled. (I still have to add the welt trim around the edges, but I just had to play.)
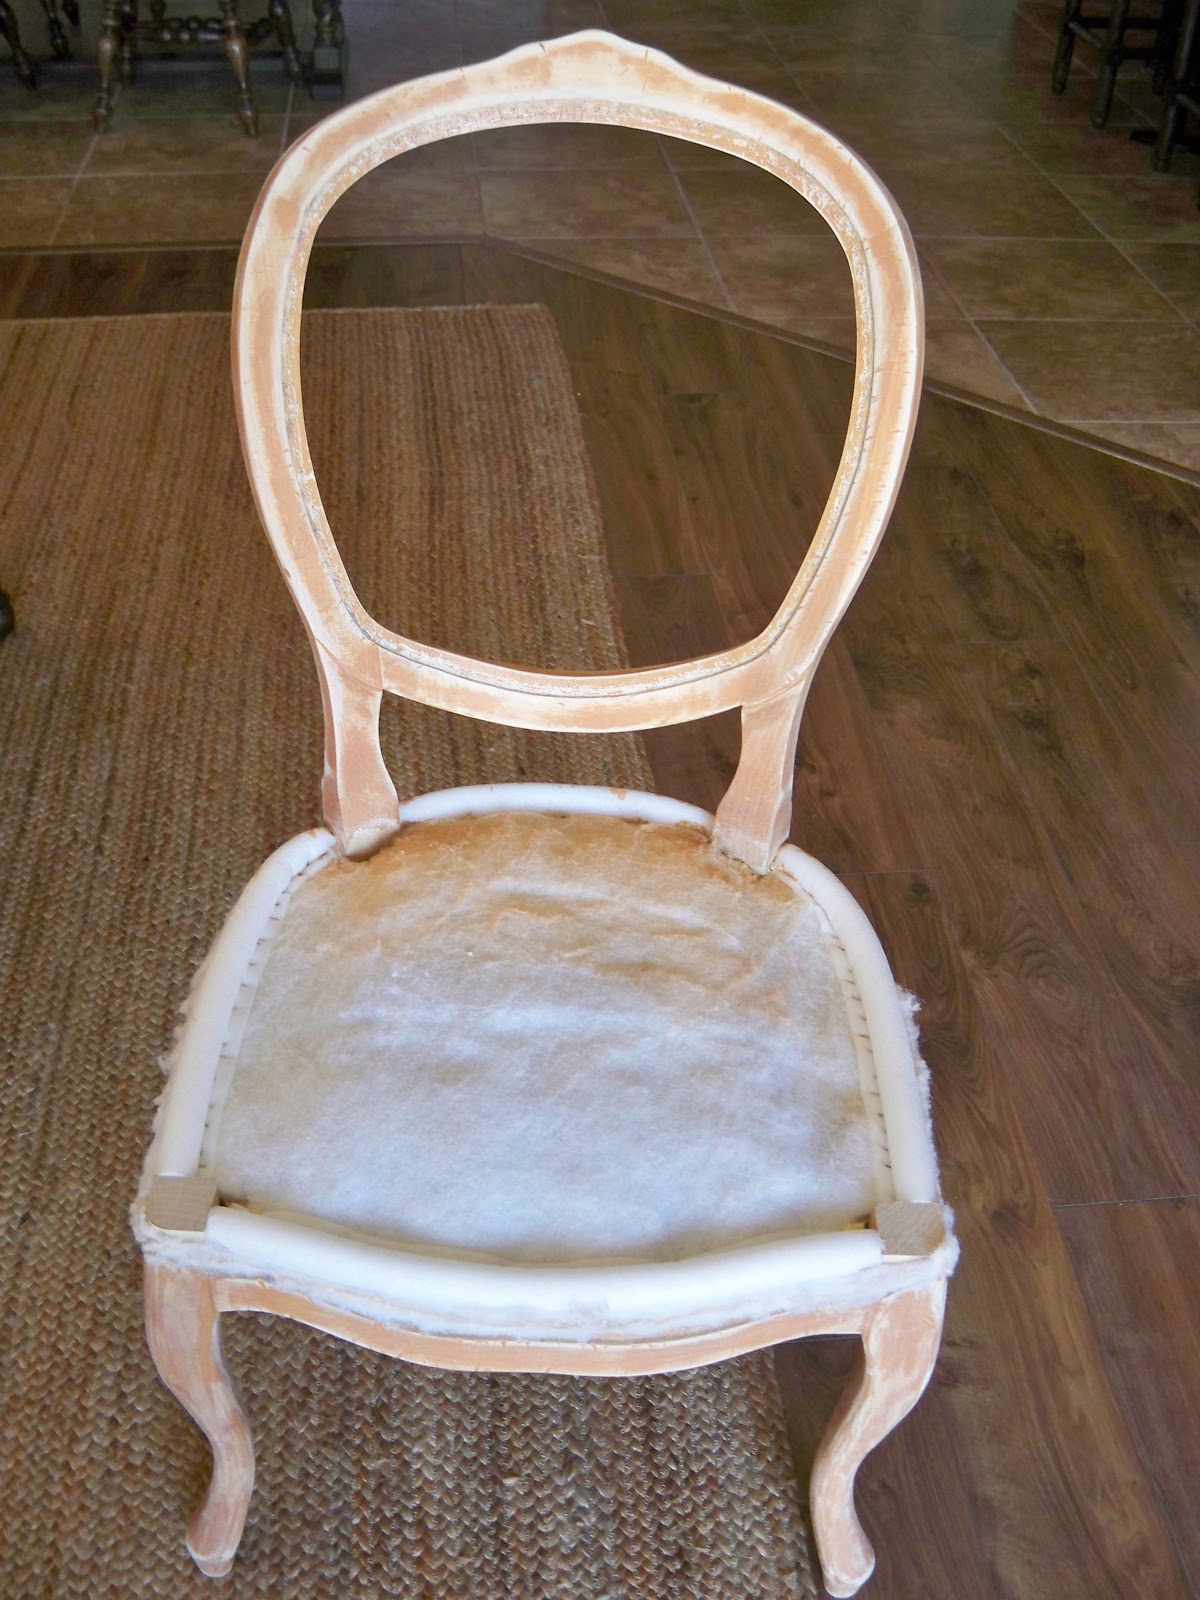
Remember, this is what they looked like when I bought them. Really ugly upholstery and kind of an orange/blonde wood frame color.
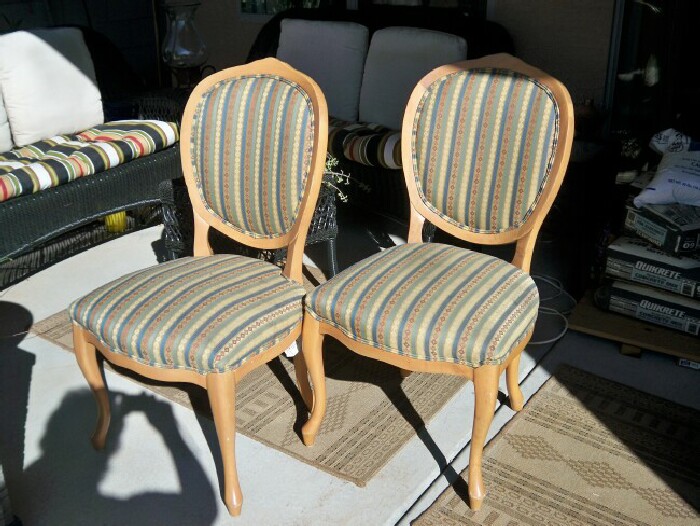
At this price I figured I couldn’t ruin them.

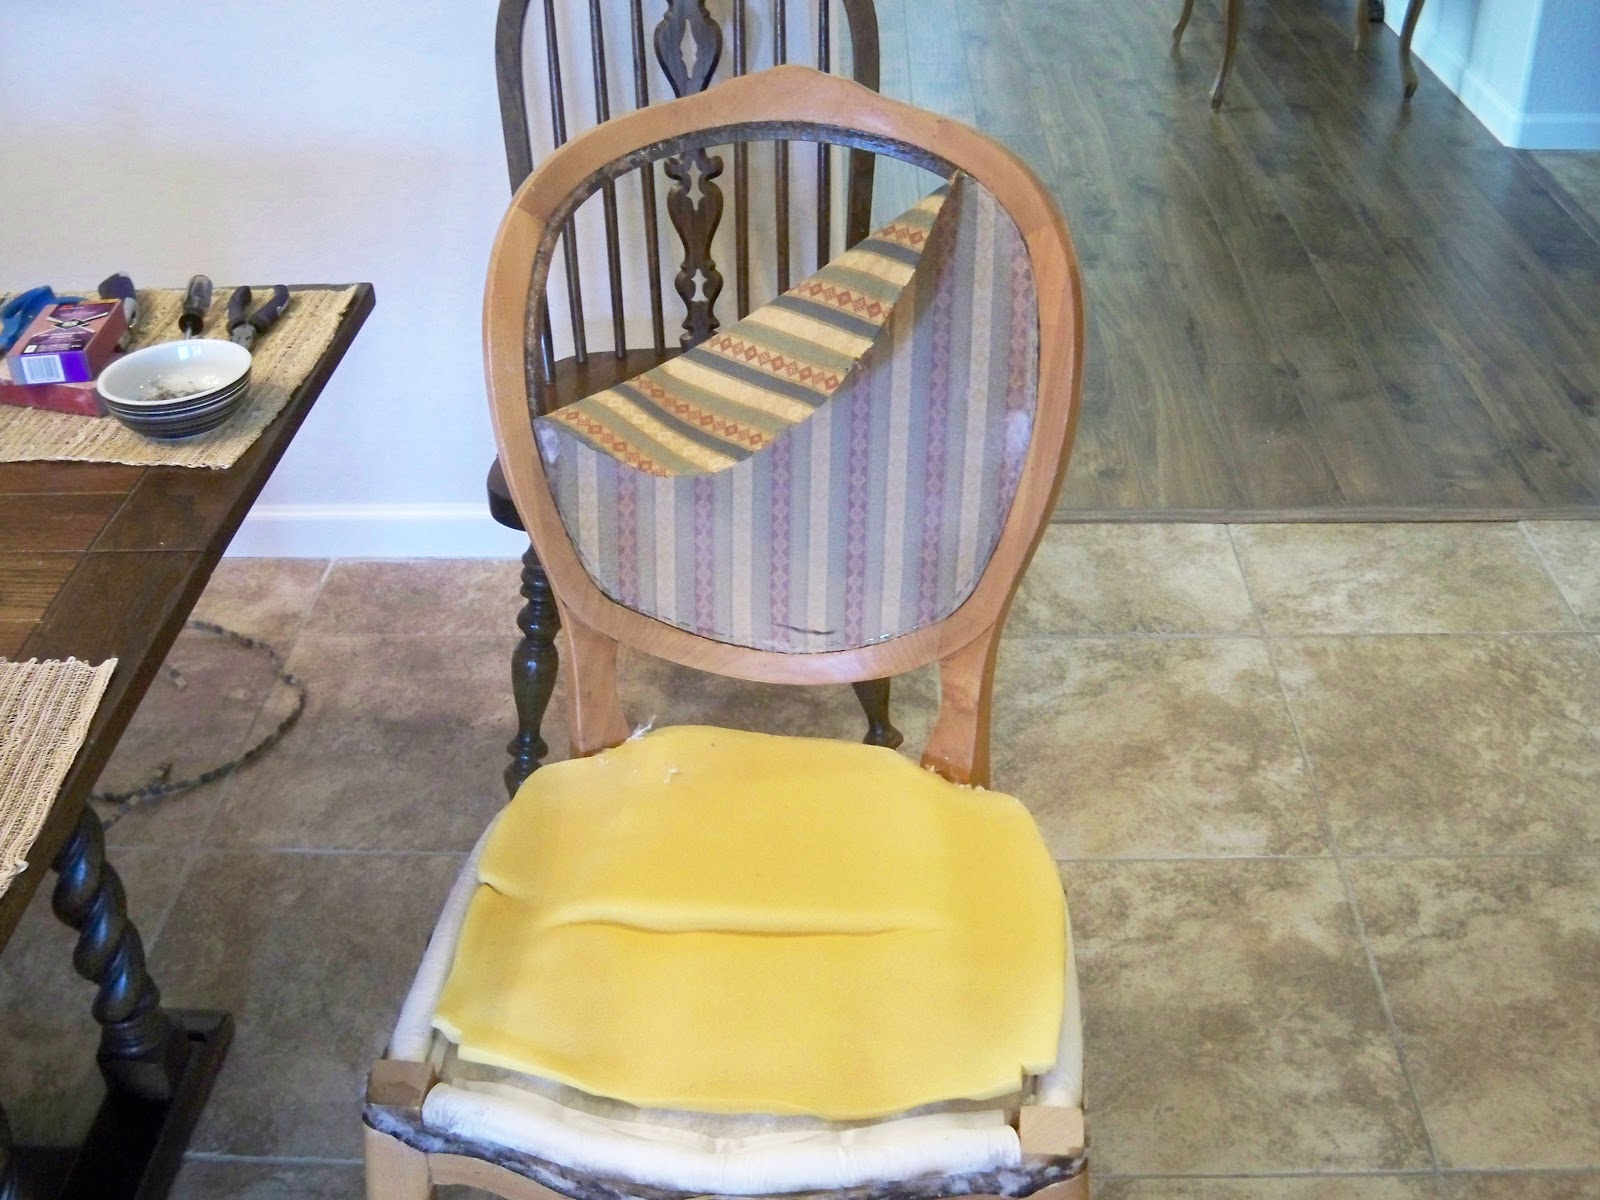
I started by removing the double welting cord that was around the edge of the chair seat, then I pulled the gazillion staples that held the fabric on. I discovered that the fabric was glued to a piece of batting that was also glued to a piece of foam. This came off all in one piece.

I took the cording off the back of the chair and then removed all the staples on the fabric and found the same thing. The fabric glued to batting and foam and it also came off in one piece. (You can see the cording laying on the floor) That left me with the back fabric, I removed all the staples in that piece of fabric too.
Now I had the fabric off the seats and back of the chairs, so time to redo the frame.
I removed the bottom piece of foam and left the rest of the seat in tact since nothing was touching the outside frame anymore. Then outside for a good sanding.
You can see all the steps I did in refinishing the frames in this post.

OK now here is where I am a bad blogger. I didn’t take any pictures step by step on the seat part, but it is pretty self explanatory. I just put all the foam and batting back on the same way it came off and then covered it with my fabric and stapled it down.
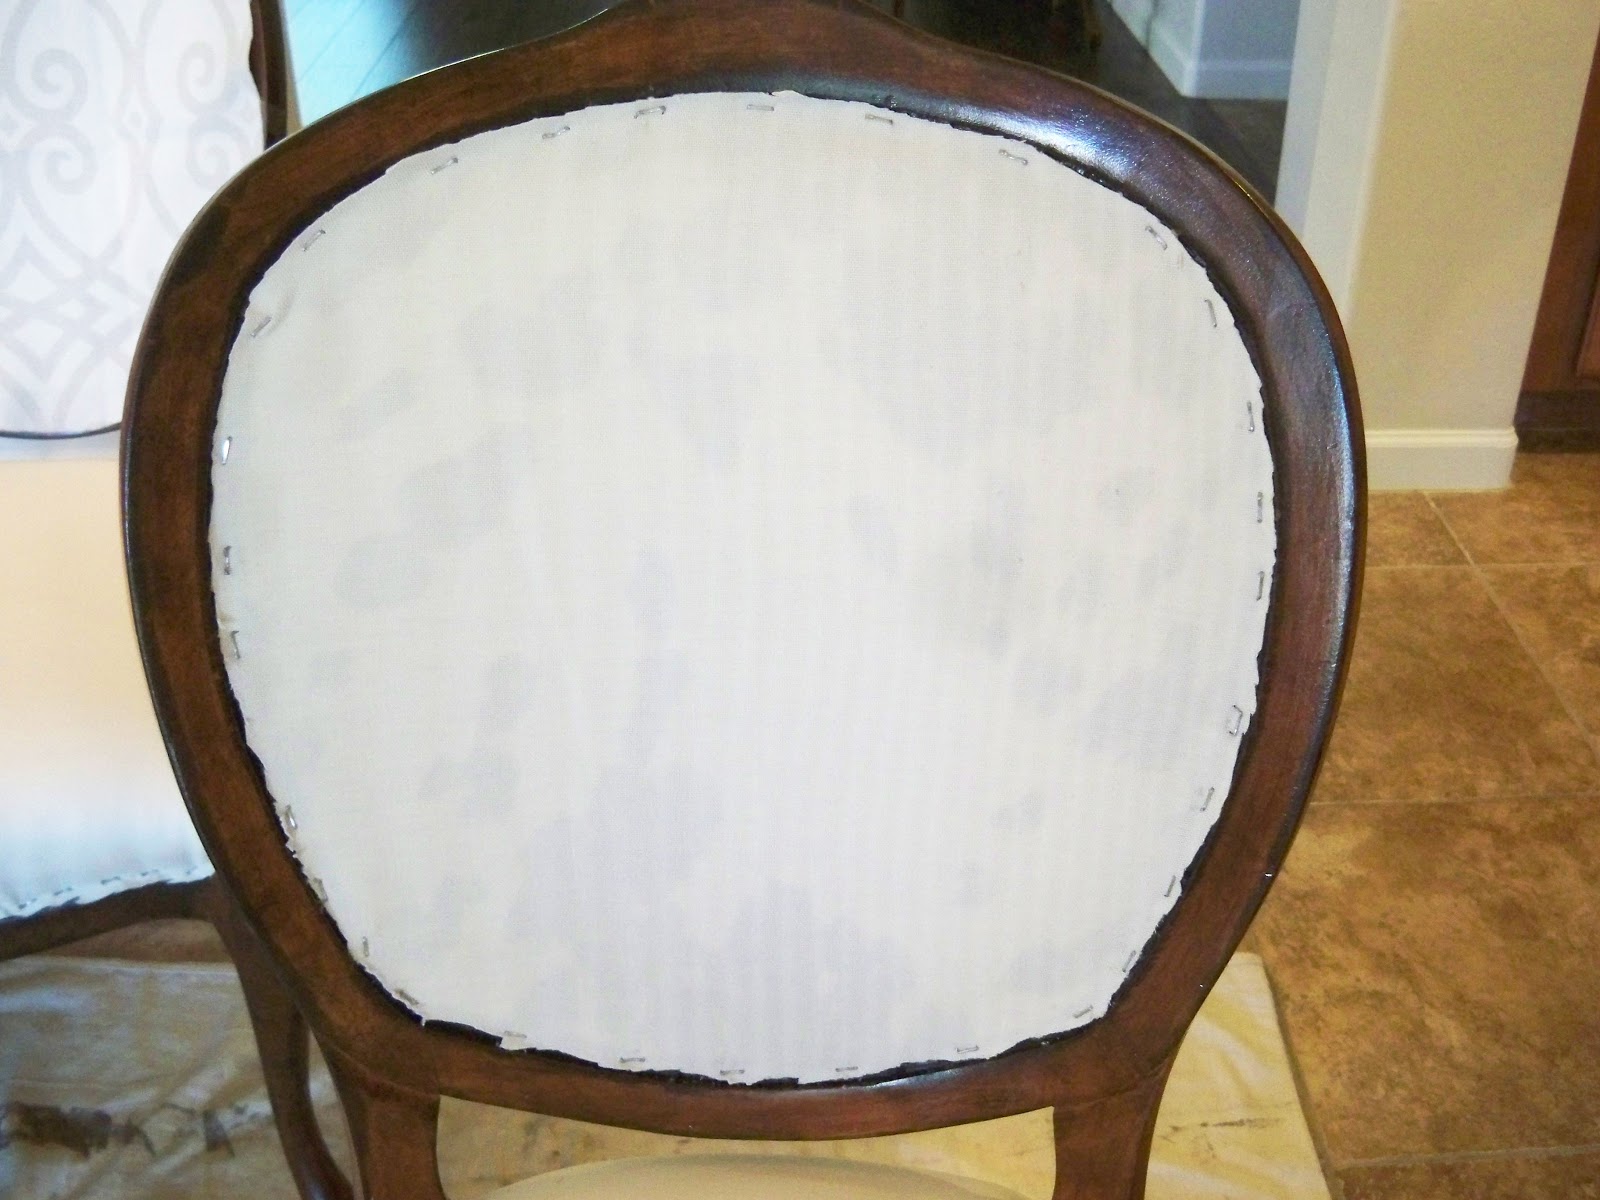
Here is the back.
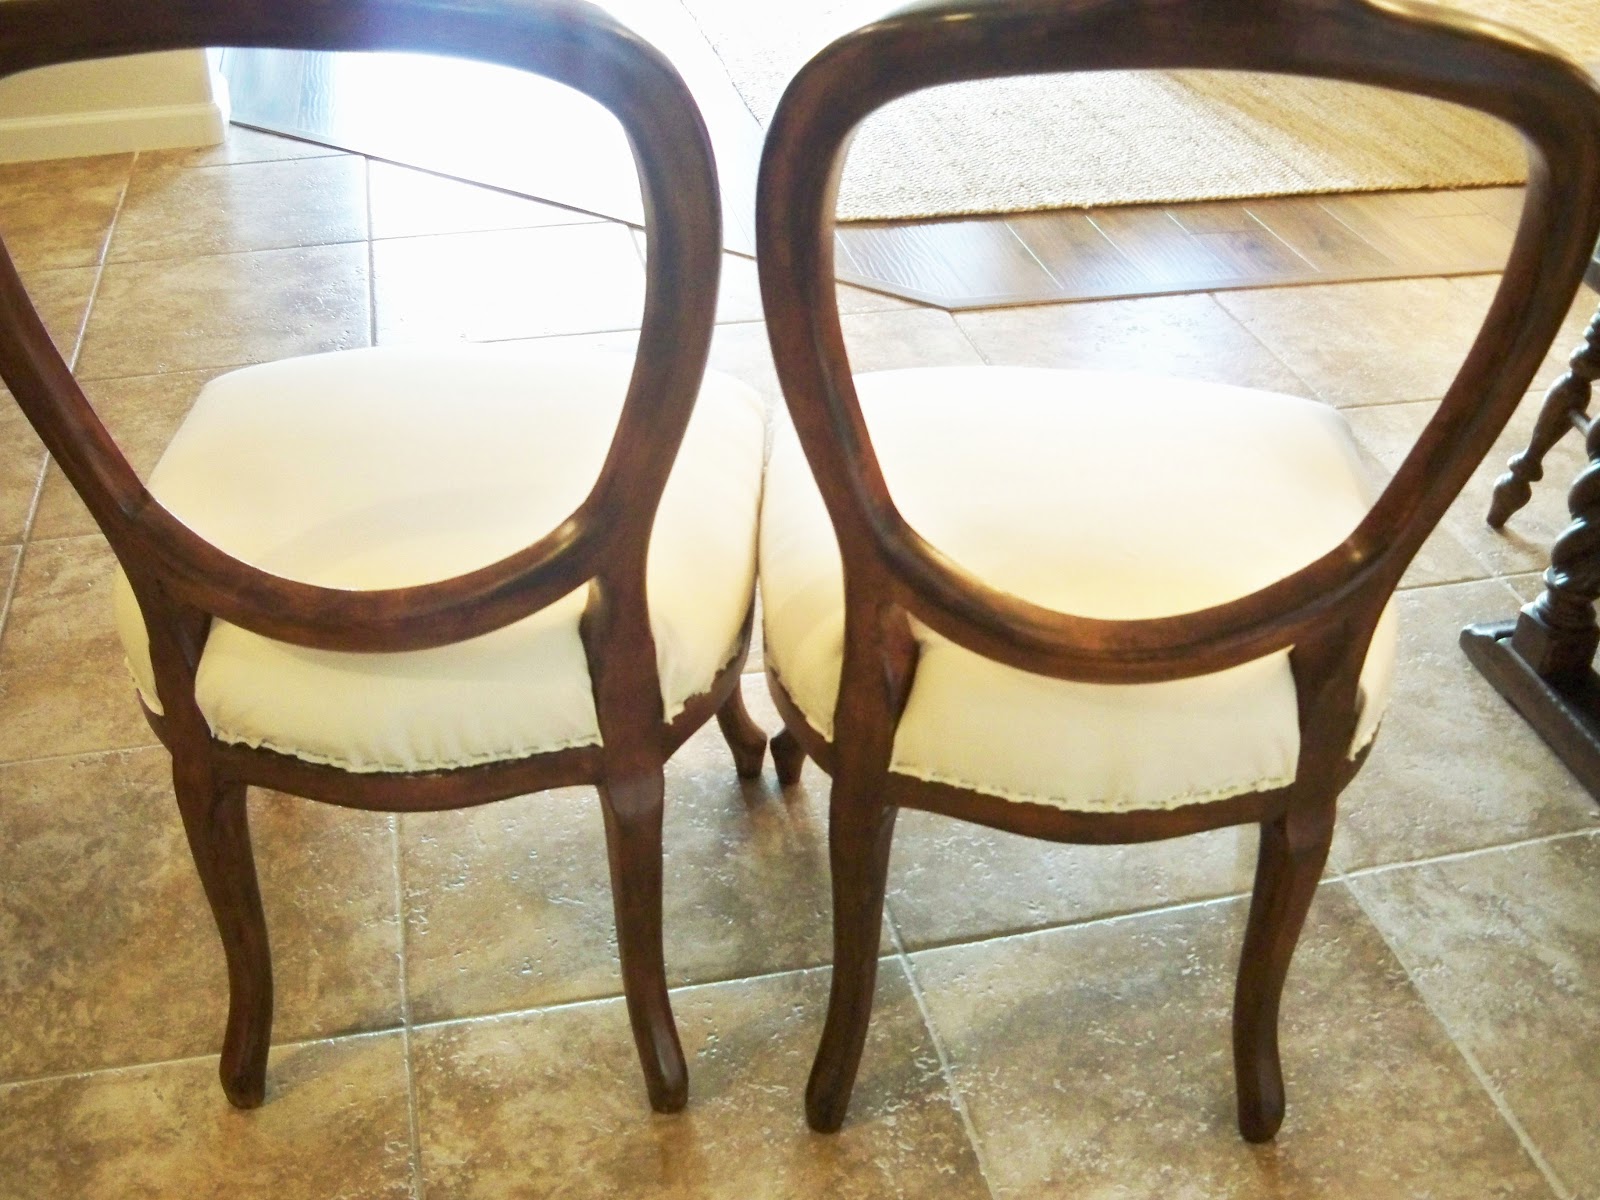
Not perfect but I tried to keep my staples in a neat straight line.
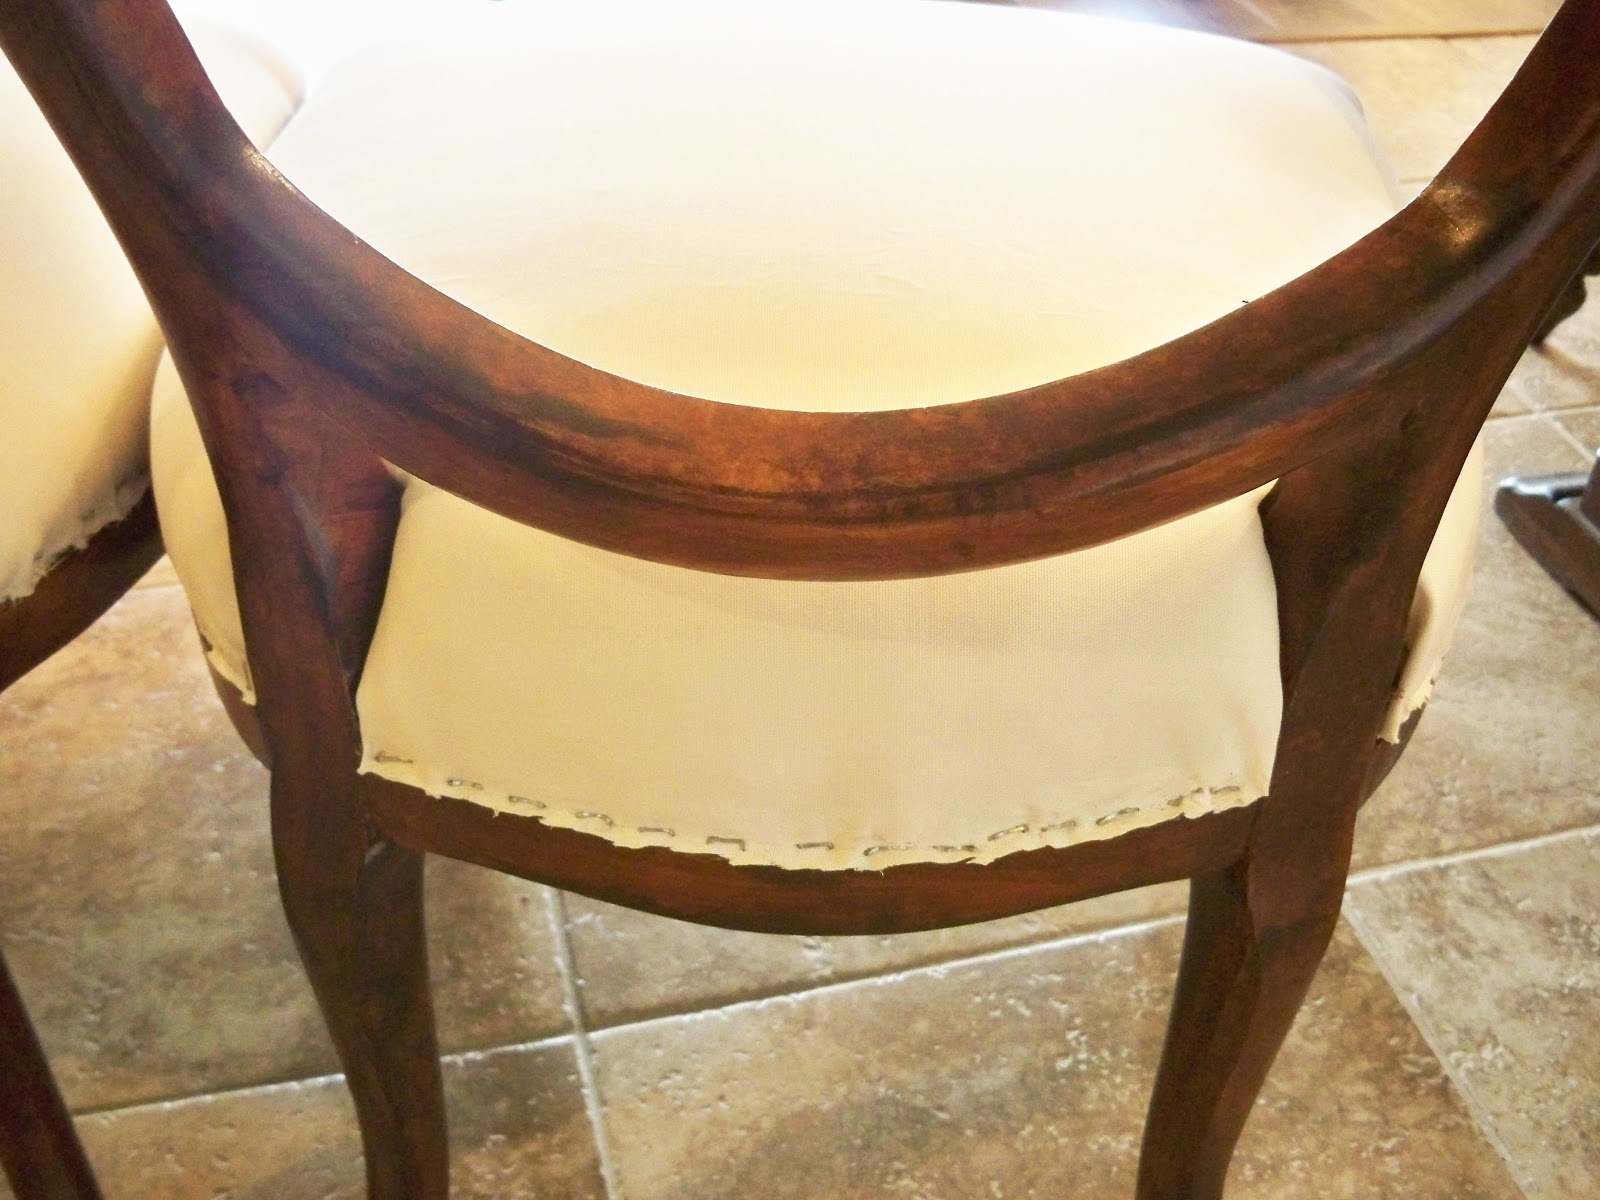
The sides. I trimmed all the fabric close to the frame. This will all be covered with the double welting cording.
Miss Mustardseed has some of the most detailed YouTube videos of how to do this kind of chair. I watched several she had on how to remove all the fabric and then how to put the new back on. I used my old fabric that I took off the seat as a pattern. I did learn to cut about an inch larger around the fabric so you had something to hold onto to pull tightly as you stapled the new fabric back on.
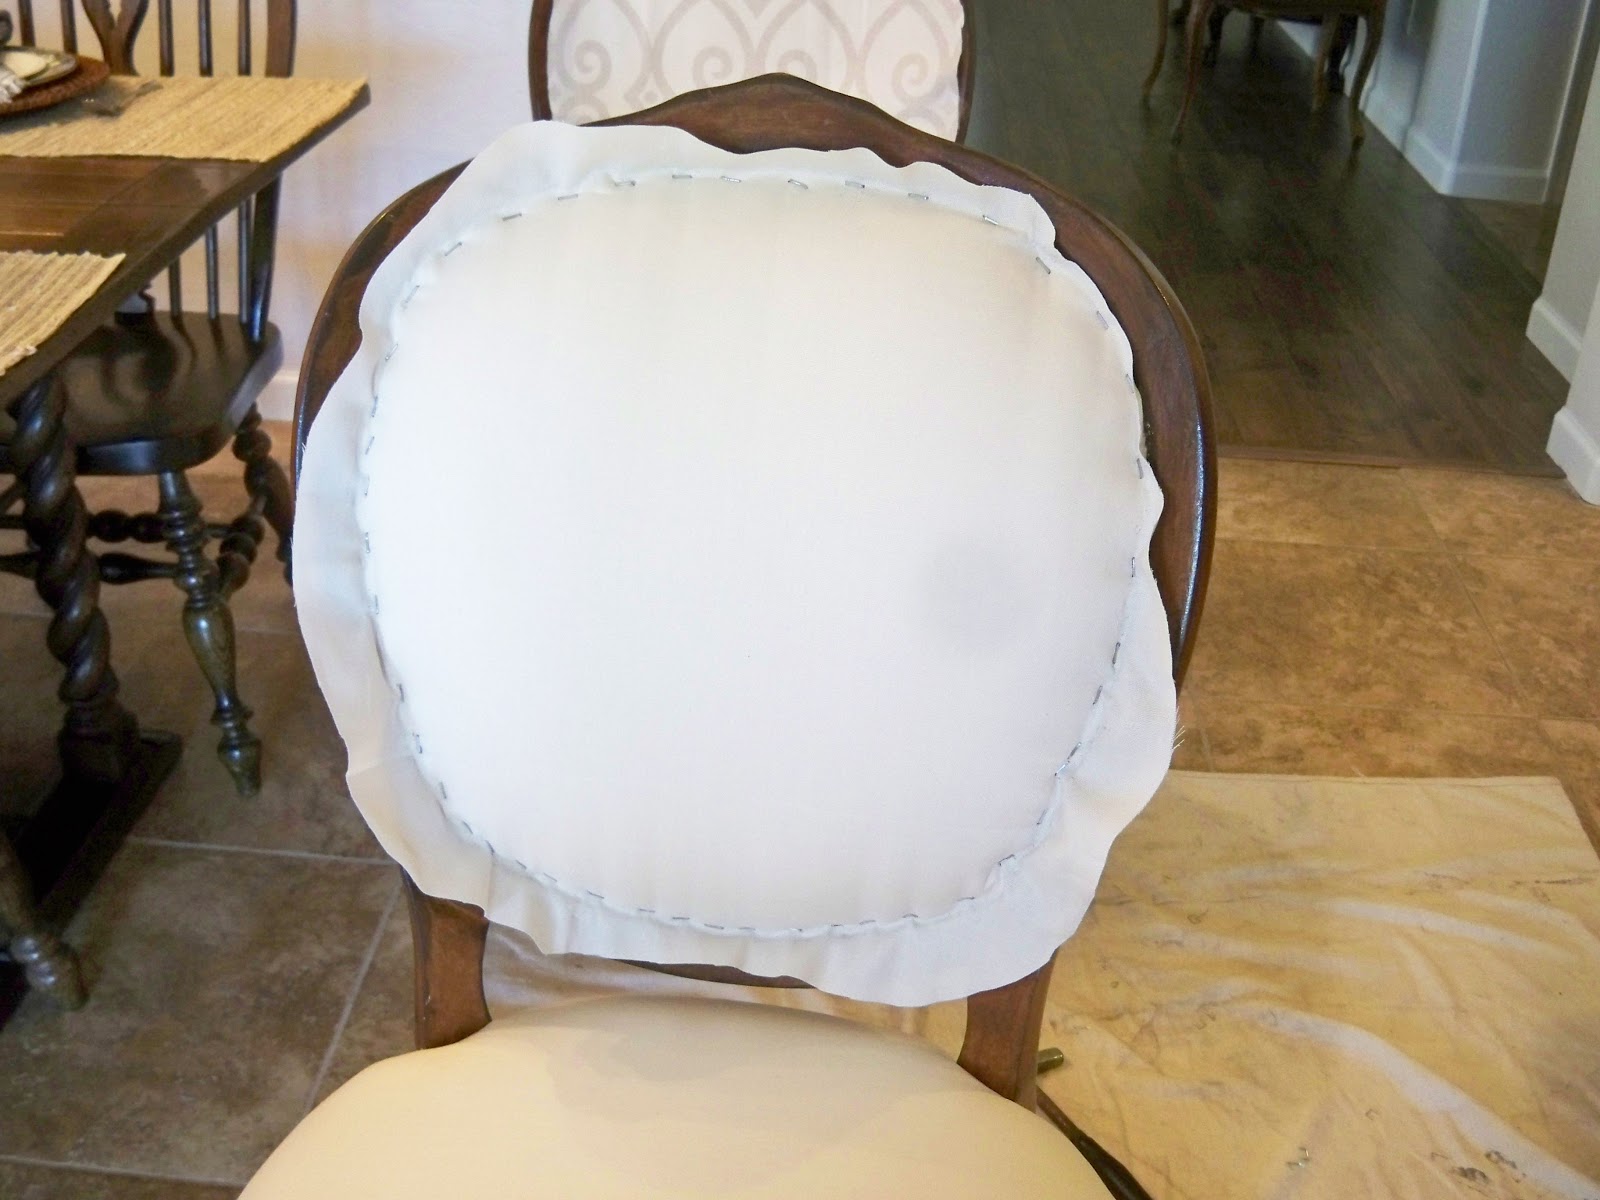
Now to do the backs of the chairs. You can see that there is an indented edge on the frames. The fabrics all go inside that rim.
I used the old fabric as a pattern to cut my new fabric.
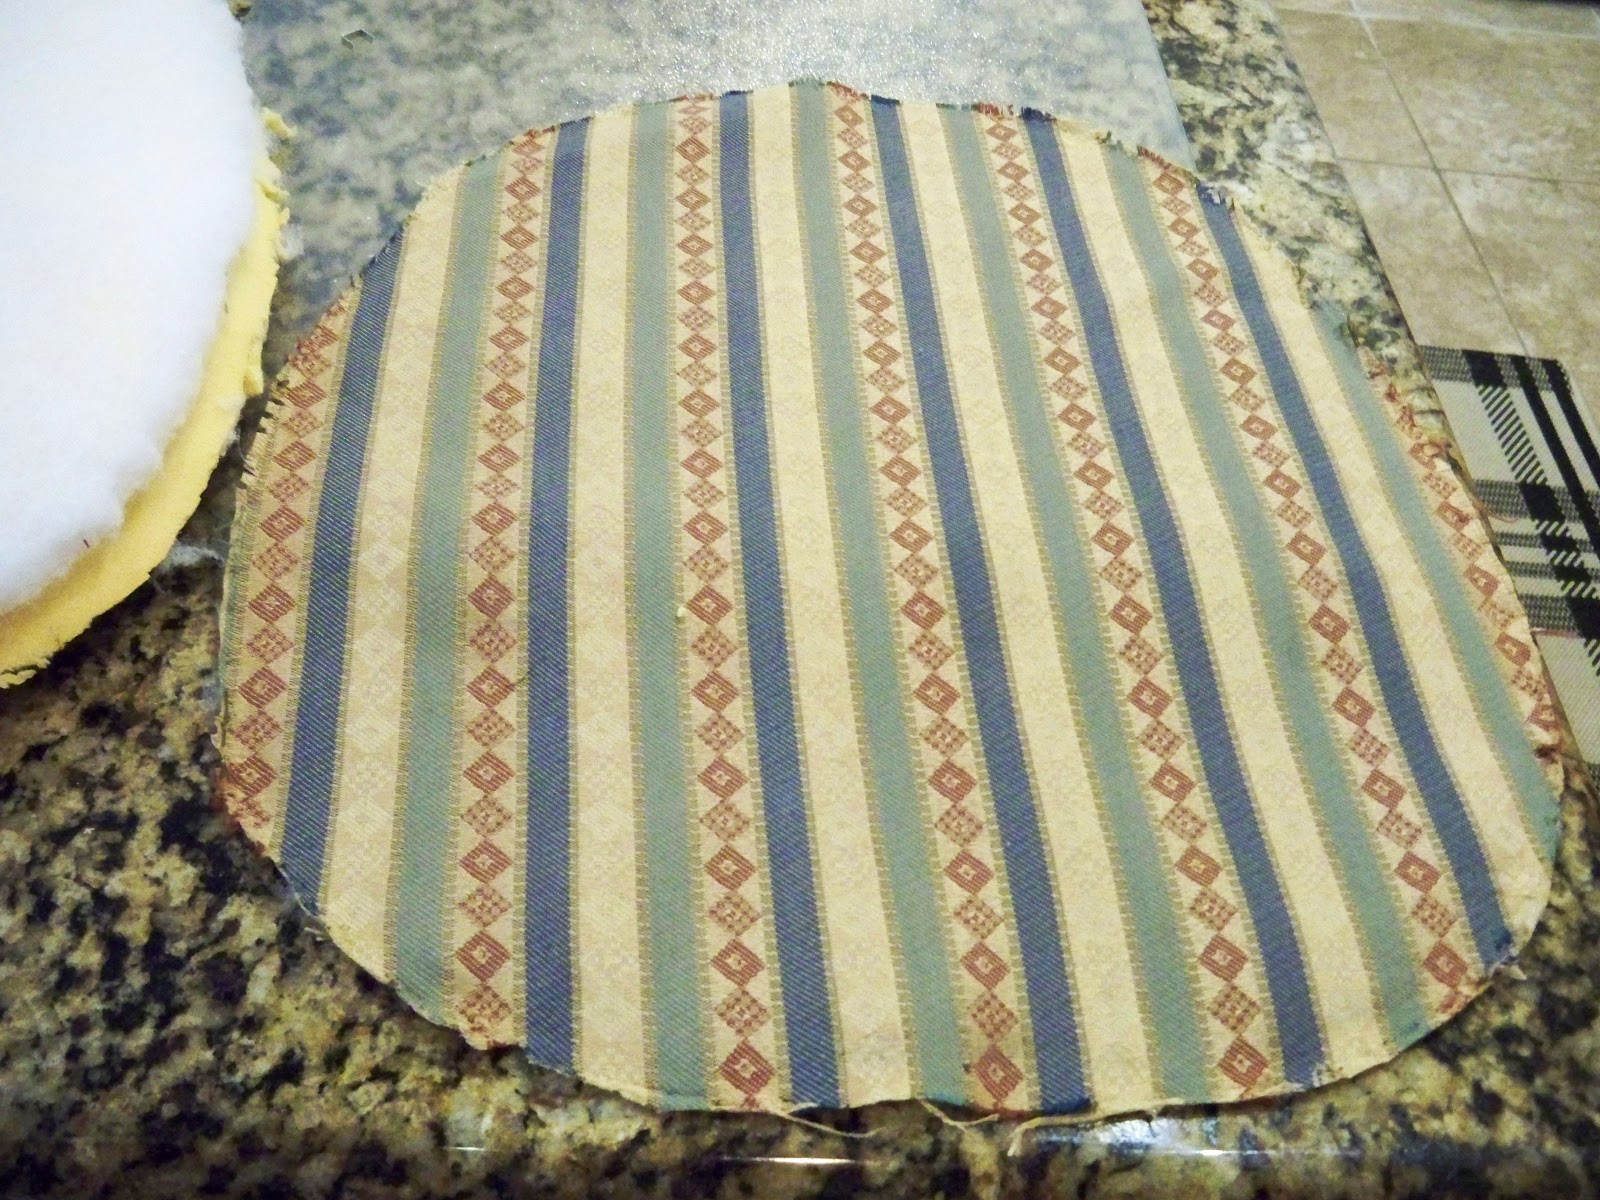
I made sure to cut mine about an inch bigger all the way around so I had something to hold on to as I stretched the fabric tight.
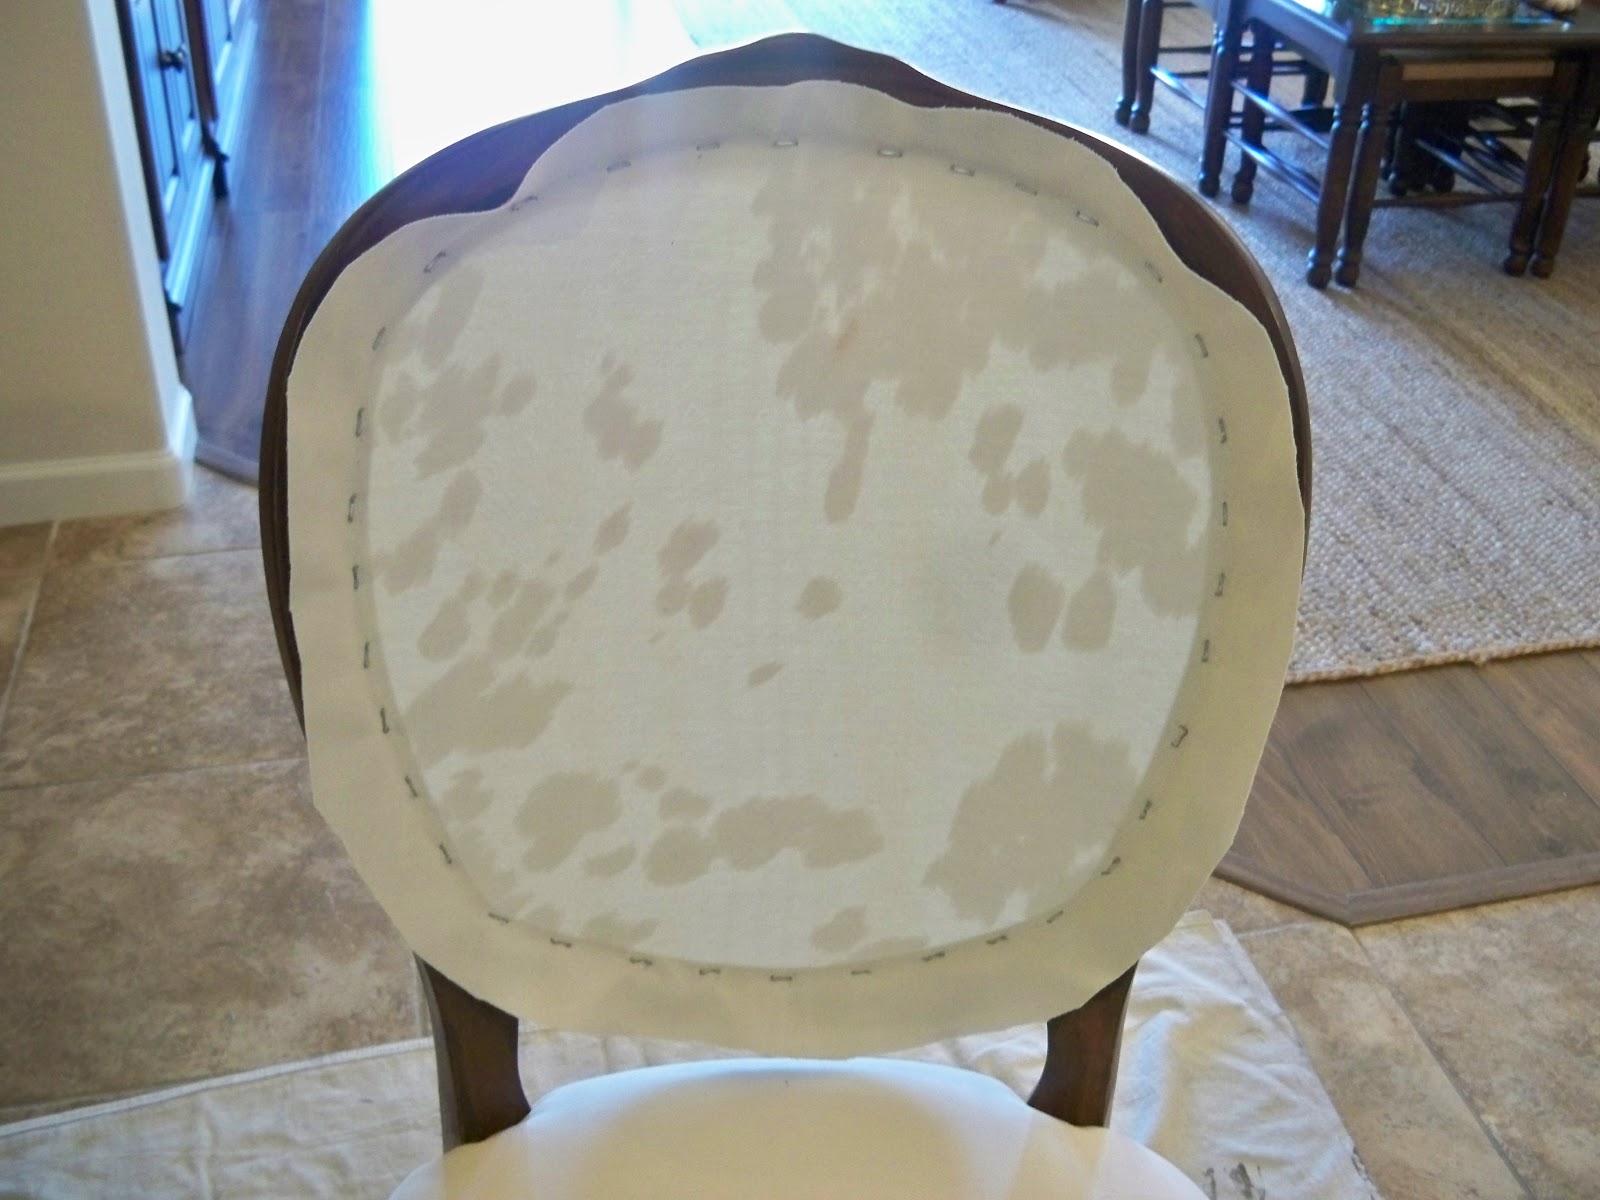
I double checked to make sure the fabric was nice and tight and straight on the back.
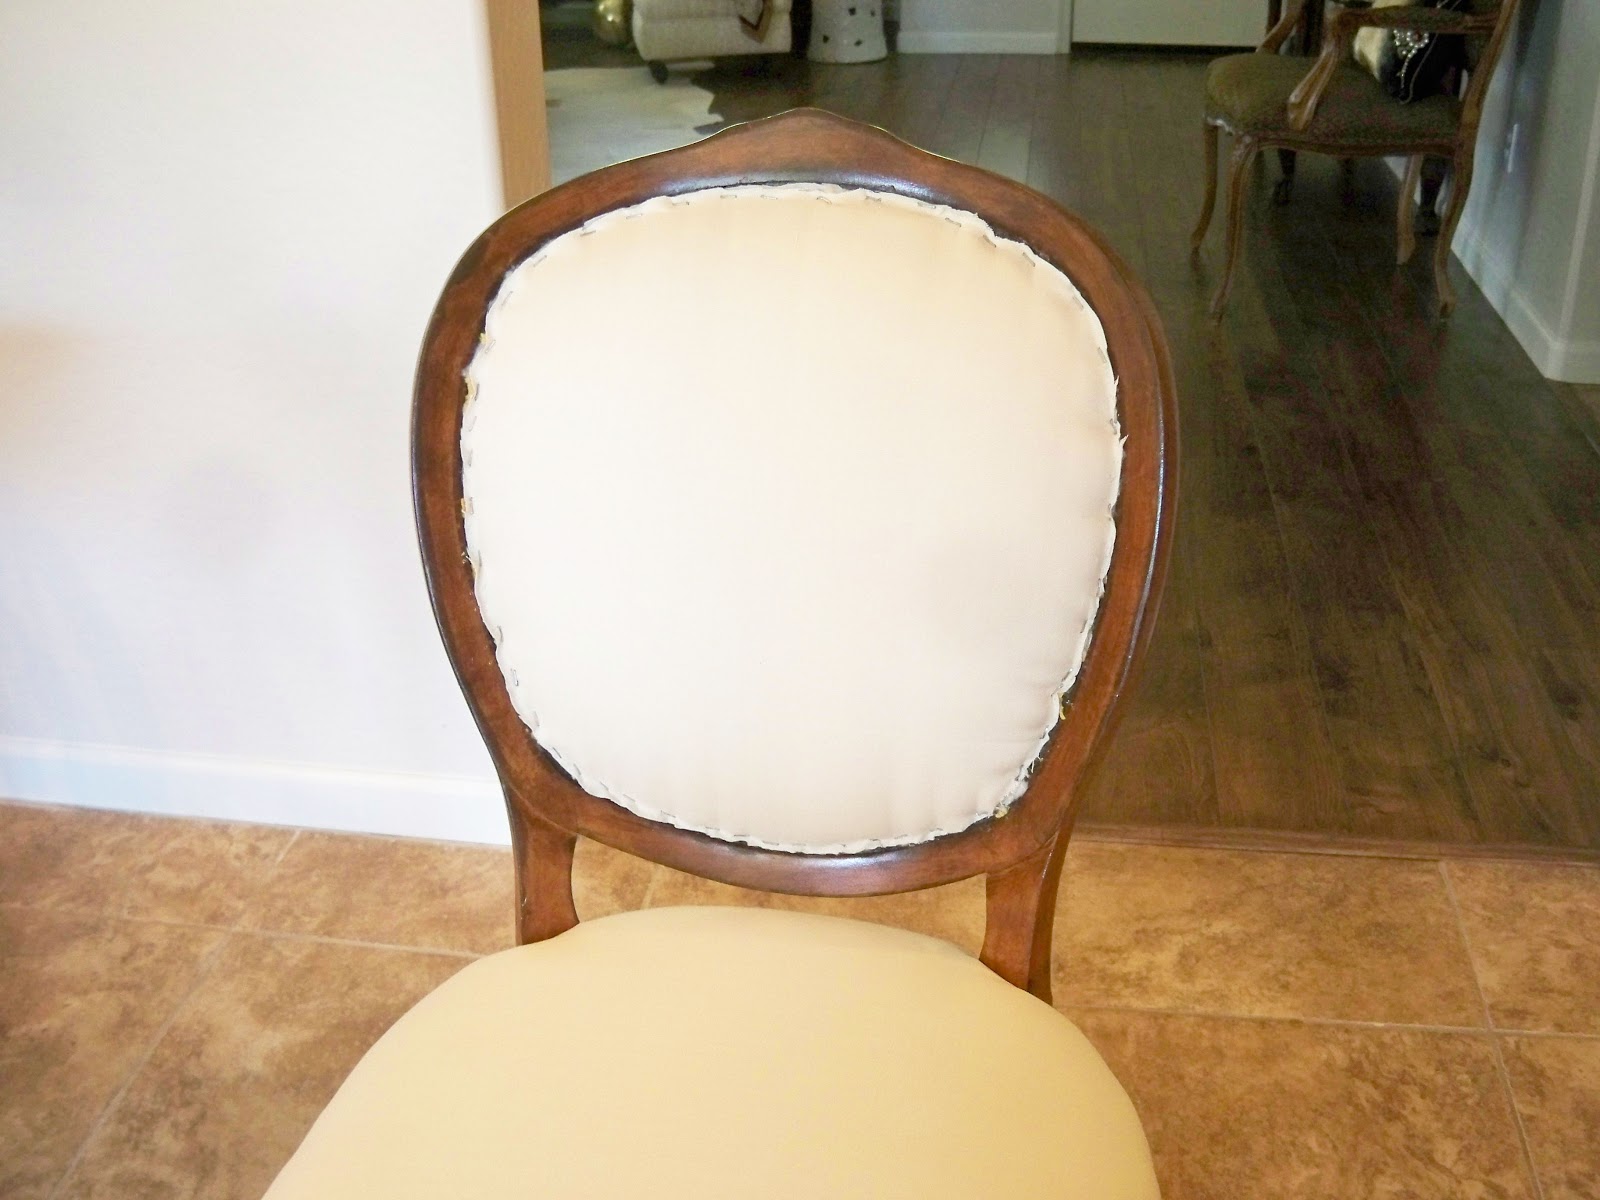
Then I trimmed all the excess off keeping the fabric inside the frame rim.
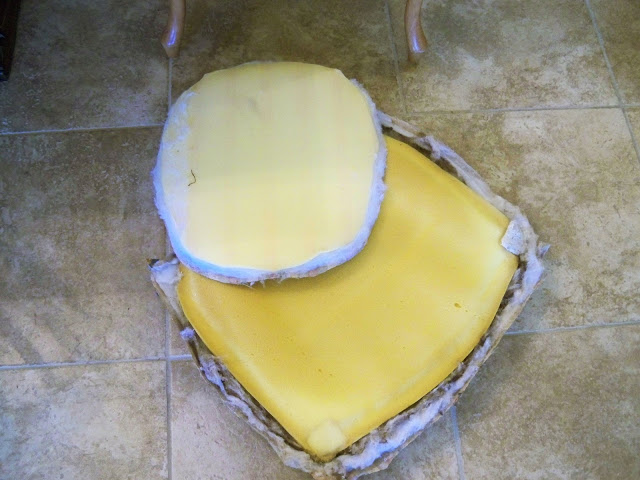
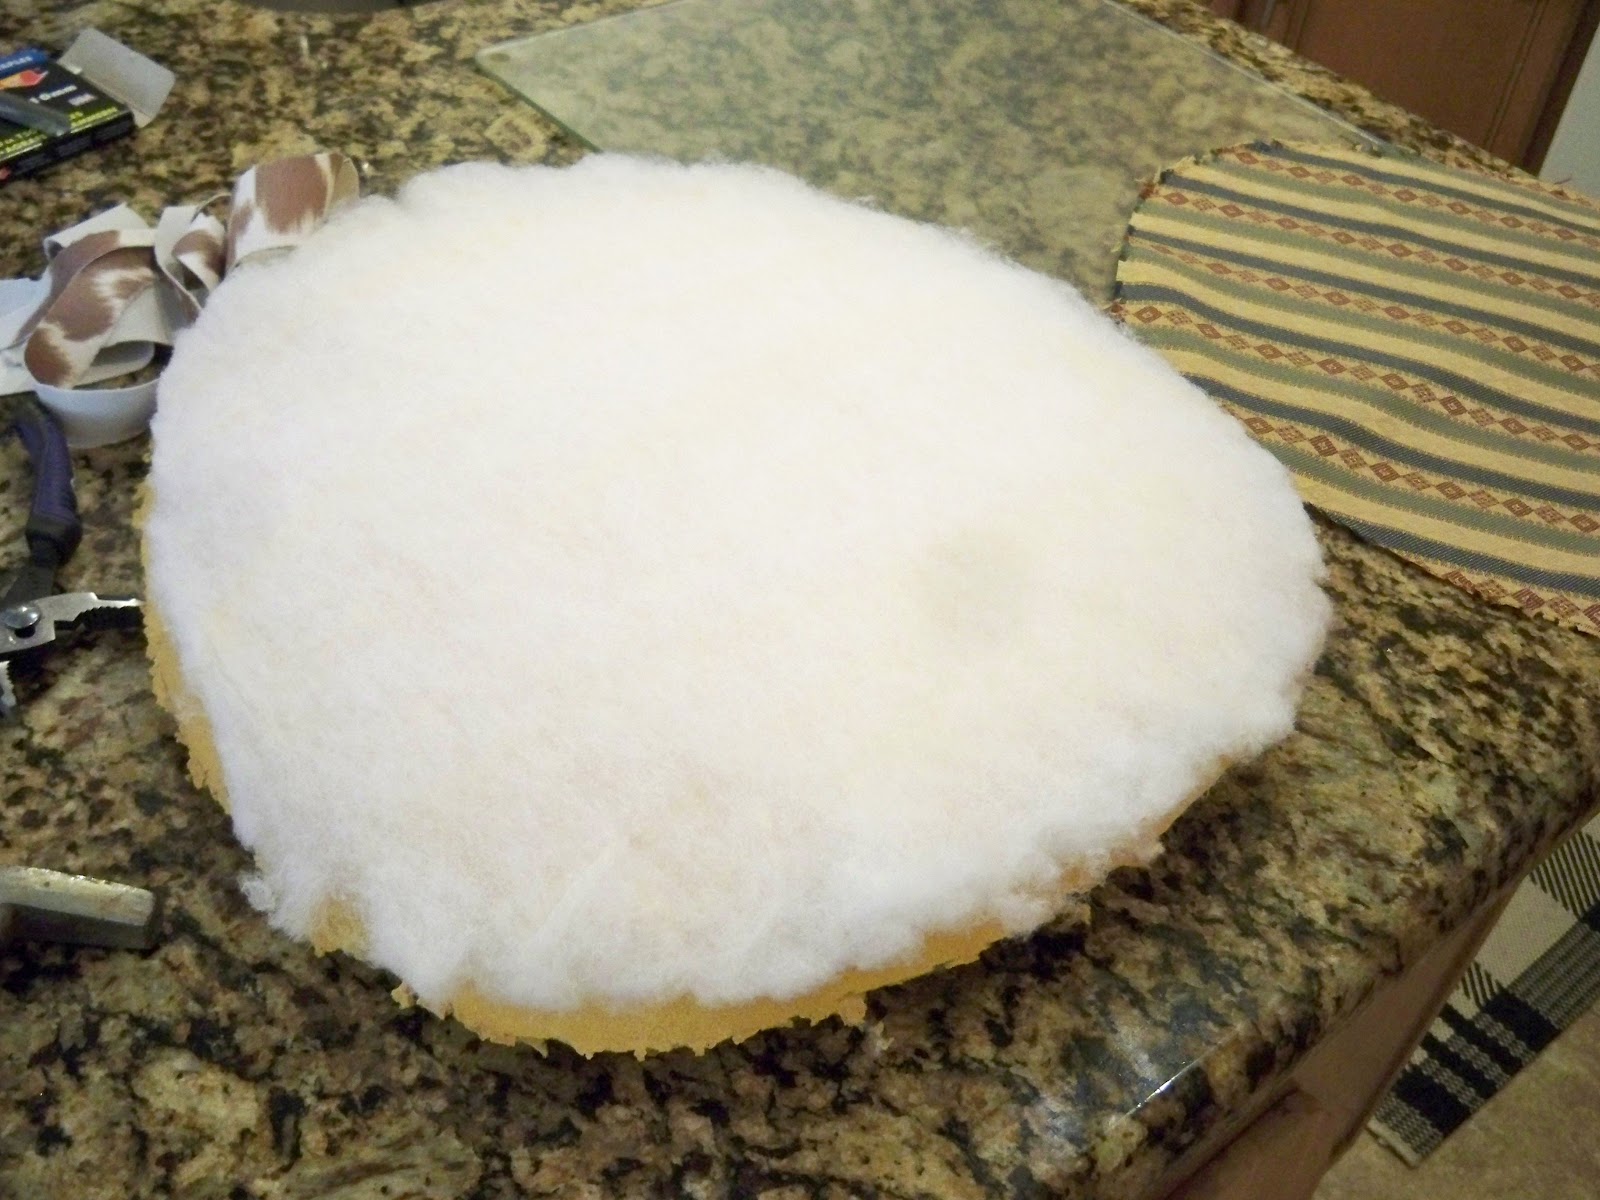
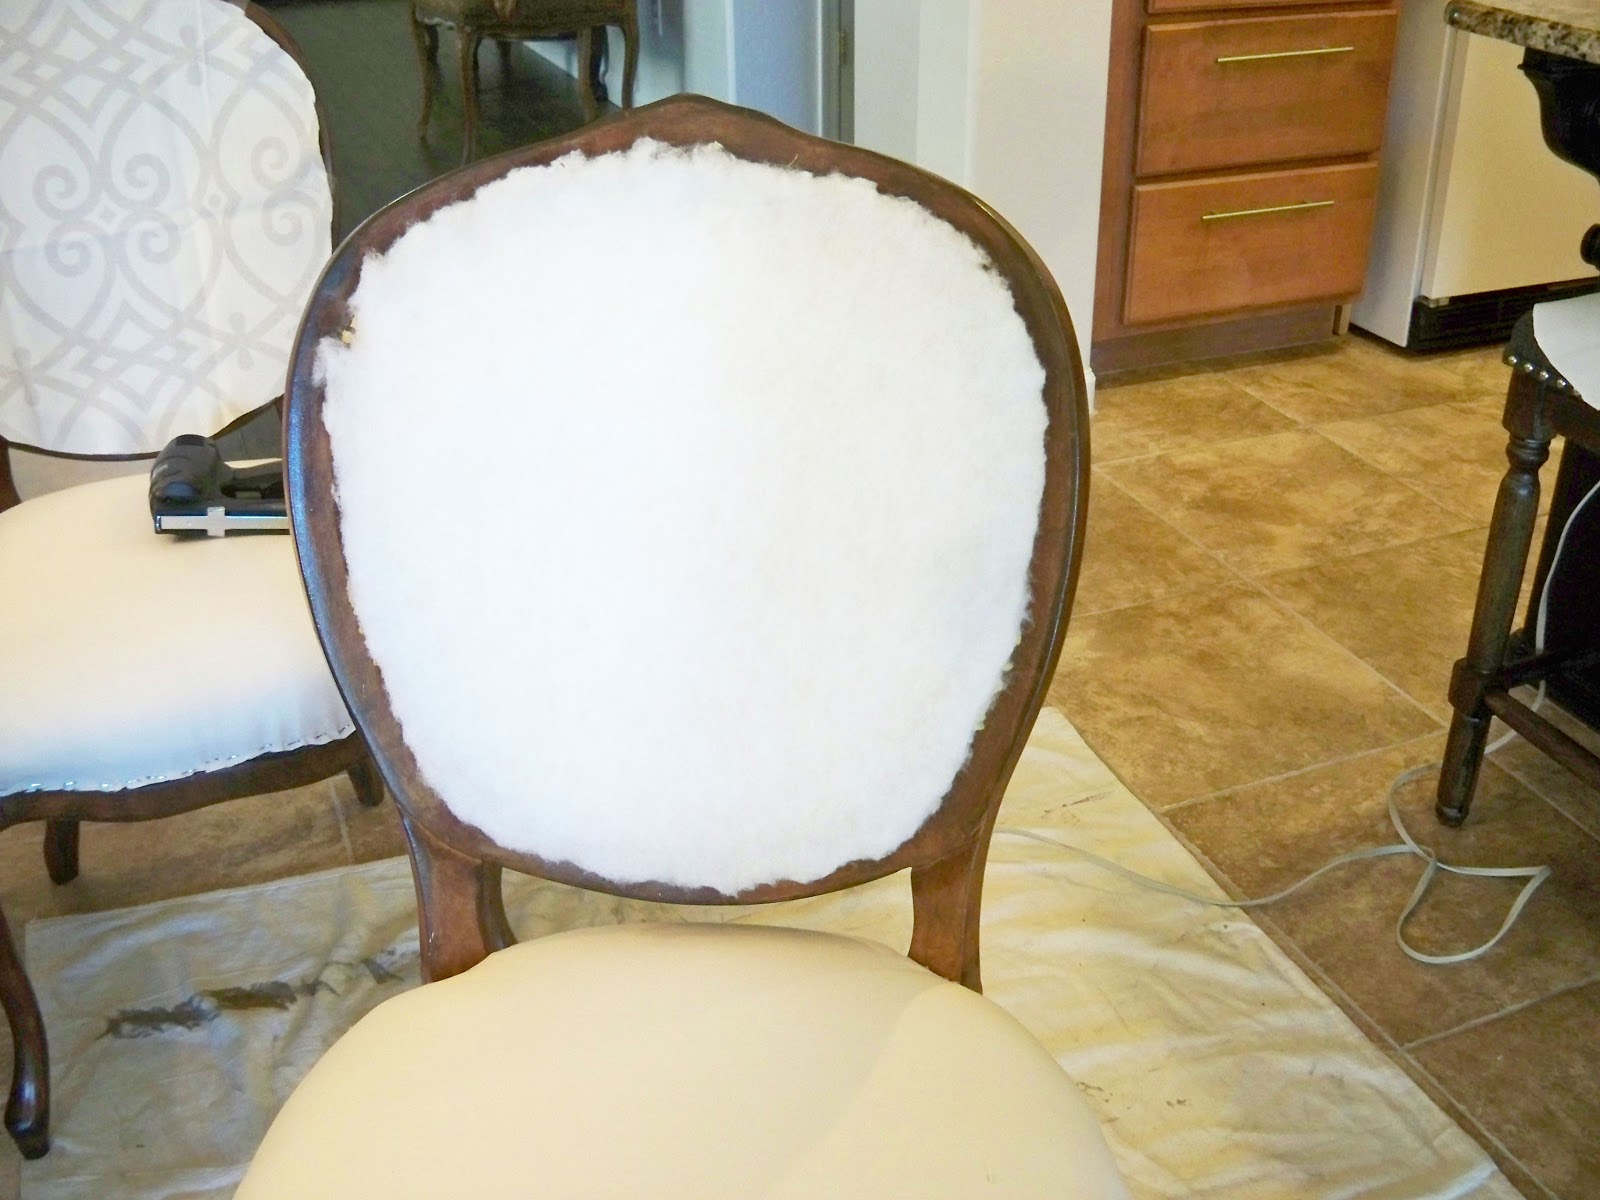
This is the foam and batting that I took off the chair when I took it apart.
Next I placed the foam that I took off back into the back frame and tacked it in a couple of places to hold it.
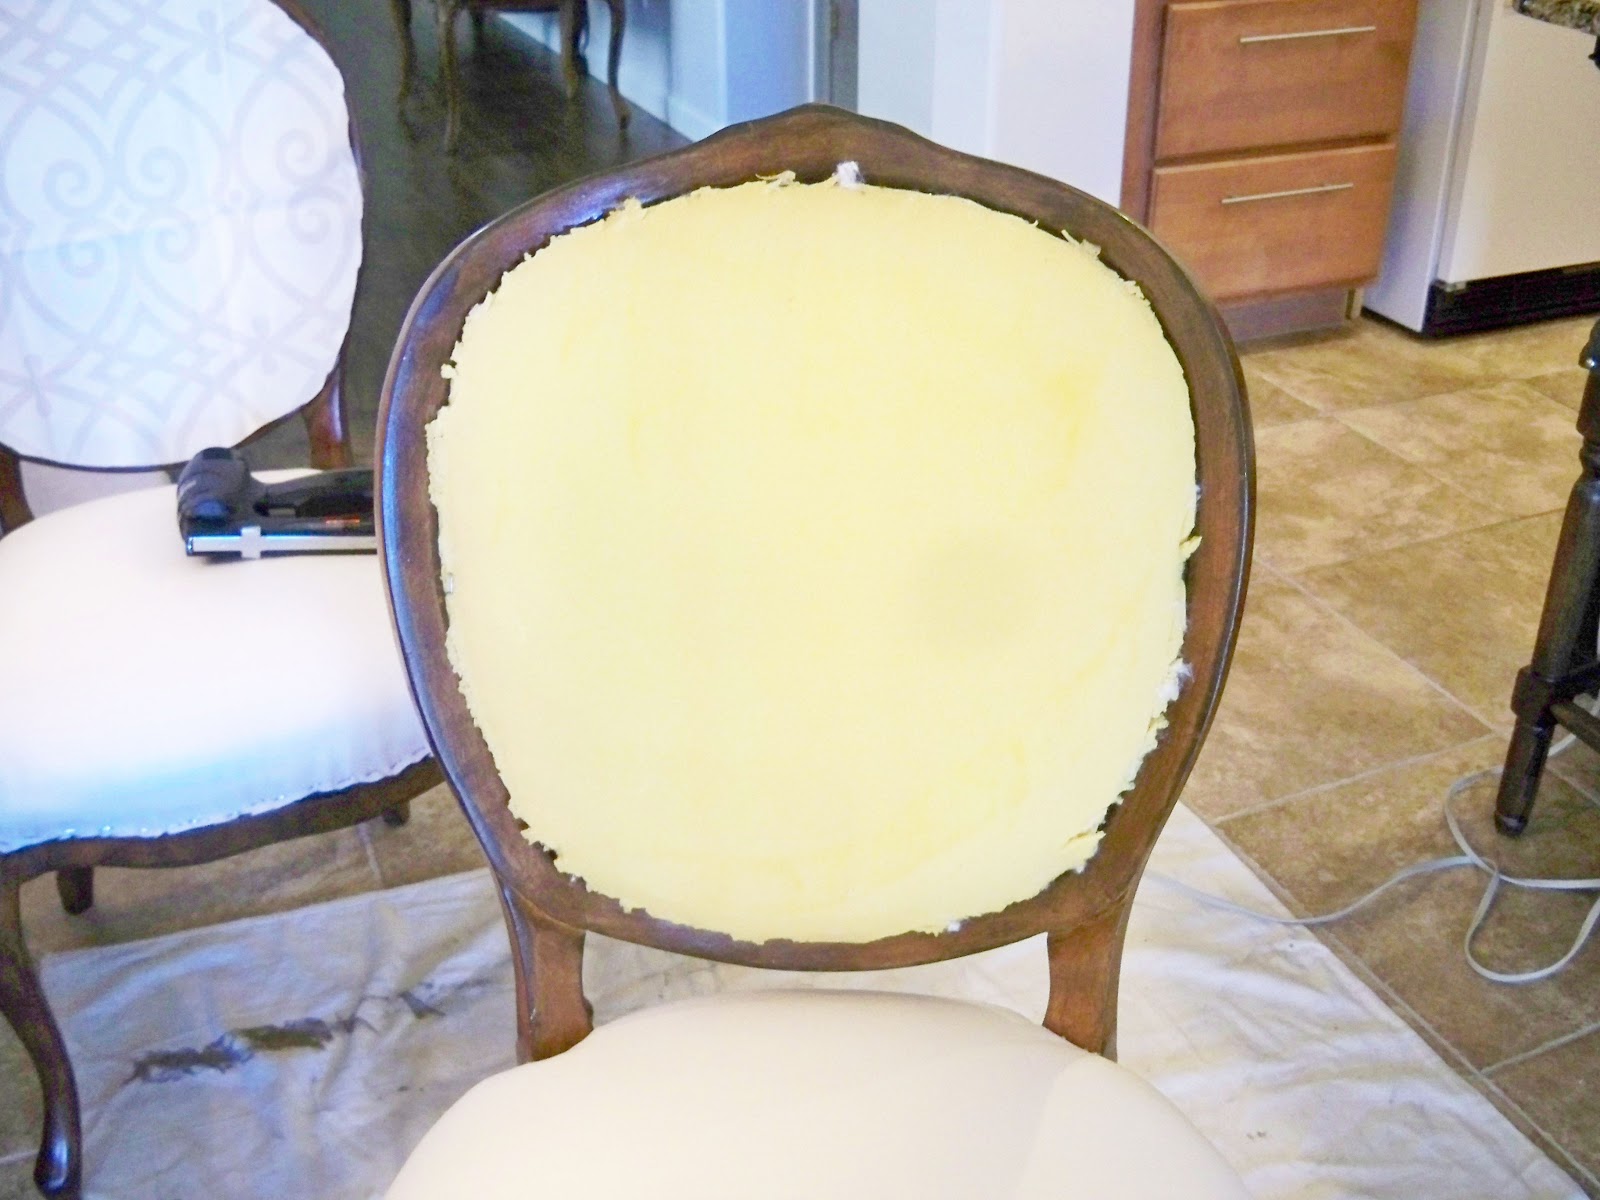
Then the batting went back on. I used some spray adhesive to hold it to the foam.
Now my top upholstery fabric goes on and it also needs to be trimmed so everything is inside the rim.
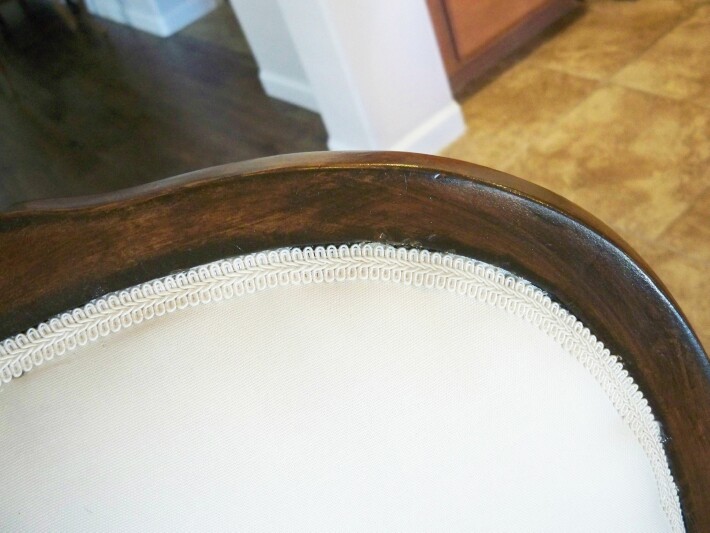
Here is the front all done. Now I just need to make the double welting and glue it around all the edges to hide all the staples.
UPDATE – – – We have way too much going on right now for me to try and figure out double welting, so I looked at another one of Miss Mustardseed’s videos and she showed how to add Gimp. So that is exactly what I did.
#2 – Replacing Rush Seats
I love my dining set, a gorgeous table with 6 chair and 4 leaves so it can extend to seat 12. This was my first really nice furniture, and it is still a favorite. In 1982 I had the opportunity to buy a few things from the LA Furniture Mart through a designer friend that I met. She took me to a showroom that specialized in Europen imports. I saw this table and chairs and just fell in love.

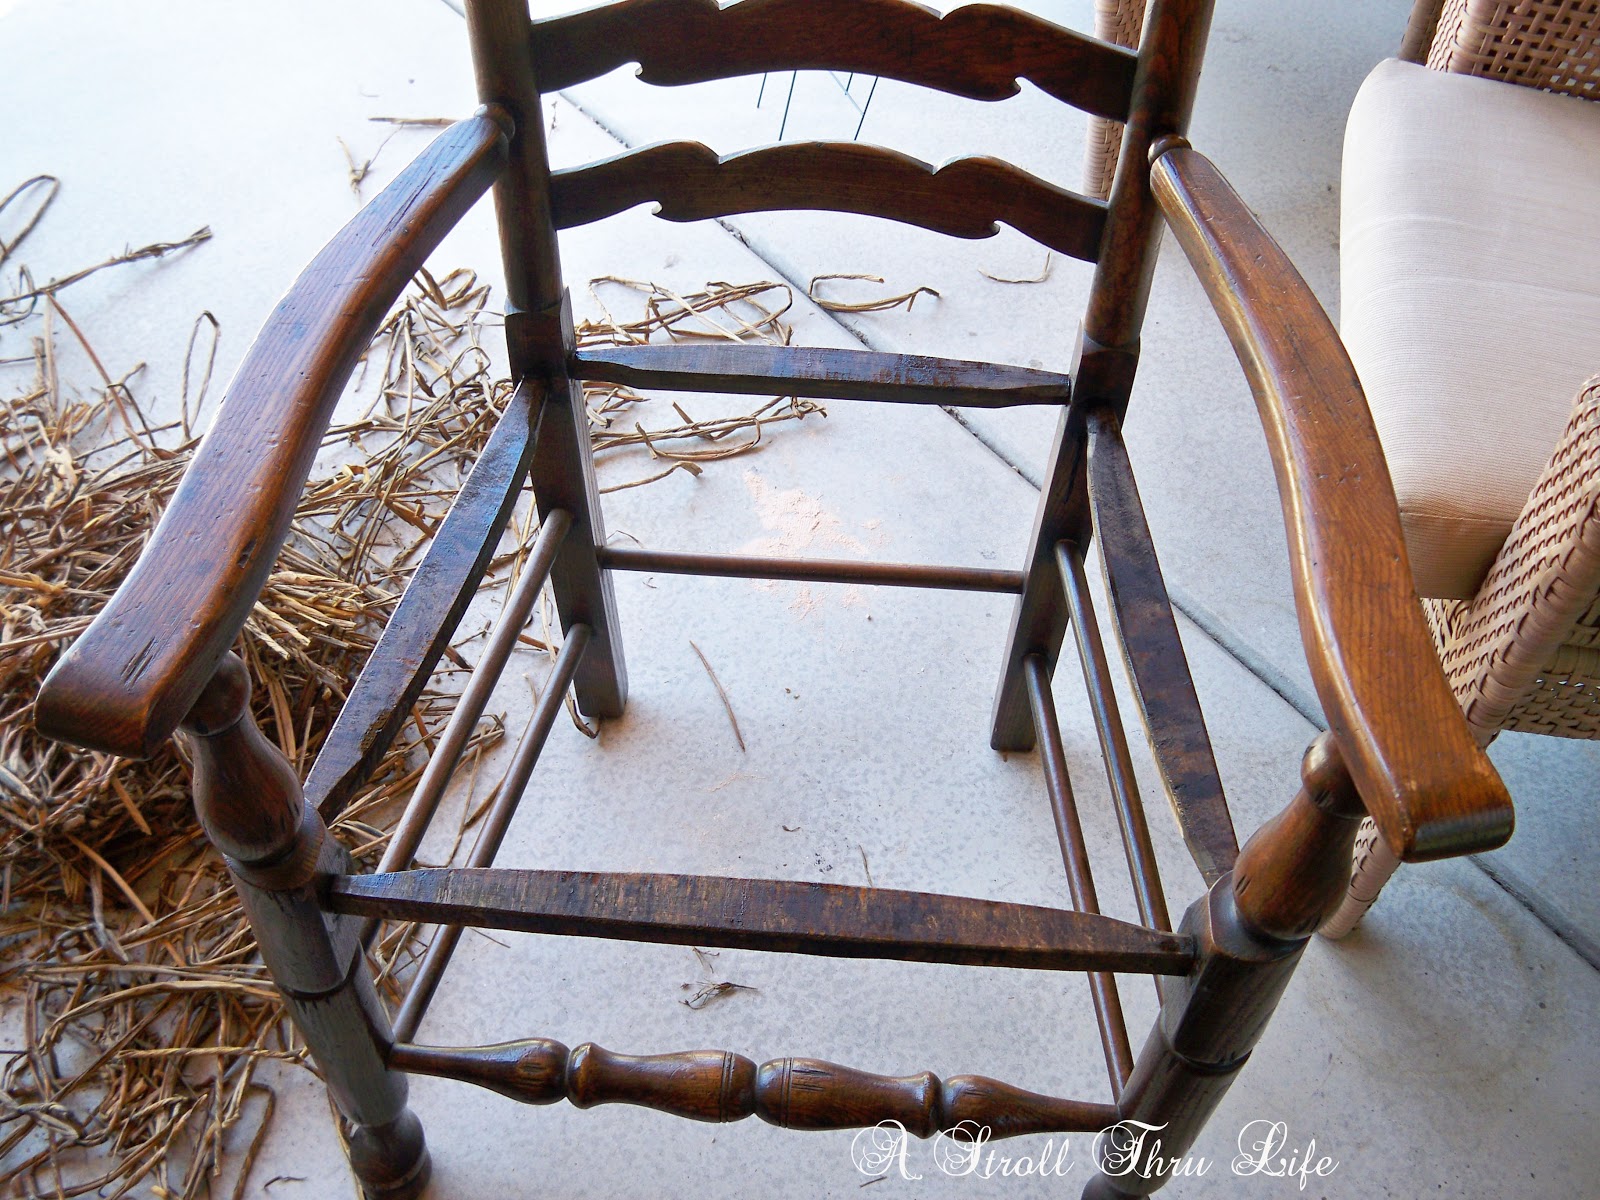
The ladder back design is so pretty and so are the spindles and the spoon feet on the legs. This is my problem, Thirty Three years later, the rush seats have deteriorated. I have looked for someone in the area to replace them, but only found 1 person that said she might do it and that it would be approx. $125 to $150 a chair and it would take her a while to get to me. The side chairs are all still in perfect condition, so I have been on a mission to figure out how to save the captains chairs and not have to pay that huge price and to be able to use them now, not someday.

First up, I need to take all the rush off. After studying how they are made, I see that these small strips of wood around the rush are just tacked on,

With those carefully taken off, I moved the chair outside to remove all the rush.

Wow, this is a mess. I have to cut part of the strips to get them to unravel.

Finally all done, I do have a big pile of rush .

The frame boards amazed me that they weren’t stained. Now I want to be able to put a new seat on these chairs but still leave them so I can have the rush replaced if I choose to in the future.

I don’t want to staple the new seat cover to this frame, so I stained it to match the rest of the chair.
Hubby and I took a piece of fiberboard and traced off a template for the entire seat.

Once that was done we then traced it onto 1/2 inch plywood and cut it out.

Checking to see if our seat is going to work.

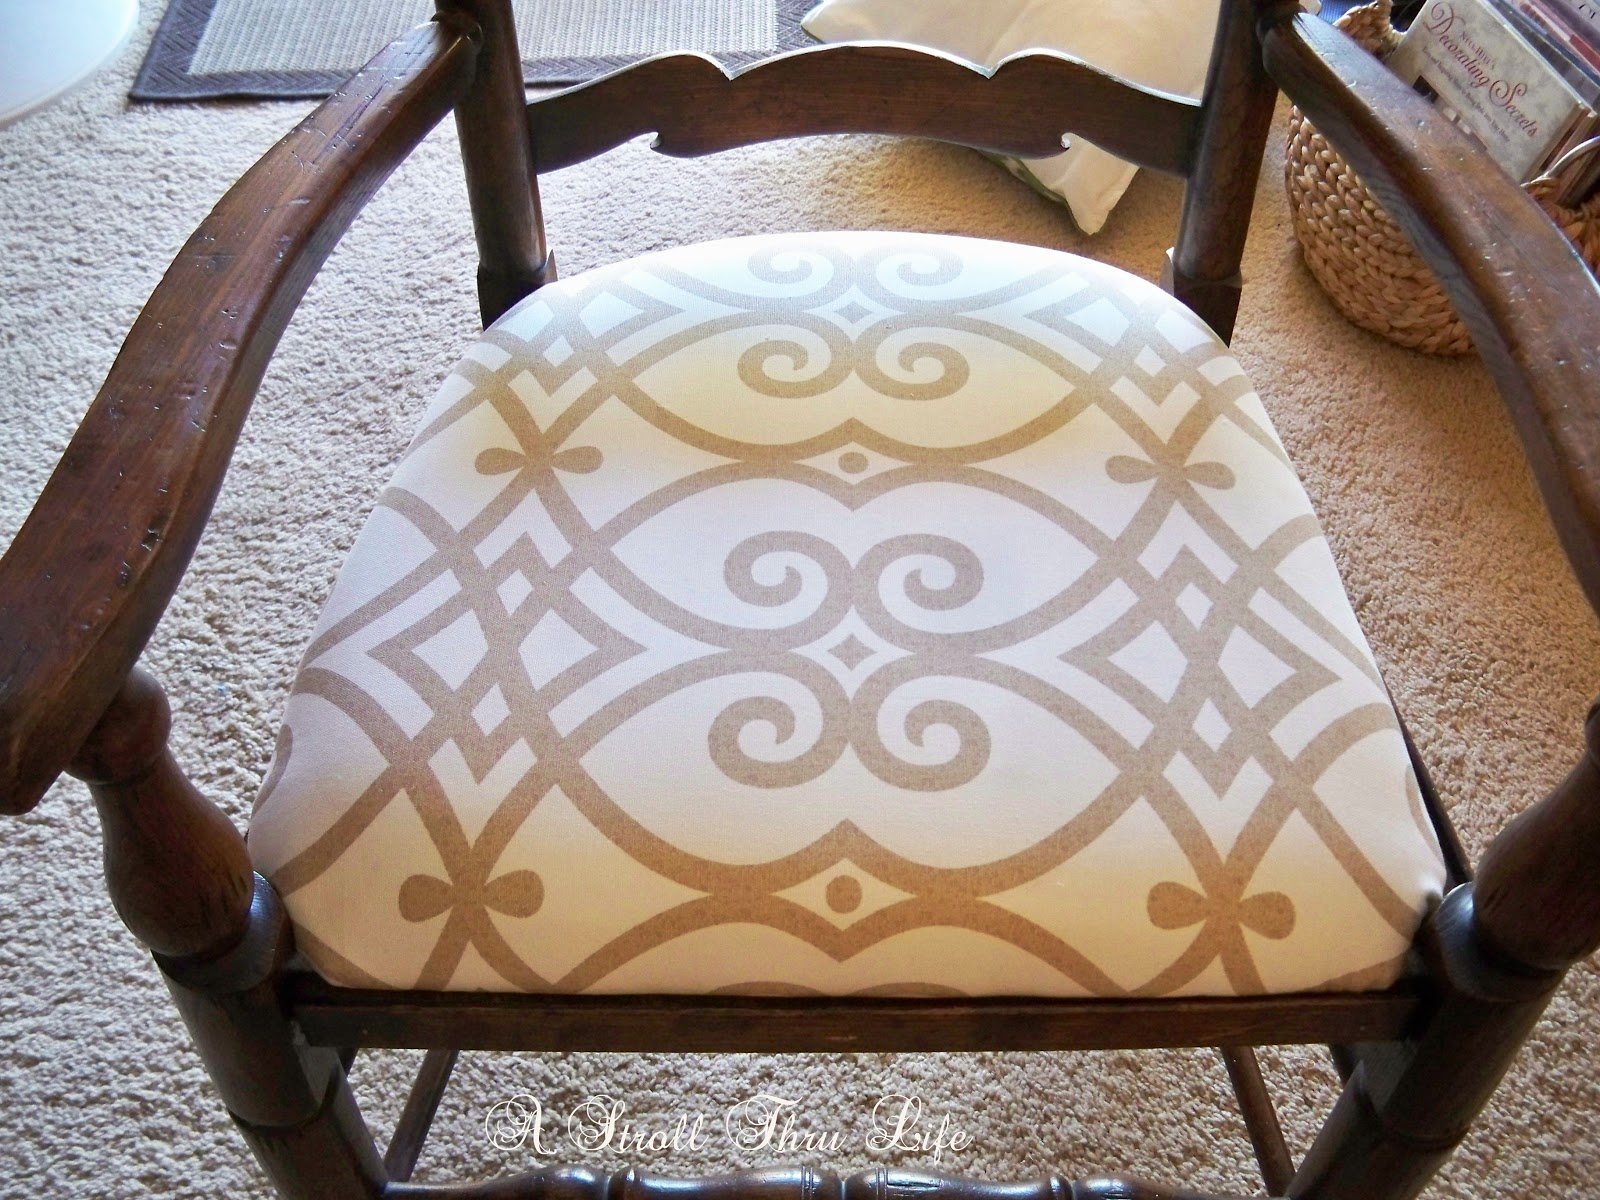
Next I covered the plywood with 2 inches of foam cut to the outline of the plywood, then covered the foam with batting and a piece of an old white sheet. I flipped it over and started stapling the batting and sheet to the underside of the plywood seat. To start, put the staple in the center of each side, pulling the fabric and batting tight over the foam. Then continue around each side in the same manner, making sure you do each side a little at a time, this will keep the fabric tight and smooth. This is especially important as you are stapling on the finished fabric. If you are using a pattern, this will make sure that the pattern stays centered on the seat cushion and you won’t have any one area pulled to tight. I put one staple in on each side of my center staple and then turn and do the opposite side the same way. Then the next two sides and etc. When everything is done and nice and tight, check your fabric, make sure the pattern is perfect, then do small pleates for the corners, making sure the fabric is smooth and tight and staple well. Trim all the excess fabric and batting off, turn the cushion over and enjoy your hard work.

Looks fabulous. Now I can cover it with my designer fabric and if I want to change it in the future, all I have to do is take the designer fabric off and add a new pattern or color, I won’t have to redo the foam or batting.

TA-DA ALL DONE. This is the finished chair with the new fabric and the wood strips replaced all around the seat. Nothing is screwed to the frame, so it can be put back to original with rush in the future if I choose to.
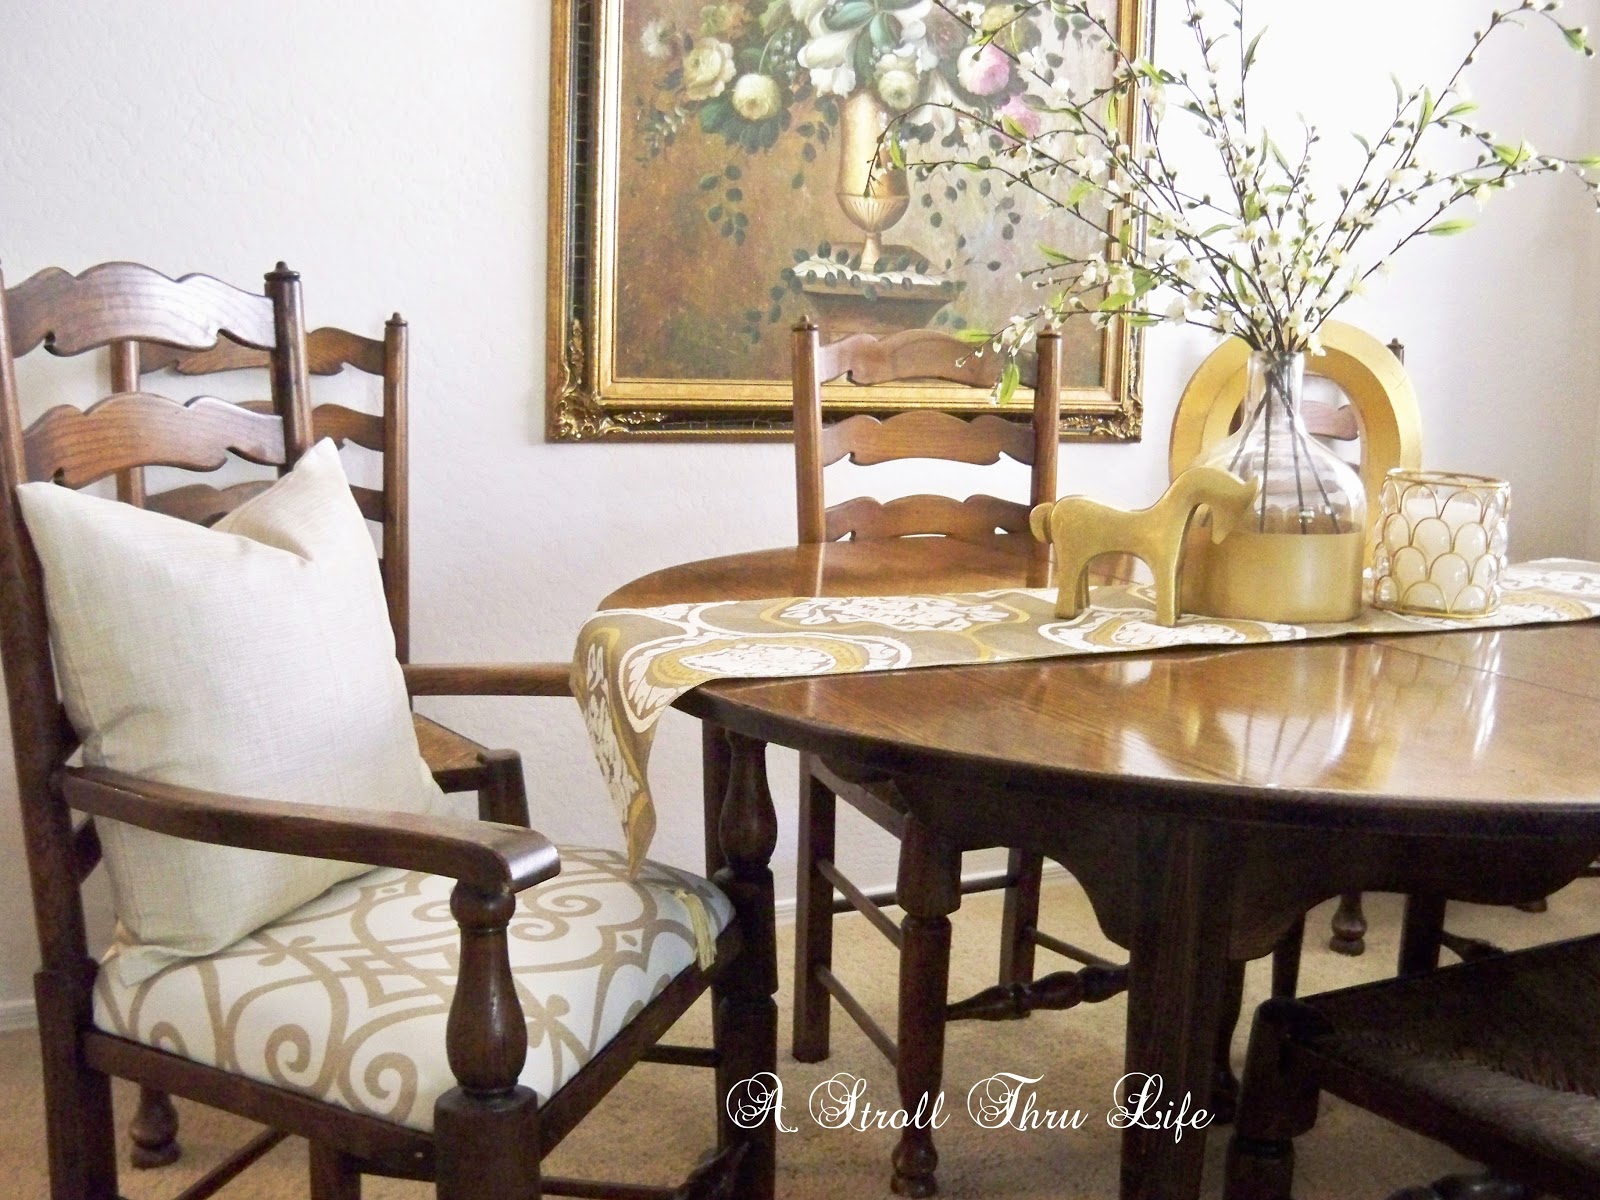
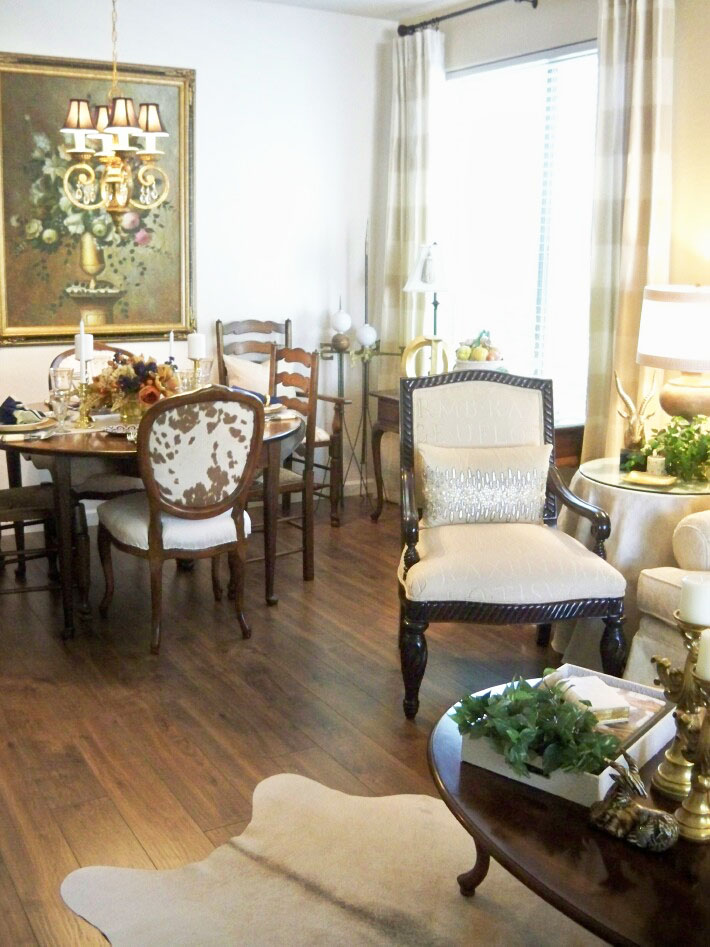
Here are both chairs around my dining table in my current home.

I love how both these projects turned out. So if you have something similar to tackle, just go for it. You can’t ruin it. Just watch a few videos, read some tutorials and take your time. It really is easier than you think.
If you like Thrifty & Chic on a Budget, I would love to have you follow me.
Have every post delivered to your inbox with Bloglovin
Check out Pinterest & See behind the scenes on Instagram


Subscribe to Blog via Email