Gel Stain Step by Step Tutorial
I have been planning to do a makeover on this vanity ever since we moved in two years ago. It wasn’t #1 on my to do list, then I had back surgery so that made me take a year off, but
NOW – – -Time Has Come.
I am using General Finishes Antique Walnut Gel Stain. This is what I used in the previous home for the Hall Bathroom makeover and I still have over half a can left.
Remember, this is our Builder Basic Bathroom when we moved in.. Yellowing linoleum floors, basic off the shelf builder grade cabinets and hollywood lights above the slab mirror.
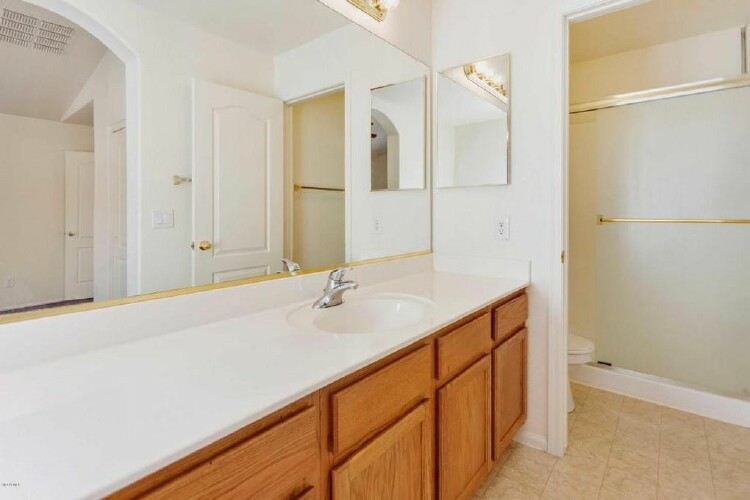
Really Builder Basic, nothing is upgraded at all.
As you can see it is open to the Master Bedroom, so I really want it to look like it belongs to this space.

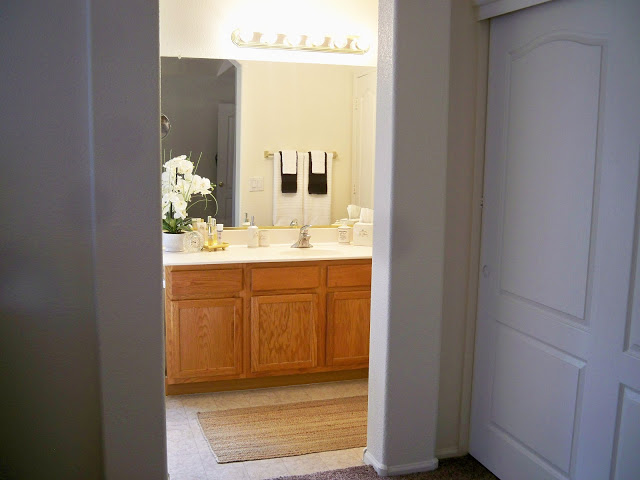
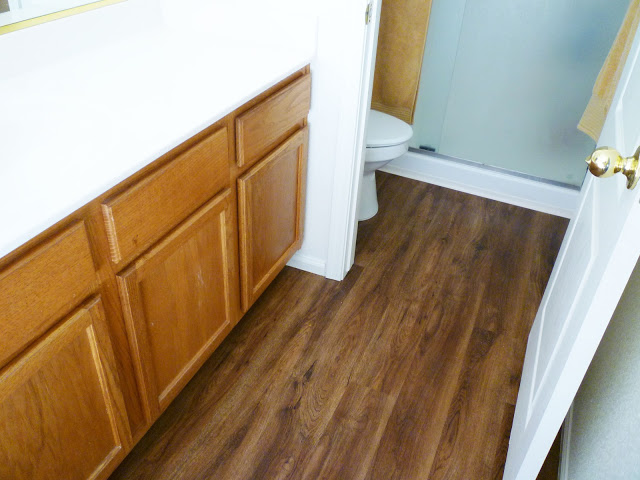
When we did the Kitchen Remodel we had some granite left over so we had a piece big enough to replace the counter top on the vanity. This made a huge improvement. We also had some leftover flooring from the kitchen and family room, so we replaced the floors in here too.
Old worn linoleum gone and new water proof floors down.
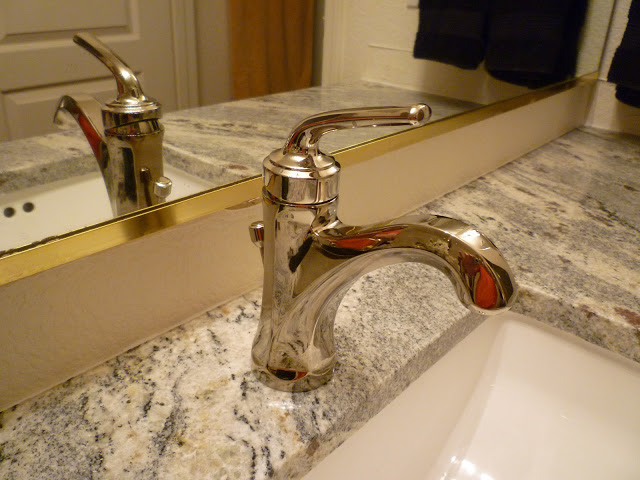
Then Pfister gave us a new faucet, so we did a mini makeover for free.
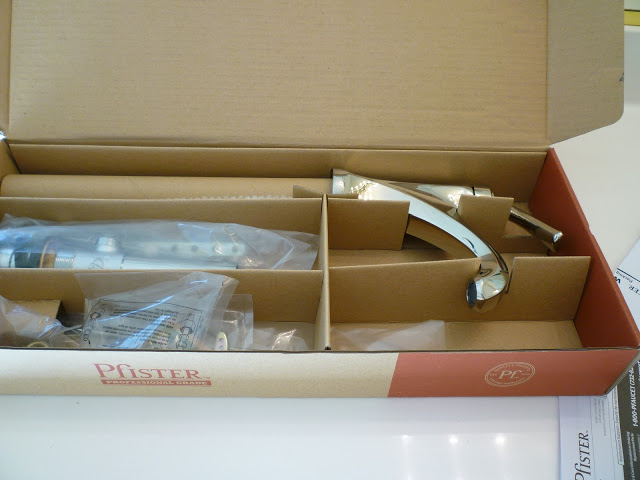
Beautiful new faucet
Granite left over from Kitchen remodel

At this point nothing else happened except changing out the light. I spruced it up with accessories
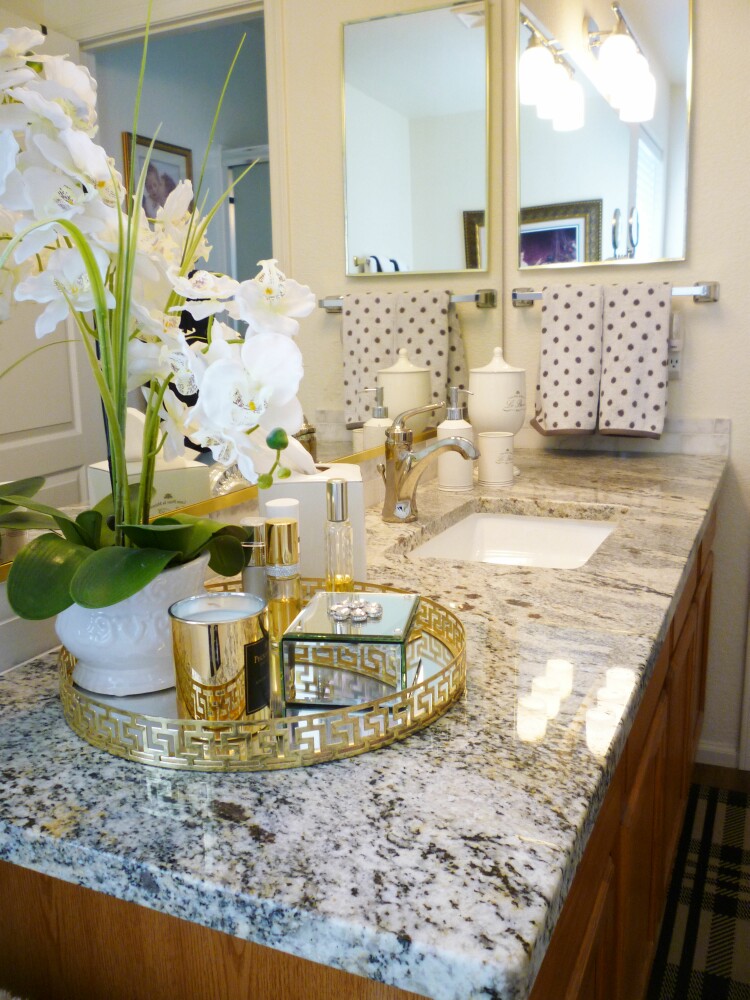
A new plaid rug

and hung some art.

Now it is more than time to stain that vanity.
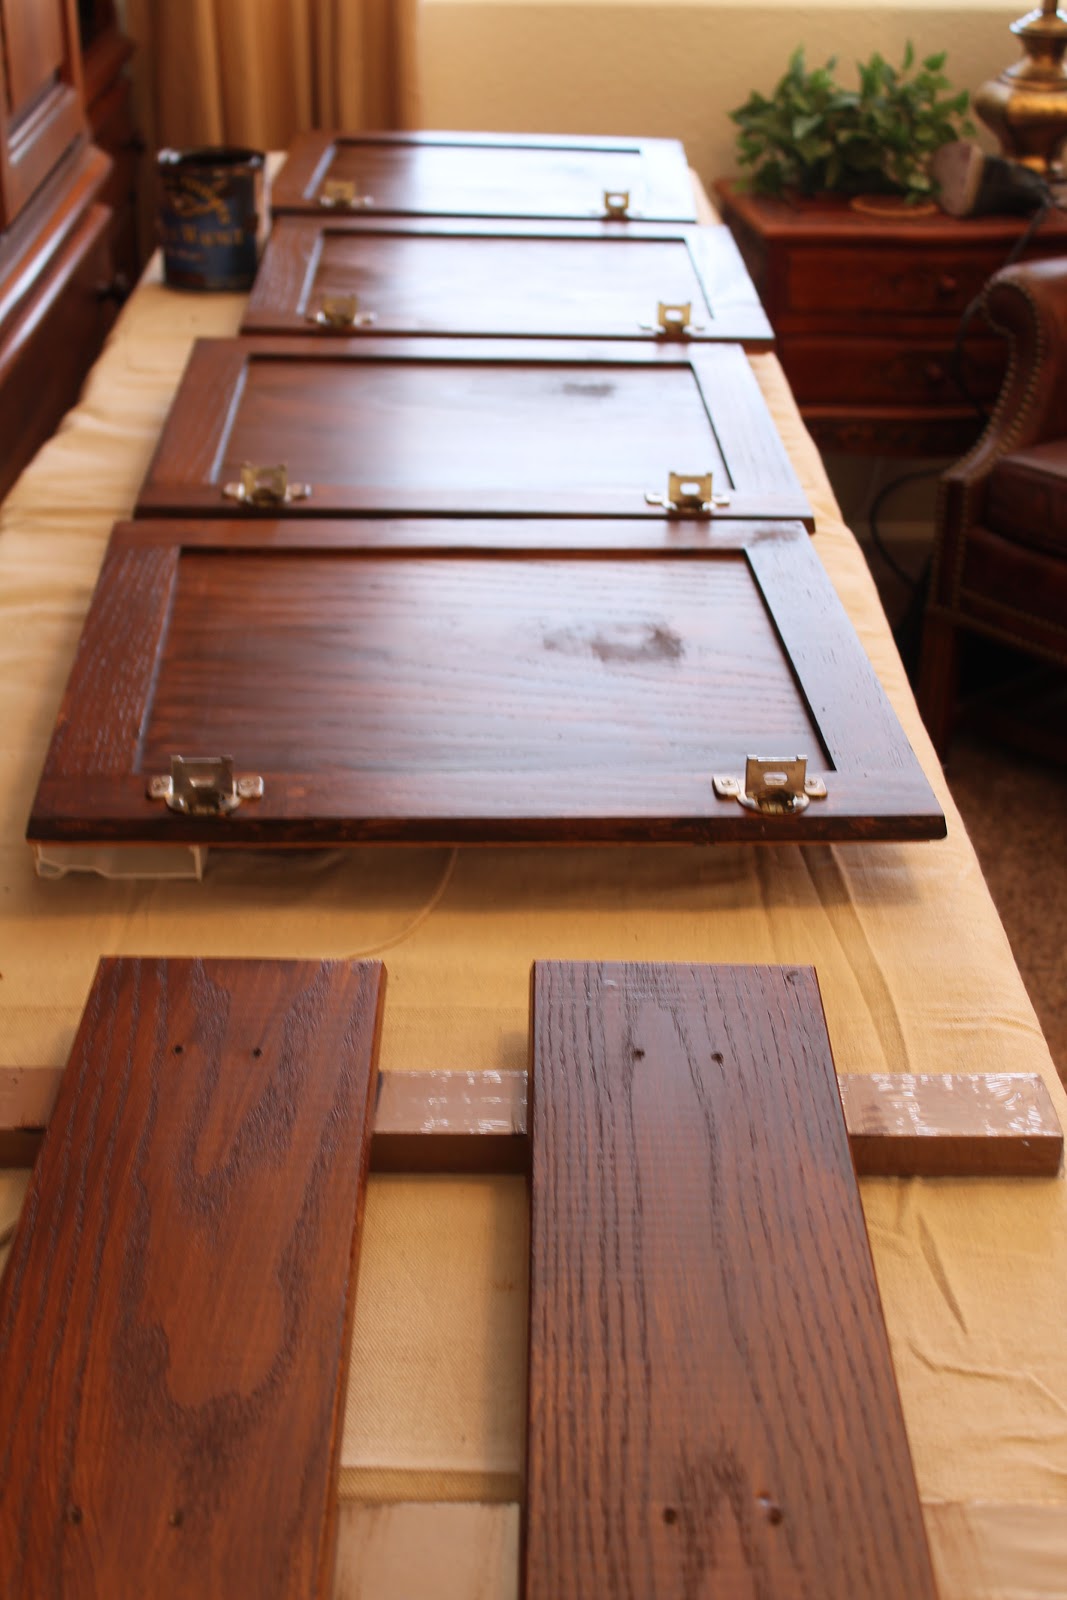
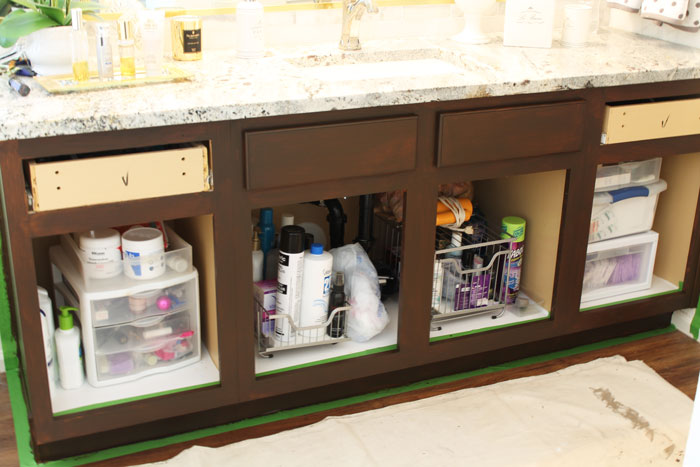
1. I removed the drawer fronts and doors, then taped everything off and sanded lightly.
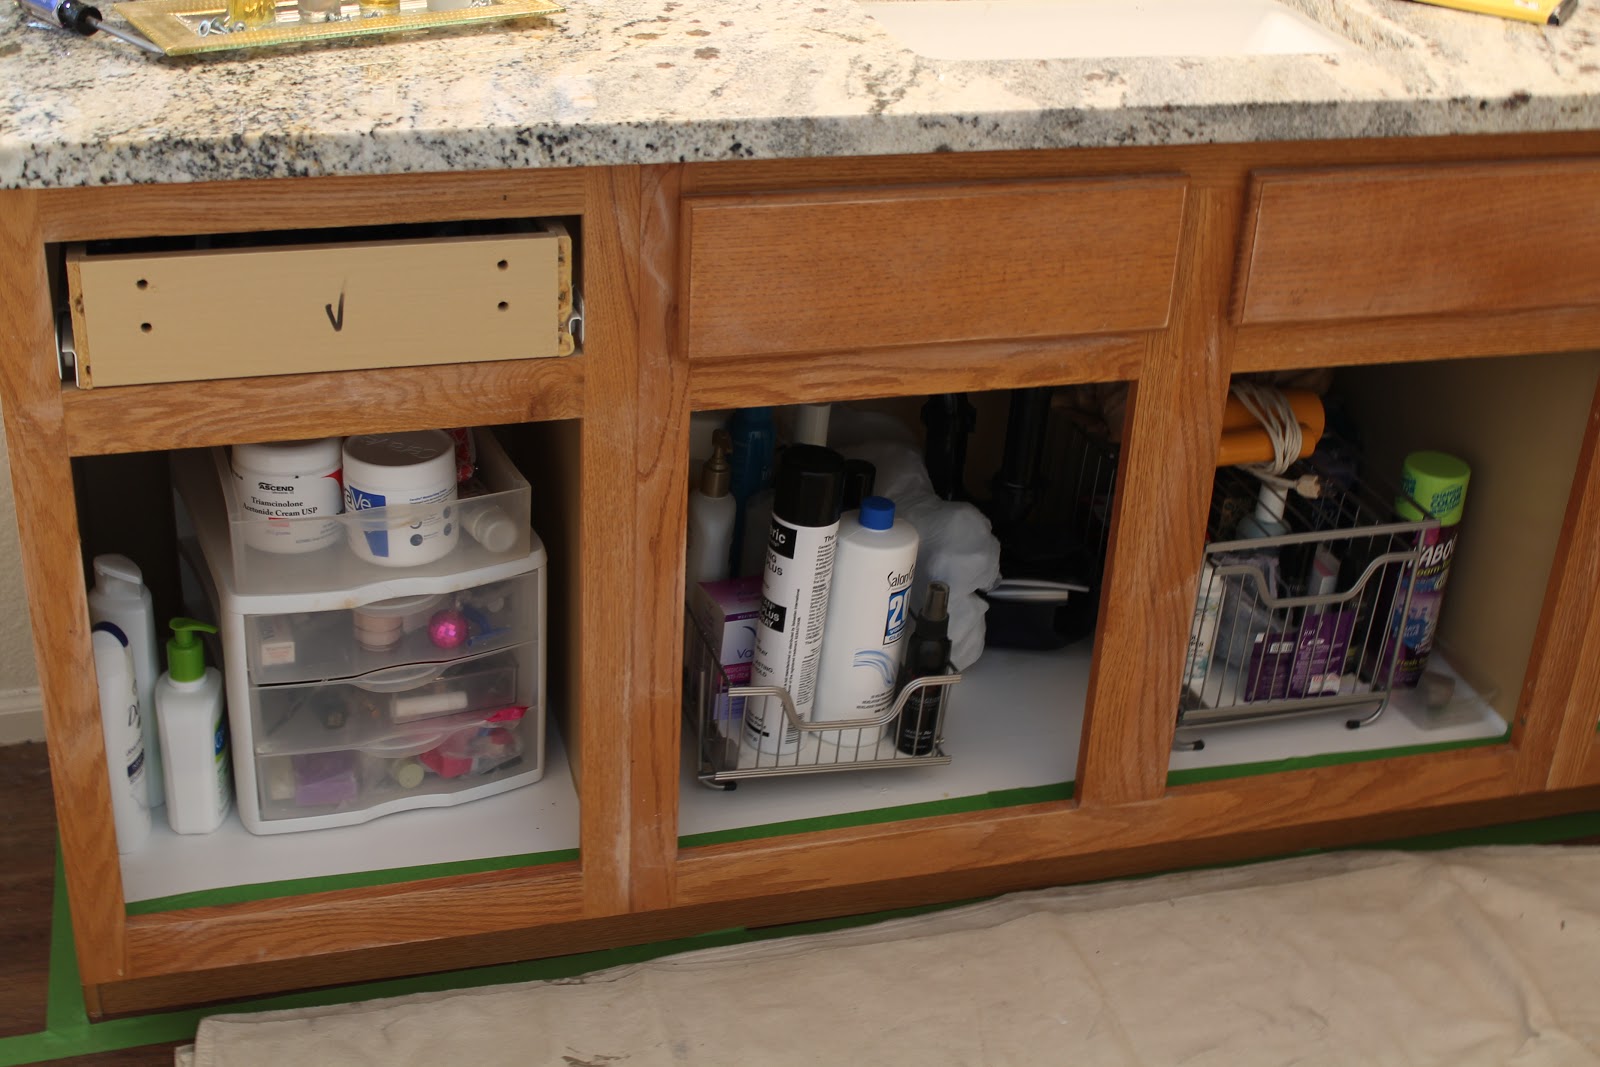
I lightly sanded the doors and drawer fronts. ( I put up a couple of work tables in the loft for a work station.)

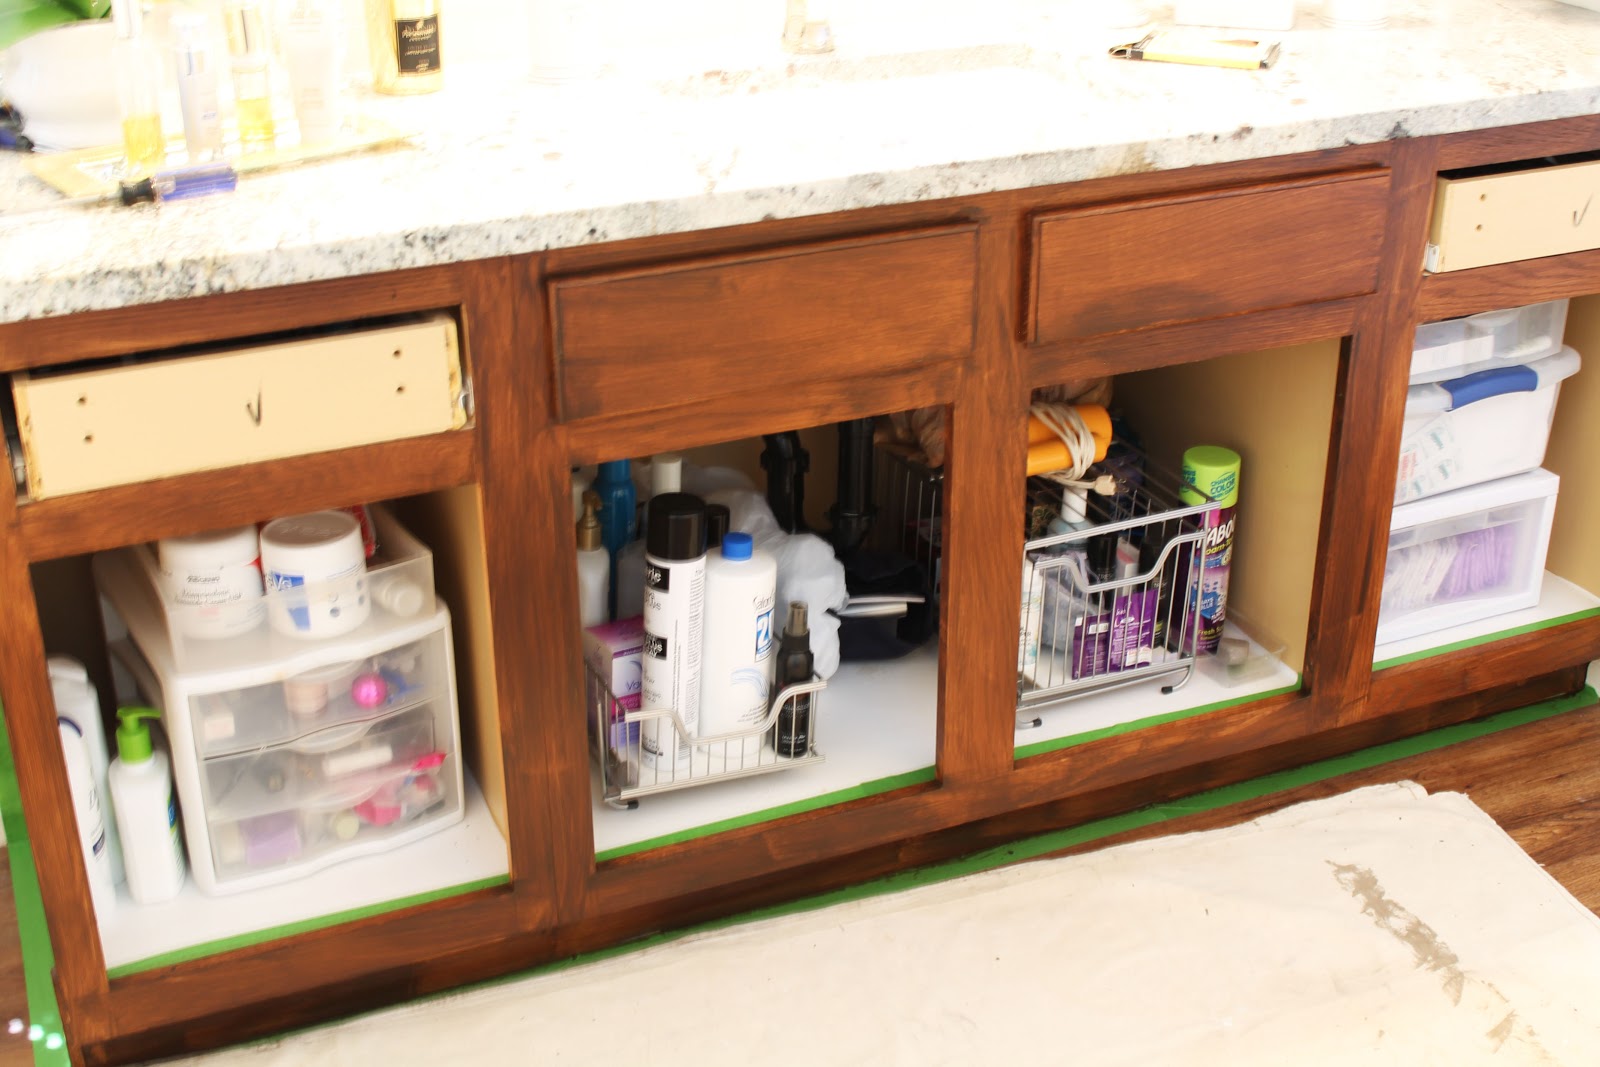
First coat on the vanity. I know, the first time I did this and all the streaks really freaked me out, but the next coat starts to smooth the color out. I think this will take 3 coats. It is so important to use light coats to achieve a nice smooth finish. I am using a really good brush and applying really light coats in the direction of the grain of the wood.
First coat on the back side of the drawers and doors. Now everything has to dry overnight.
2. Second coat on the back of the drawers and doors.

Second coat on vanity
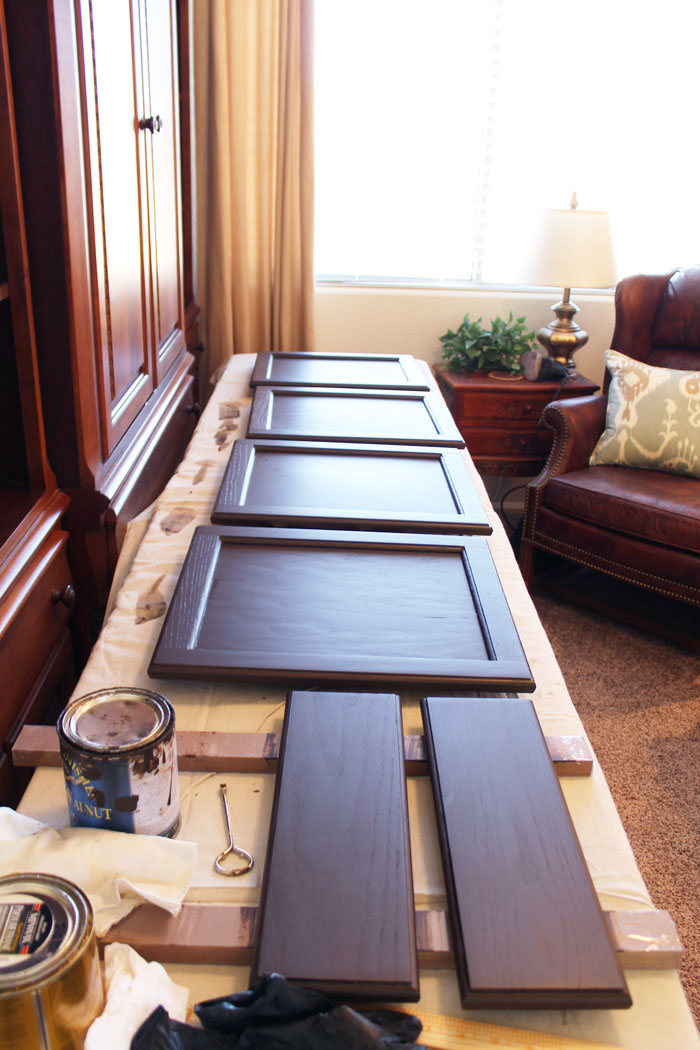
3. Third coat on back of doors and drawers

Third coat on vanity base (The base is done, three coats turned out perfect.)

4. First coat on front of doors and drawers. (I wanted to do the backs of the doors first so when I turned them over to do the fronts of the doors I wouldn’t have any chance of scratches.)

5. Second and Third Coat on Door and Drawer fronts. I used fine steel wool between coats and then made sure to use a tac cloth to wipe all the dust away. This is a really simple process and finish to achieve, it just needs to dry well between coats. I let each coat dry for at least 12 hours before I applied the next coat. I tried to do one coat each time early in the morning, then another one in the evening to cut down on how long this process took.

6. First & second coat of Clear Satin Poly on vanity cabinet.

First coat of Clear Satin Poly on Doors & Drawers.
When the second coat of poly was dried on the doors and drawers, I put them back in place and removed all the tape. ( I applied one coat on the inside of the doors and left them open to dry for a day, then applied the second coat.)
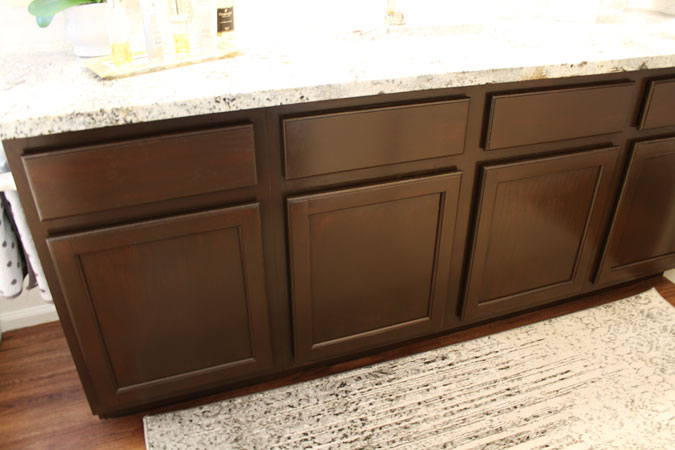
What a huge difference. This is like night and day. I am so glad this is done.

Now the jewelry makes all the difference. You would think that would be the simple part of this makeover. I ordered some simple rod pulls and when they got here they were bright yellow brassy looking. Not pretty at all, so back they went. Then I ordered some that said antique brushed, well they were bronze, not gold at all. I have now ordered my third set, so we will see how that turns out. I just wanted a simple classic straight rod pull, nothing fancy, so this is turning out to be a test.
So far I love the vanity, now if I can just find some pulls that work I will be a happy camper.

An Update On The Hall Bathroom Makeover.

We are waiting on a couple of items so we can get this one done too. Everything is here except the backsplash for the new vanity and the 36″ medicine cabinet to replace the old one. We are leaving on Thursday to go to Salt Lake for a Wedding and won’t be back until the 17th, so hopefully everything will be in by then and this one can get done. I can’t wait.
To stay up to date on all the makeovers taking place at our new home, I would love to have you follow me. You don’t want to miss any of our”Hits & Misses”.
Check out Pinterest & See behind the scenes on Instagram


Subscribe to Blog via Email