I am so thrilled to have the
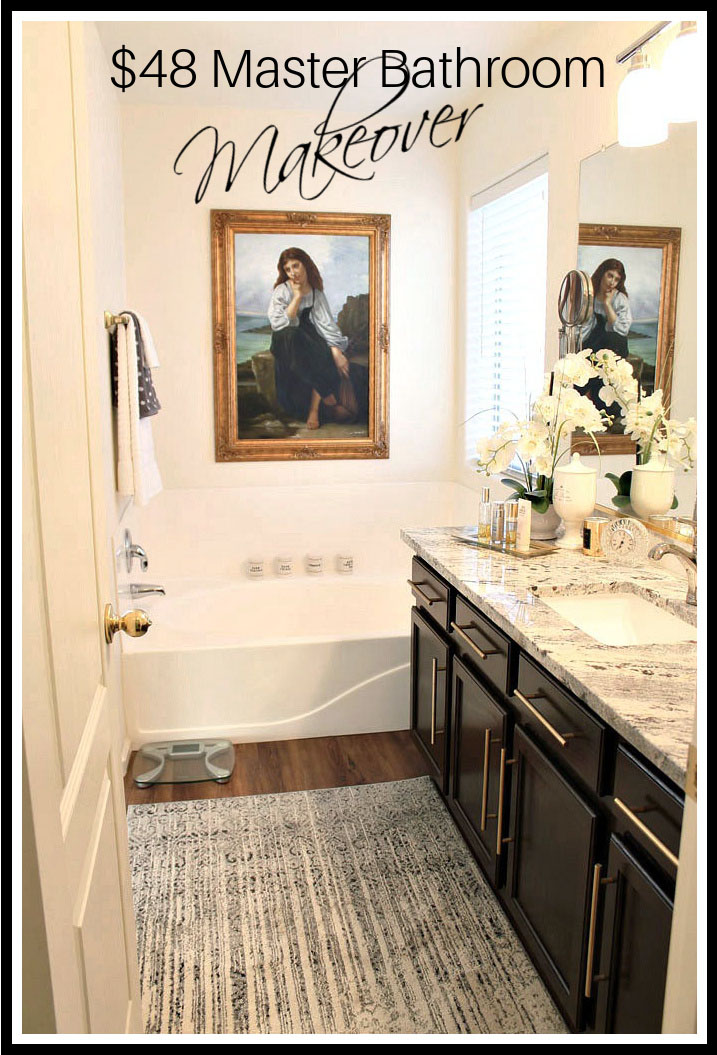
Master Bathroom Mini Makeover
done. It looks so much better. I should have done this when we moved in. Now to preface this makeover a little, this is not a gut job, just a few updates and some paint and stain to give this room a facelift. With that being said, it still looks so much better than before.
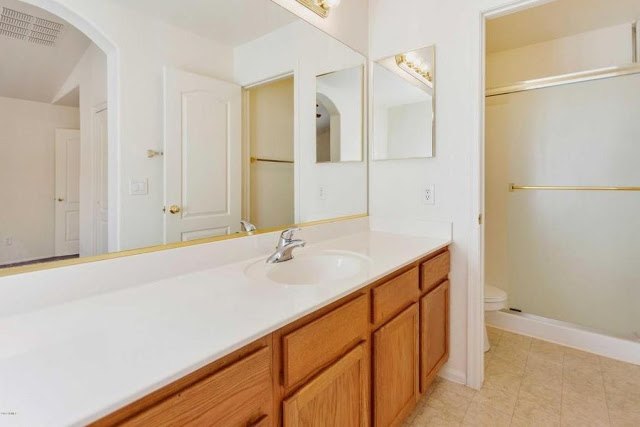
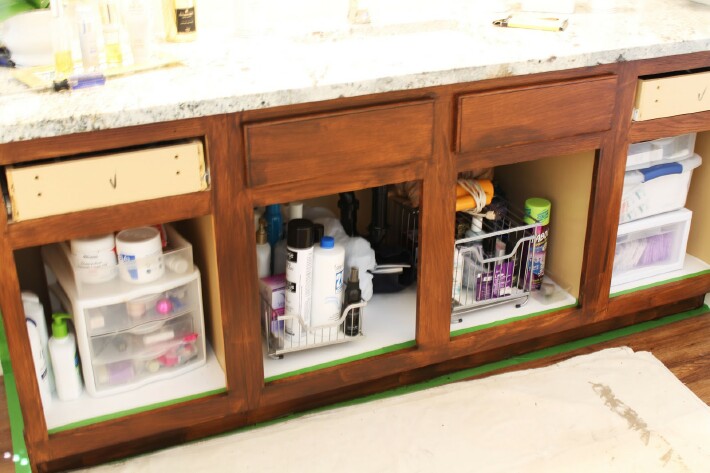
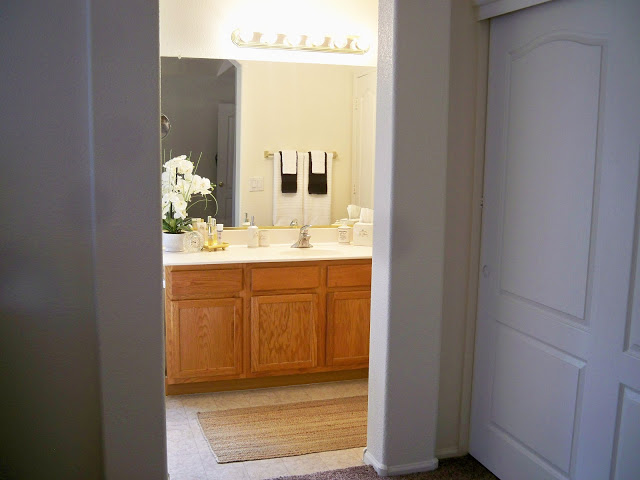
This is what we were starting with. Pretty Builder Basic. Those cabinets had seen better days. Some stain would fix that.
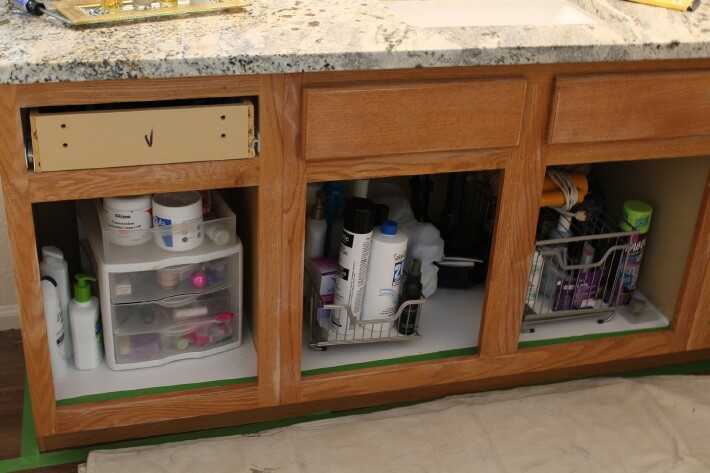
I used General Finished Antique Walnut Gel Stain. This stuff is magic. First was to take the doors and drawer fronts off the vanity,
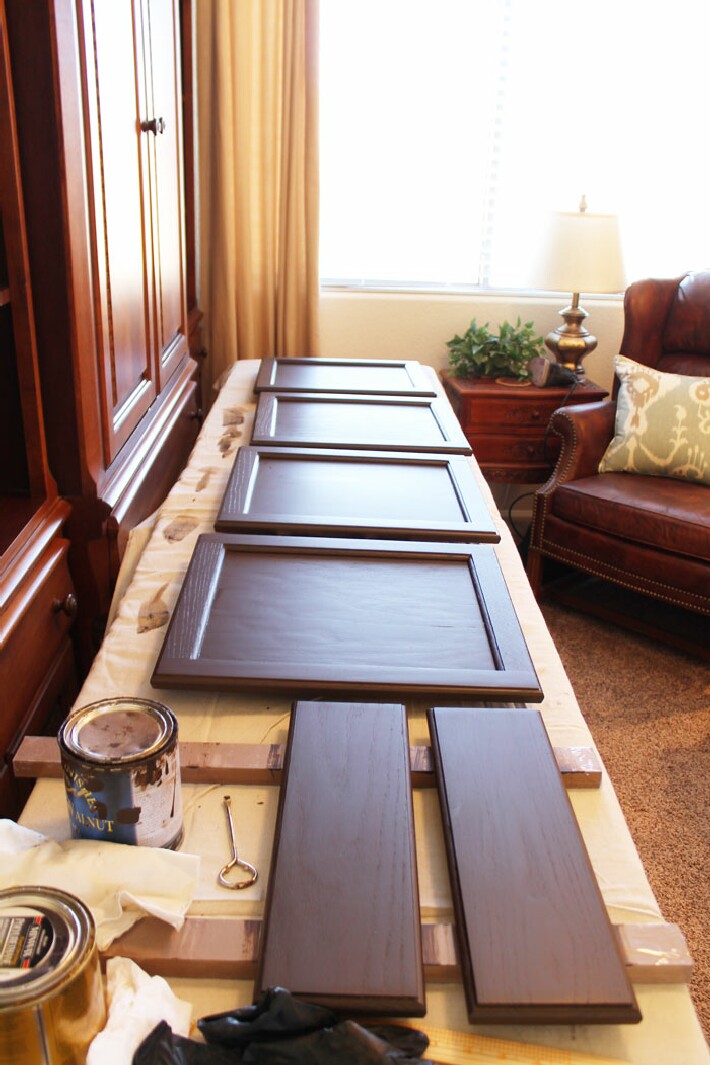
Then I set up a workstation so I could do all the doors and drawer fronts. The vanity and all the doors and drawer fronts were given a good sanding to make sure all the old varnish was knocked down enough for the stain to go on smoothly.
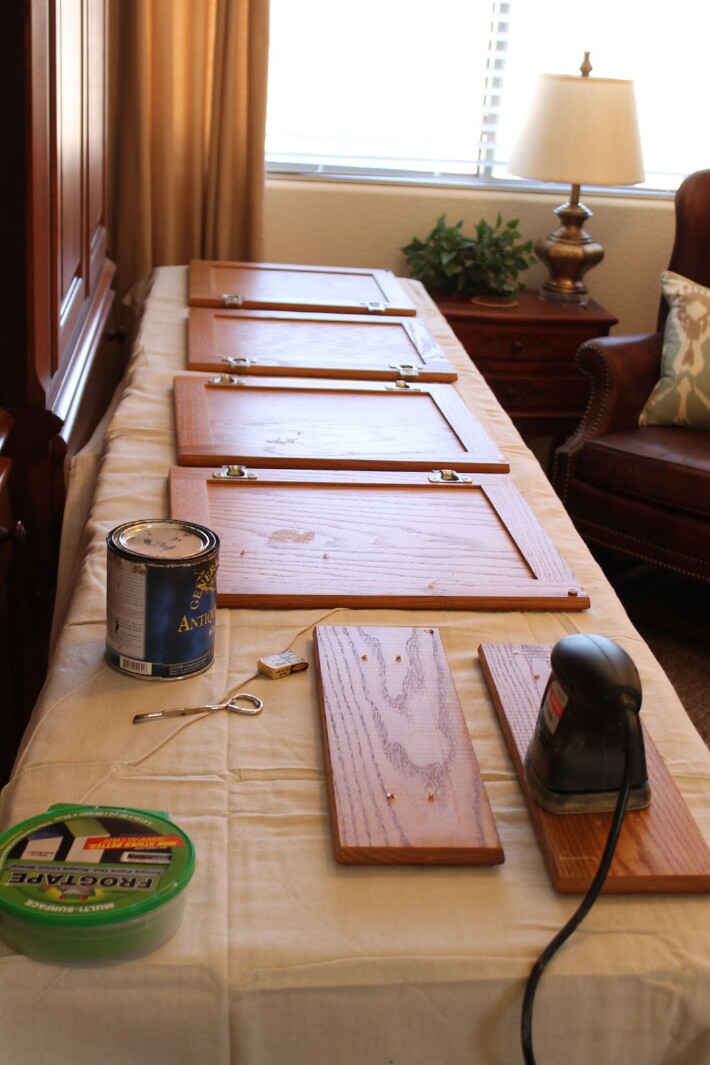
The first coat on everything looks really bad, but take heart, it will turn out perfectly.
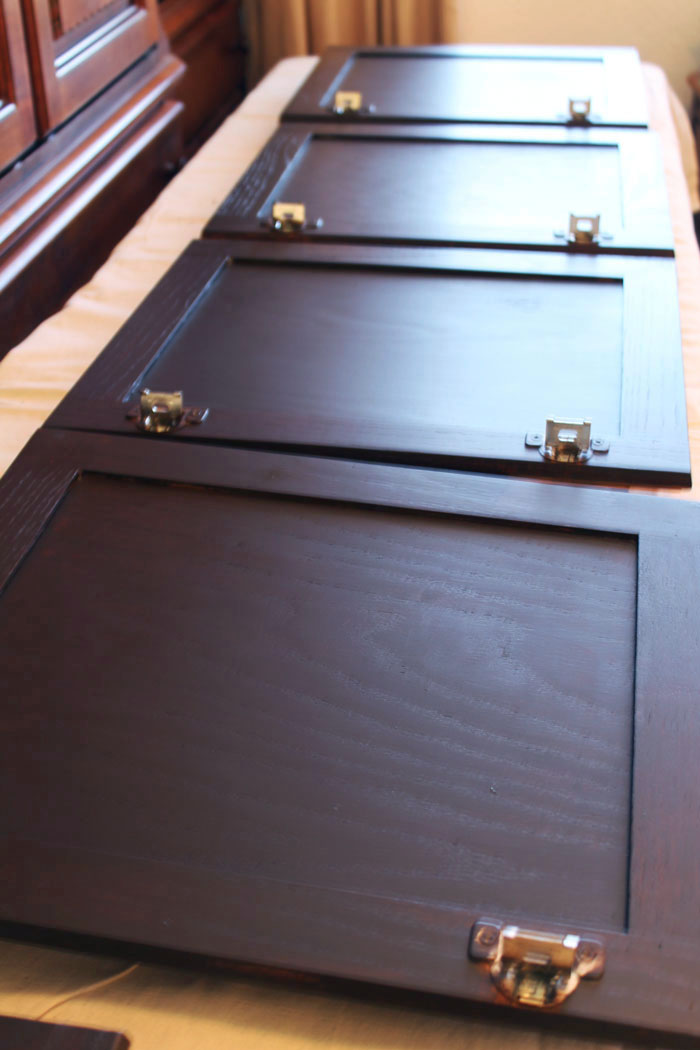
The backs of the doors were done first. This is after three coats. They were allowed to dry thoroughly before I turned them over to do the fronts.
This is how the fronts look with three coats of the gel stain and two coats of the satin poly.
The vanity now has all three coats of stain and 2 coats of poly so time to put it all back together.
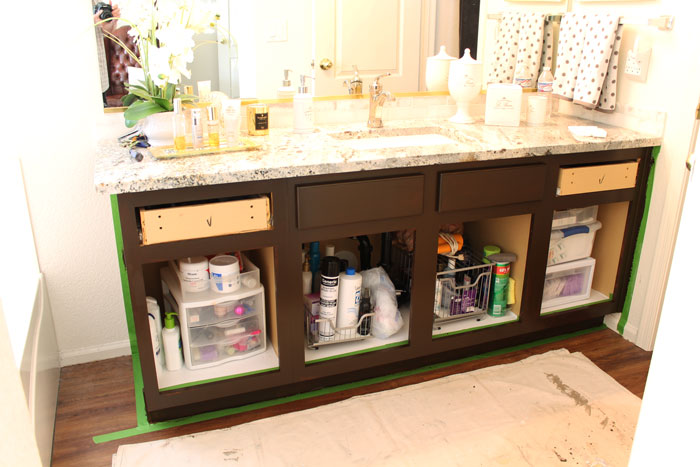
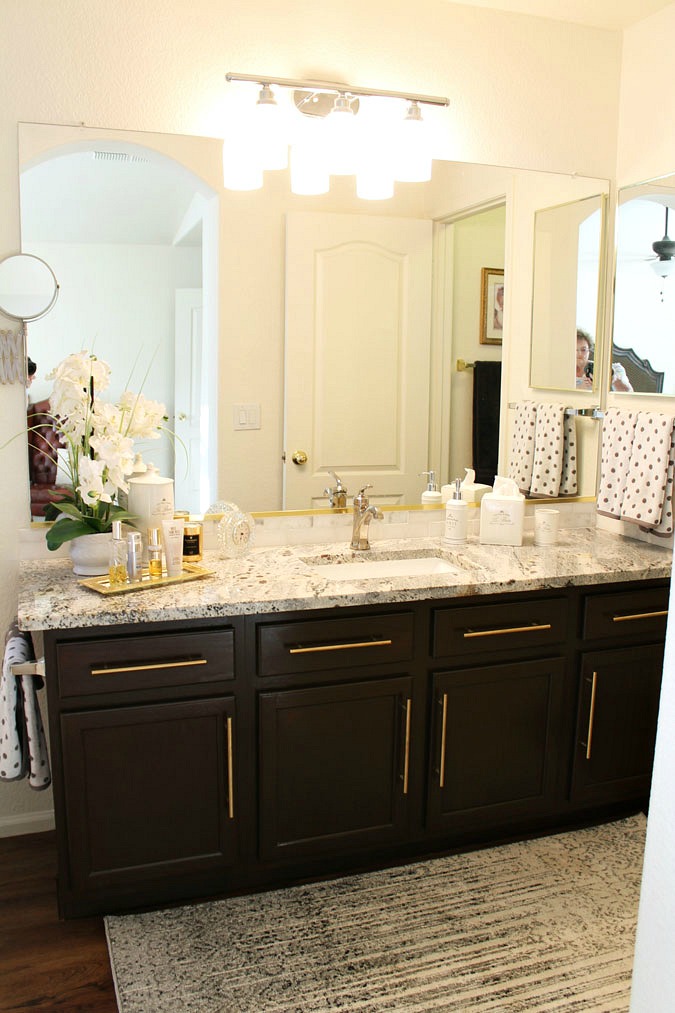
I am really happy with how the vanity turned out, the color is just what I wanted and the hardware is going to be the finishing touch. I used General Finishes Antique Walnut Gel Stain. (I had some leftover from our previous house, so it was free and the perfect color.)

When the hardware came in I made a couple of templates out of brown paper so we could put them on. You can buy templates at the hardware store, but I just made some really easy.

Dots to know where to drill the holes so all the drawers would be even.

Same thing with the doors.

I love how they look on the vanity. Just enough glam without being over the top.
This is one of the smallest bathrooms we have ever had and is a galley type bathroom. It is really hard to photograph because it is so long and narrow. This is a view from the “shower/toilet” room.

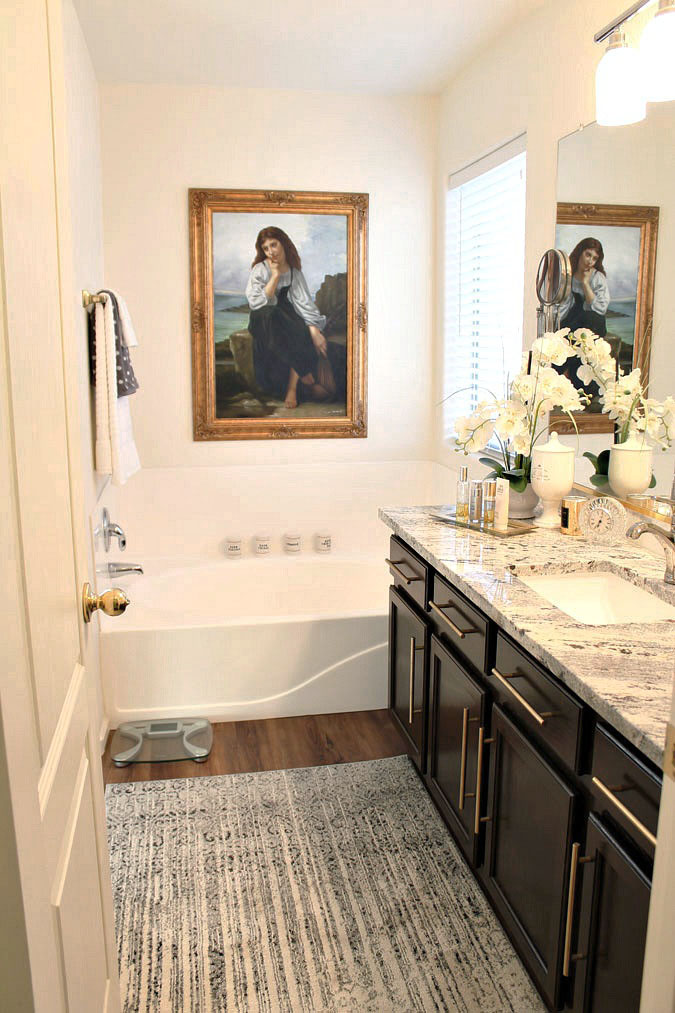
From the tub you can look back to see the shower.

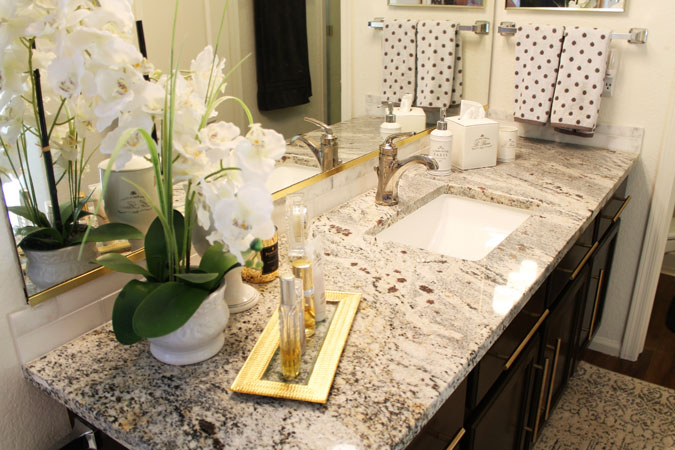
I kept the decor really simple.

A pretty orchid, a tray for perfume, then my soap, kleenex and cup on the other end.


When you see the bedroom reflection in the mirror, the bathroom finally looks like it belongs to the rest of the house.

This large gold framed painting adds a touch of glam to the bathtub area.

Here is what the bathroom looked like when we bought the house 2 years ago. Nothing bad, just dated and totally builder basic.


It’s come a long way. The granite counters, faucet and floors were the first free makeover. (leftovers from the kitchen remodel and a free faucet from Pfister)

How it looked when we moved in 2 years ago.
Today.
I would have loved to do a complete gut job of the bathroom and totally rework the space and add in beautiful marble tile, a freestanding tub and a gorgeous walk-in shower, however that is not in the budget, so for now, this updates the space enough to bring it into this decade.

I think this is a great upgrade for now and especially since it was all pretty much free. What do you think?
Total Cost:
Sink $40
Brass Hardward $8
Total $48

This looks fabulous. I would like to ‘gut’ a few of my rooms, but budget always seems to win out. Thanks for the inspiration!
This looks great. What is the color of the floor you used as well as the color – name of the granite ?
We are planning a budget remodel on our master bath- and this is exactly my vision!
Excellent post! A master bathroom mini makeover can greatly impact without the full overhaul. Even small changes, like new fixtures, a fresh coat of paint, or updated accessories, can transform the space into a relaxing retreat. Love the ideas here!