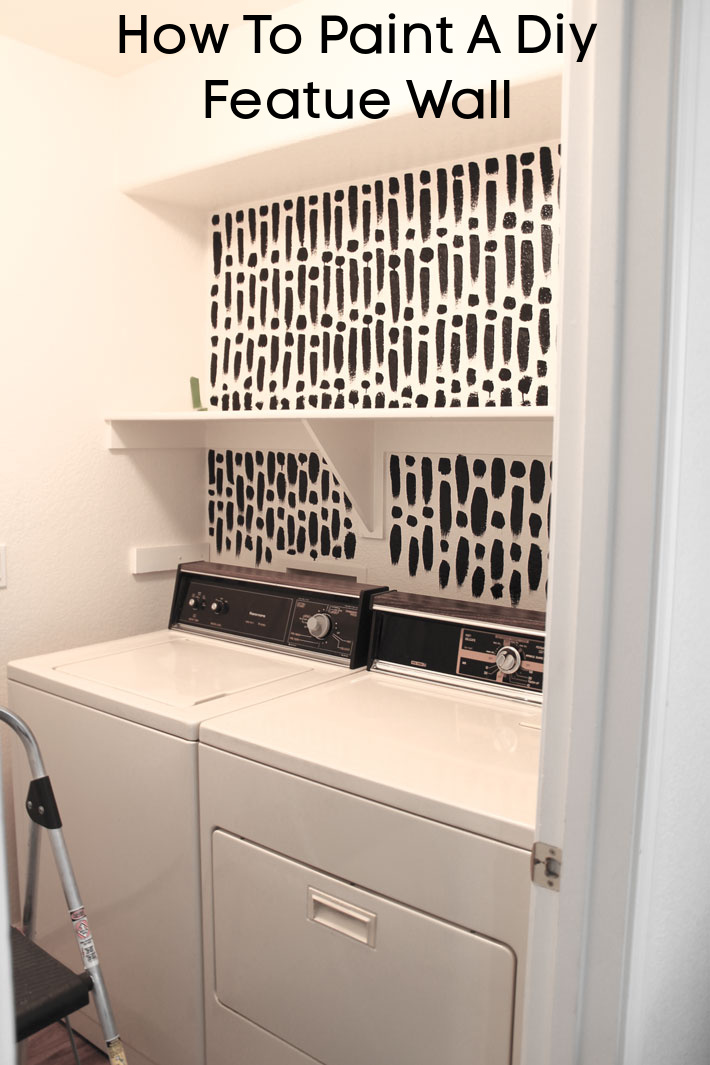
Painting A DIY Feature Wall Tutorial. I shared with you here how I wanted to do a mini makeover in my laundry room.
My laundry room is barely a walk-thru from the kitchen to the garage. It is just big enough to hold the washer and dryer and that’s it. The walkway is only as wide as the door, so this is truly a walk-thru. No cabinets, nothing extra, just one shelf.
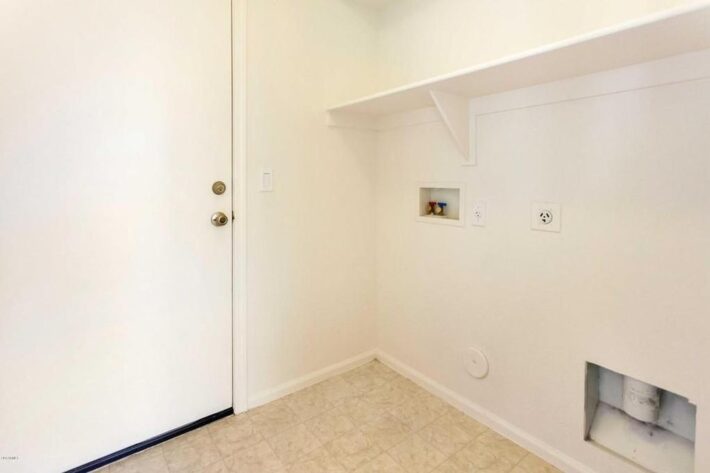
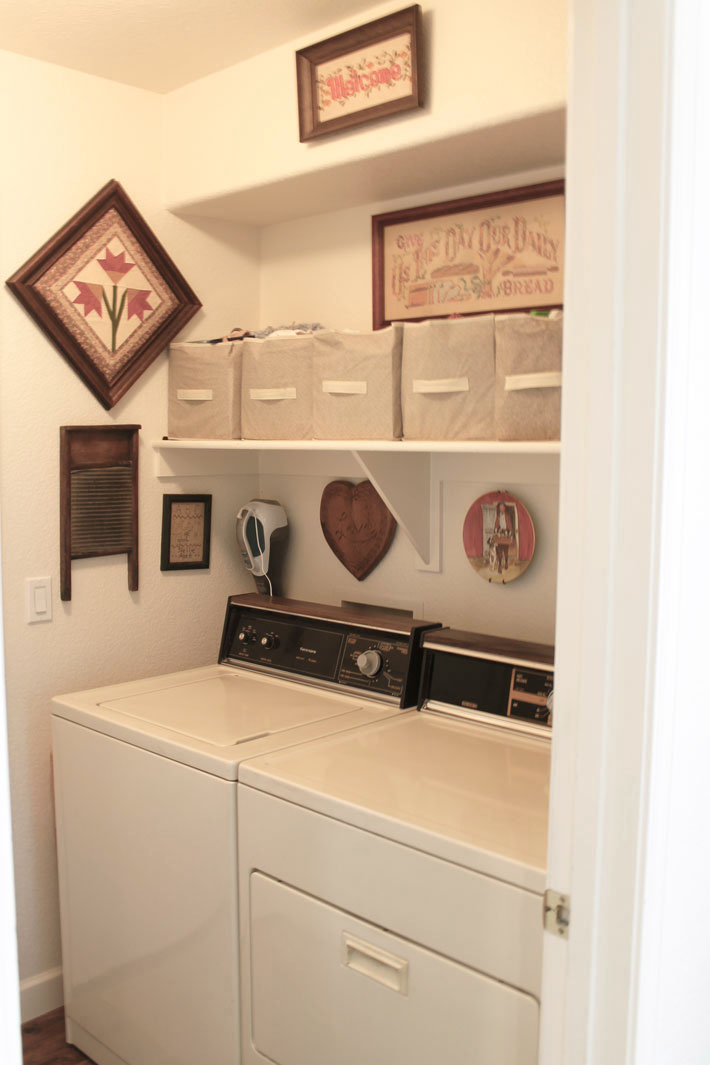
It got a few accessories when we moved in and that was it.
I found this inspiration pic on Pinterest, so I thought maybe I could do something similar to give my laundry room a little bit of an update.
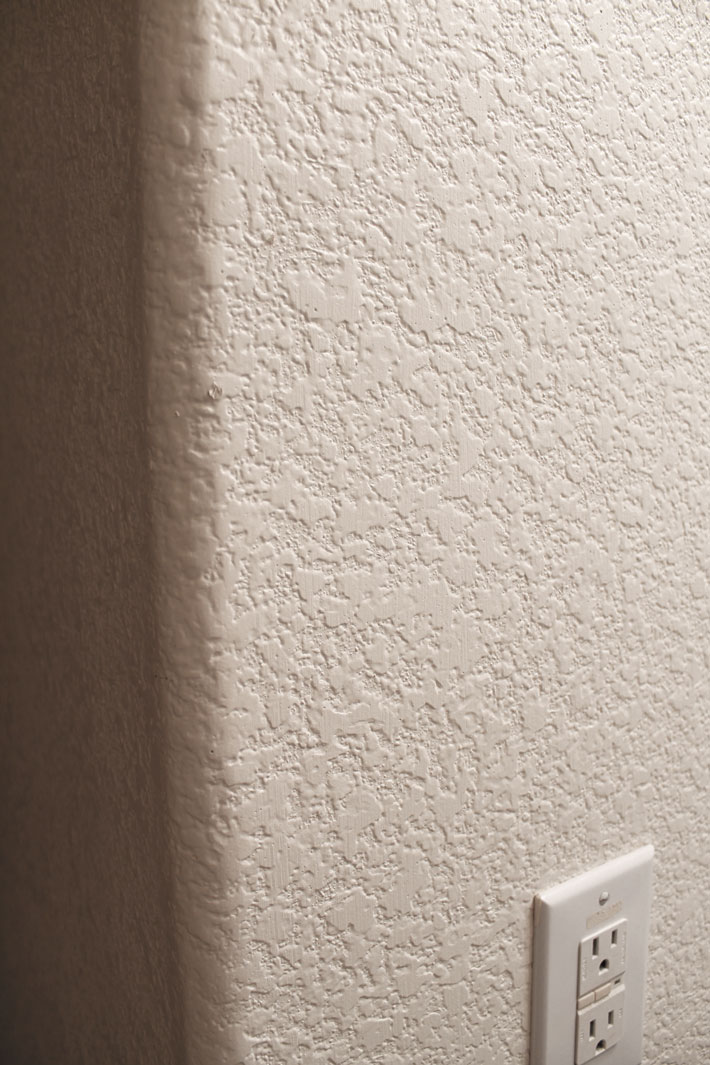
Painting a feature wall is a little more difficult since my walls are really heavily textured, but I wanted to give it a try. I could skim coat the one wall, but that is a ton of work, so I am just going to give paint a try.
First thing was to take down all the accessories, patch the walls and then give everything a fresh coat of paint. I chose to keep my white shelf instead of adding wood shelves like the inspiration picture.
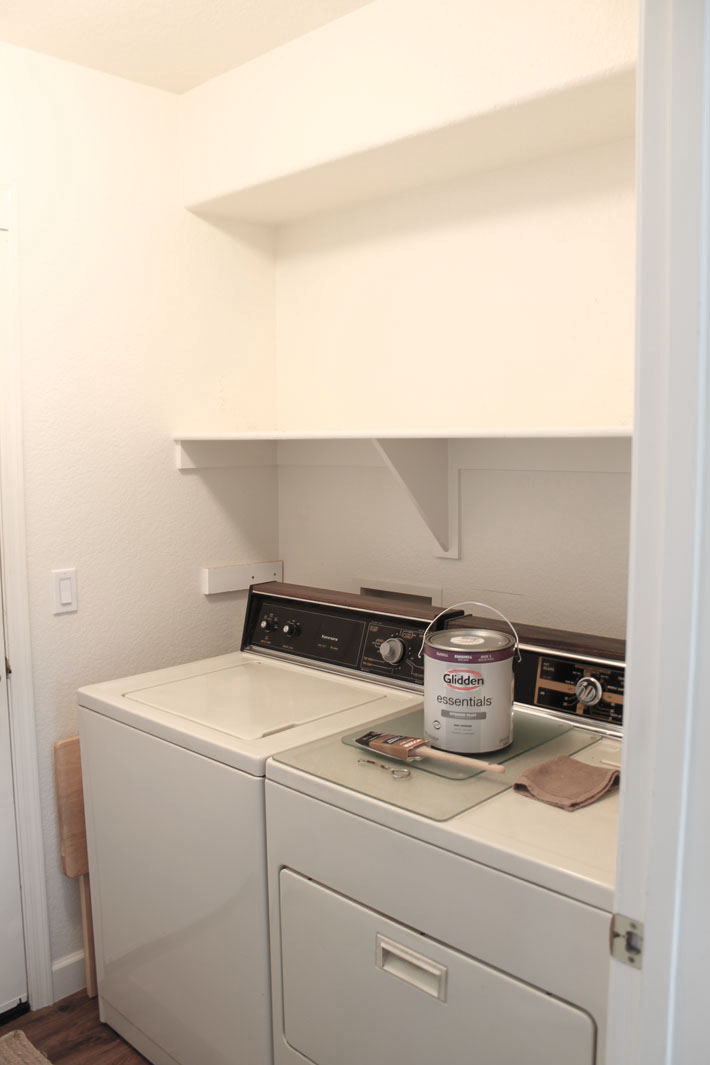
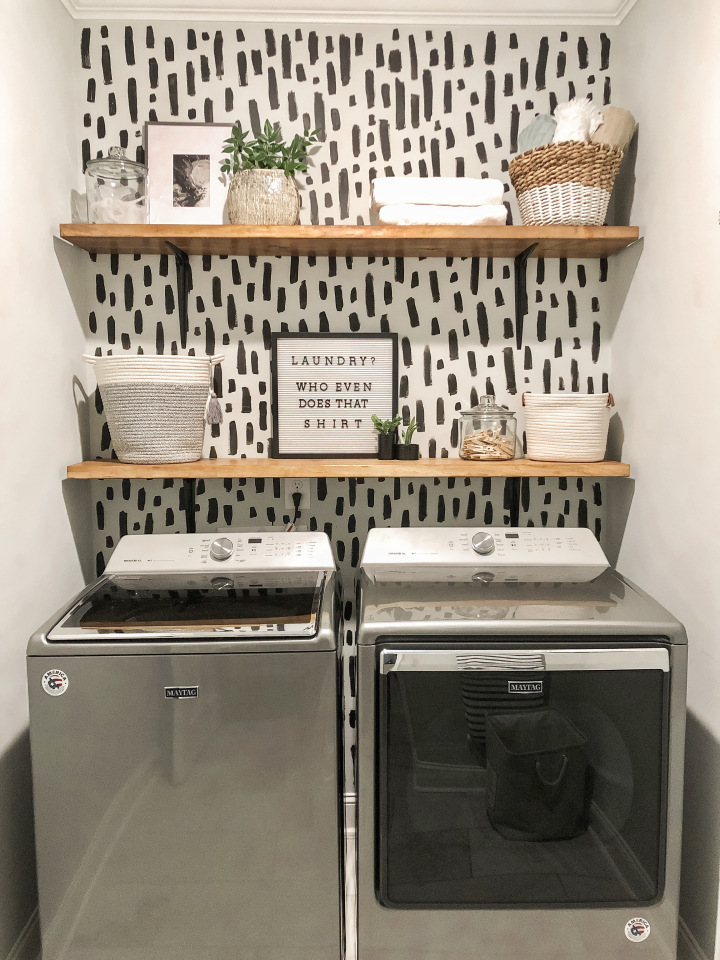
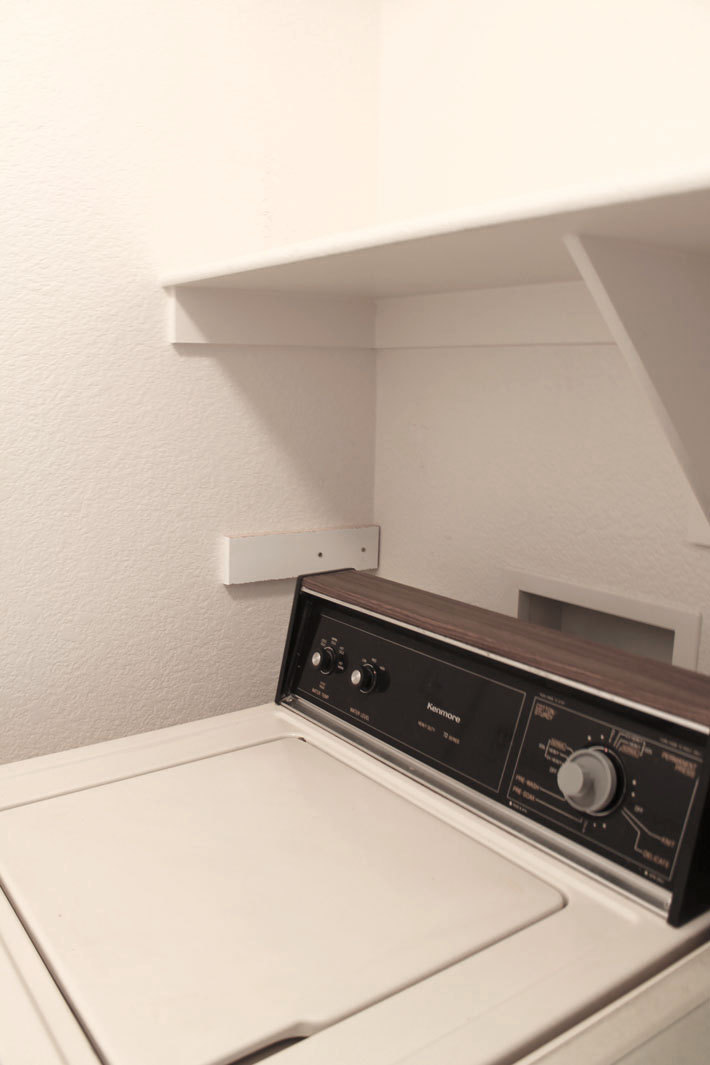
I bought a shelf at Lowes to add above the washer and dryer. I had them cut it to size and also cut me several 3-inch pieces to use as shelf brackets. I got those screwed in and then gave them a good coat of paint too.
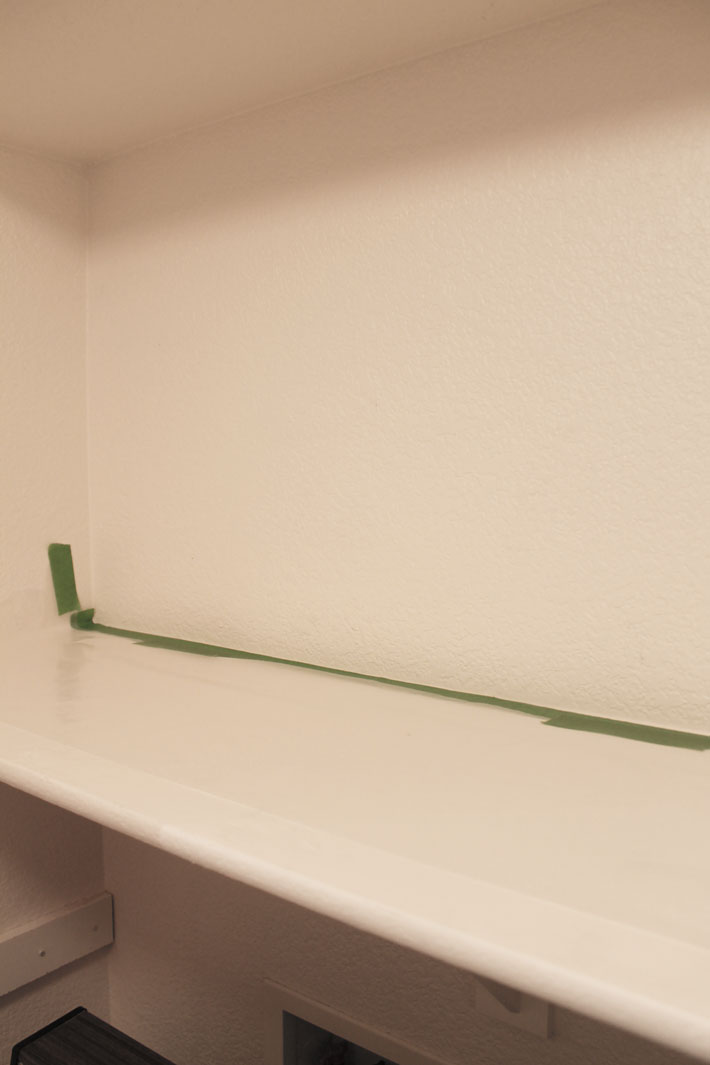
Next, I taped off the top of the shelf and put down some paper to hold drips before I started on the feature wall.
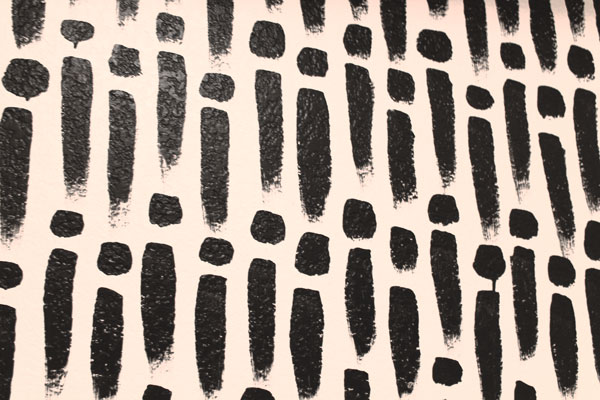
Now I am ready to start my feature wall. I did some practice on a piece of cardboard. I used a sample pot of black paint I had left from a previous project and a 1-inch brush. Then I just started in with stripes and dashes. With my textured walls, I soon found that straight lines like my inspiration picture were not possible. So I just let it go with the uneven stripes and loved it. A little more freehand and modern.
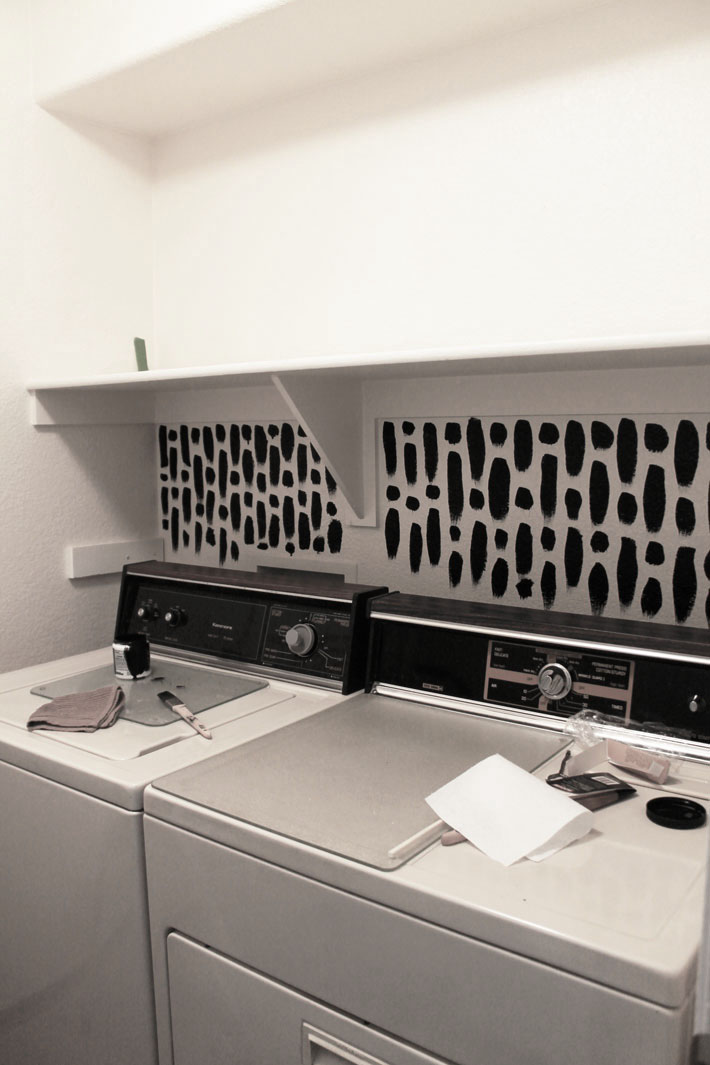
If this turned out really bad when I was done, then I could just paint over it and try something else. I needed to see the whole wall to see how it would look. Since my walls are so heavily textured, I needed to use a bold design like my inspiration. With mine, I had to just let it feather out at the bottom and on the sides however the texture took it.
I’m happy with how it turned out. It doesn’t look nearly as messy when you see the whole wall.
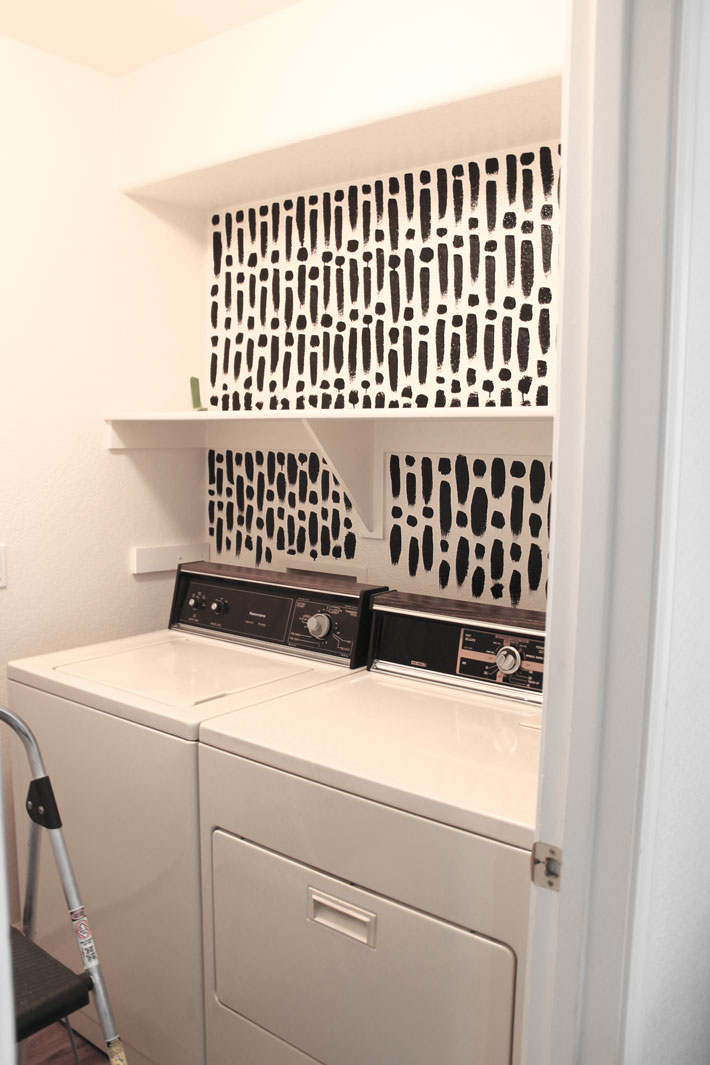
I like how it turned out. I think when I add the shelf above the washer and dryer and add a few accessories, it will look great. If you want to add a painted feature wall somewhere, then just go for it. The worst thing is you have to paint over it if it is a complete fail.

That turned out SO cool!! Love it!! Something fun to make you smile when you do the laundry!
Ramona
Lakefield, ON Canada
Incredible! You did a great job! Can’t wait to see full reveal. Congratulations!
Wow! I love it I am definitely looking forward to seeing how you accessorize – I know it will be beautiful. Jane
This turned out great Marty. I know you will have it accessorized beautifully. Have a great day.
The bold design is amazing! It balances out the black on your appliances and looks so pulled together! You did great!
BRAVO!! It looks fabulous!
It looks great! Thanks for the inspiration; I will try this in my small laundry room.
Hi Marty! I love this! I saw the same image a few months back and did nothing and you created something amazing! Love it! laura
O.M.G I LOVE THIS! The design looks like a head and body! lol You knocked this out of the park Marty! Just like that other job done in your bedroom closet at the other house. LOVE IT LOVE IT LOVE IT!!!!!!!!!!!!! I wish we lived closer so you could do this in my laundry room……..of course I would pay you! =) KUDOS!!
Thanks so much. This was fun and you can do this. Just get a same paint pot and a 1″ brush and start. This is really so easy. Marty
Really nice job! Looks like wallpaper. Adds so much pizazz in a small space. You always have great ideas!
It turned out so cool Marty! Love it 🙂 and I agree if you don’t like something you try you can always repaint.
Wow! This wall is so neat! Really makes a big impact with just this small space
Looks great. What if you painted the shelves black ?
This is so Awesome. You did a fantastic job!!! You inspire so many!!
I really like this Marty. It looks like wallpaper. I do hope you will still use your vintage wash board and needlework pieces like you always have in your laundry rooms though. I’ve always liked that and you inspired my laundry room chock full of vintage things and memories. Excited to see your finished space.
Hi, you are an amazing crafter. I have the same type of set up in my garage. I think I’m going to try this. At first I looked and I thought you used a sponge for the design. I wonder if I could do this by using a sponge?
Nevertheless it is fabulous, and thank you.