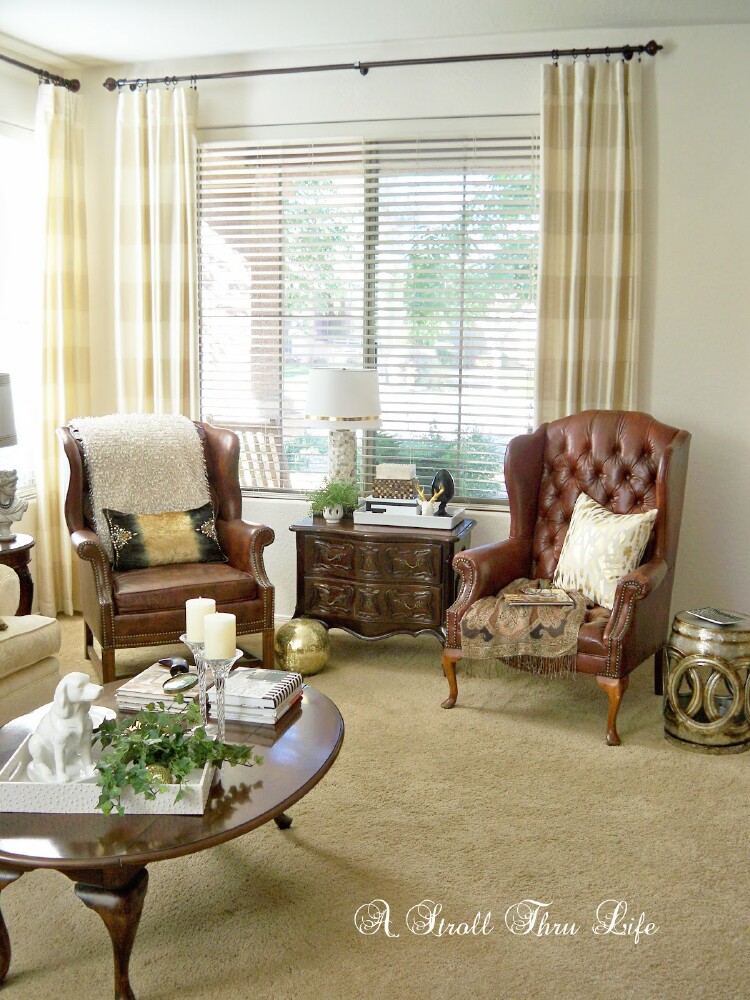
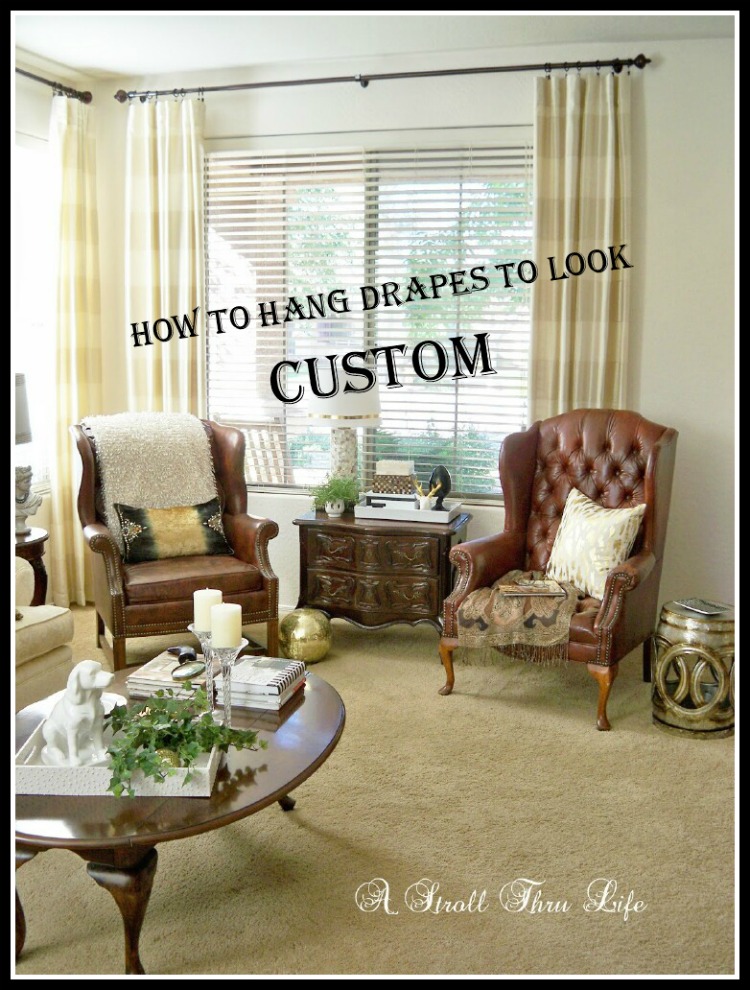
How To Hang Drapes So They Look Custom. I did a tutorial quite a while ago on how to professionally hang drapes and I have recently had a number of people ask me to share that post again. This is an updated version of that post, so I hope it explains my process. It doesn’t matter if you are using Custom, Readymade or off the shelf Ikea, the process is the same. If you follow these few steps all of your drapes will look Custom and you will have a really polished and professional-looking drape. These pictures are all from my previous home.
I am showing you three different drapes that I hung so you could see the whole process. This is how I hang them whether ready-made or custom.

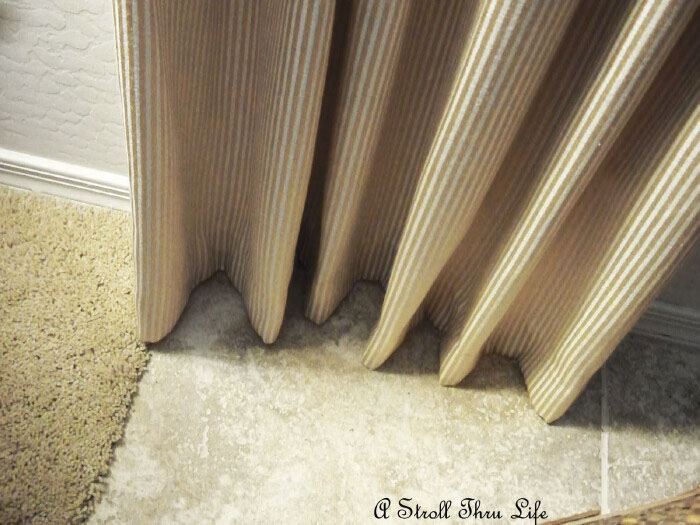
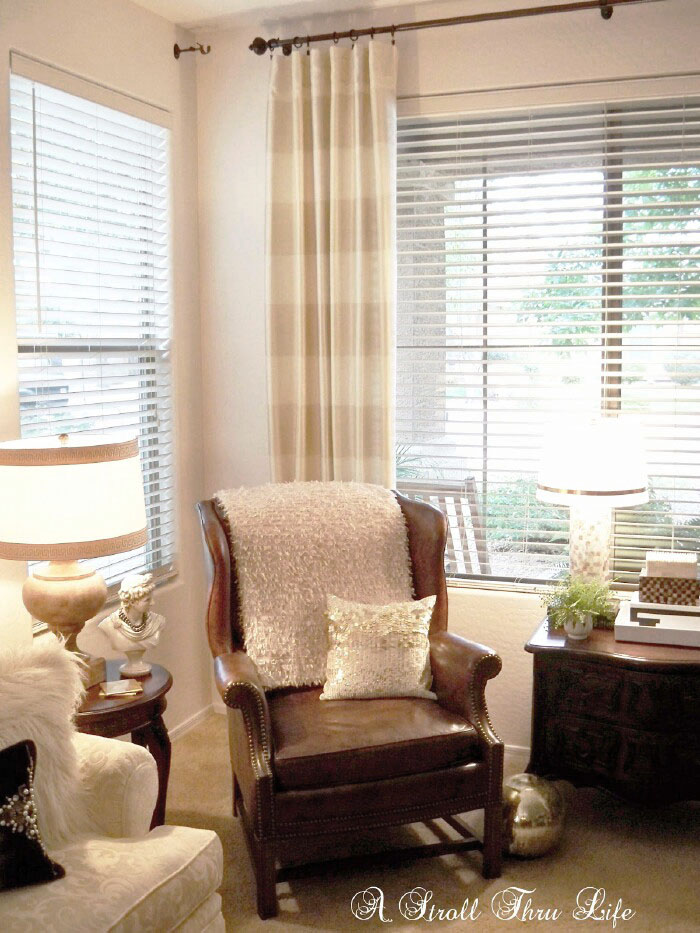
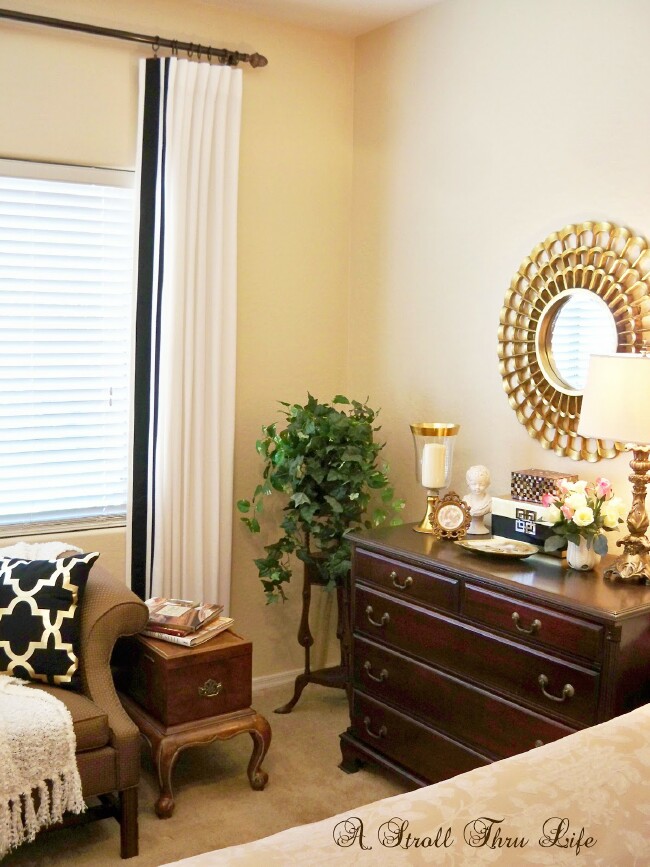
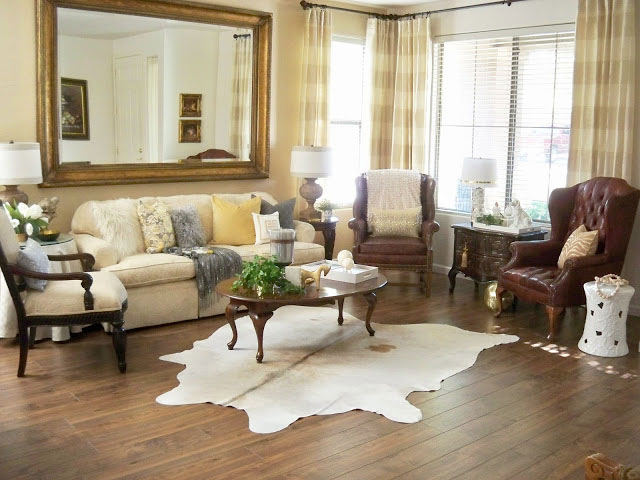
I don’t puddle any of my drapes, I just hem them to barely skim the floor. I also do a double 3″ or 4″ inch hem so the bottom also has some weight.
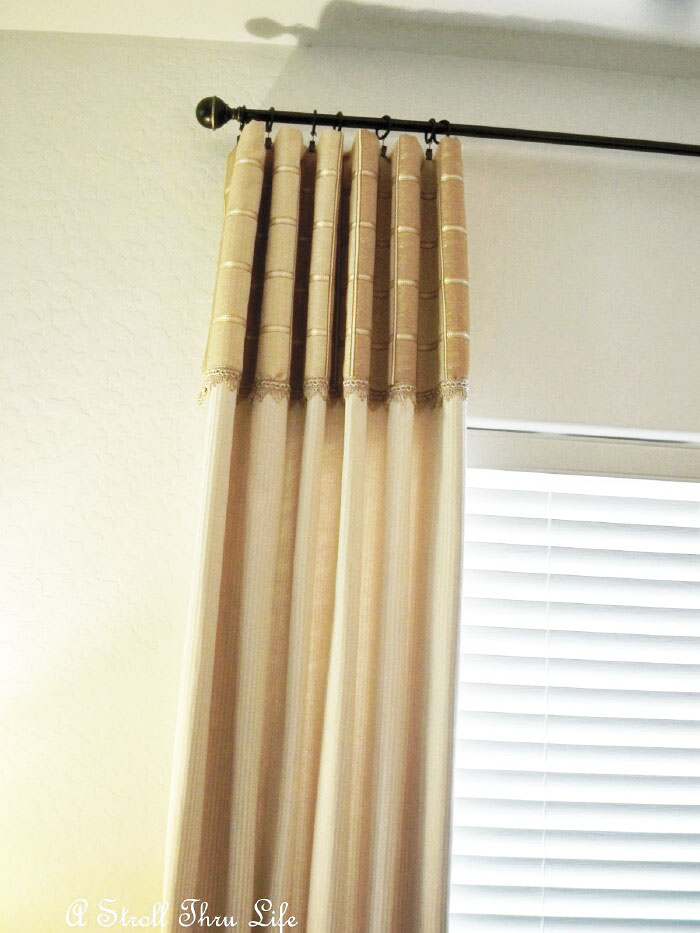
Next is what I call finger pleating. I follow the fold of the panel that is pulled forward on the rod down to the hem and use two fingers to gently press them into pleats. Make sure you have the drapery fabric and the lining together. This doesn’t create any sharp edges, it just allows the fabric to naturally follow the line from the top to the bottom. Just take your index and middle finger and place the fold between them using your fingers to run up and down the fabric to set soft pleats.
The fabric on these drapes is a slubbed silk that was harder to get the folds to stay in place, so I did the finger pleating then tied them together softly with pieces of fabric. I leave them tied for a few days to “set” the memory in the fabric, then when I untie them they hang in perfect pleats.
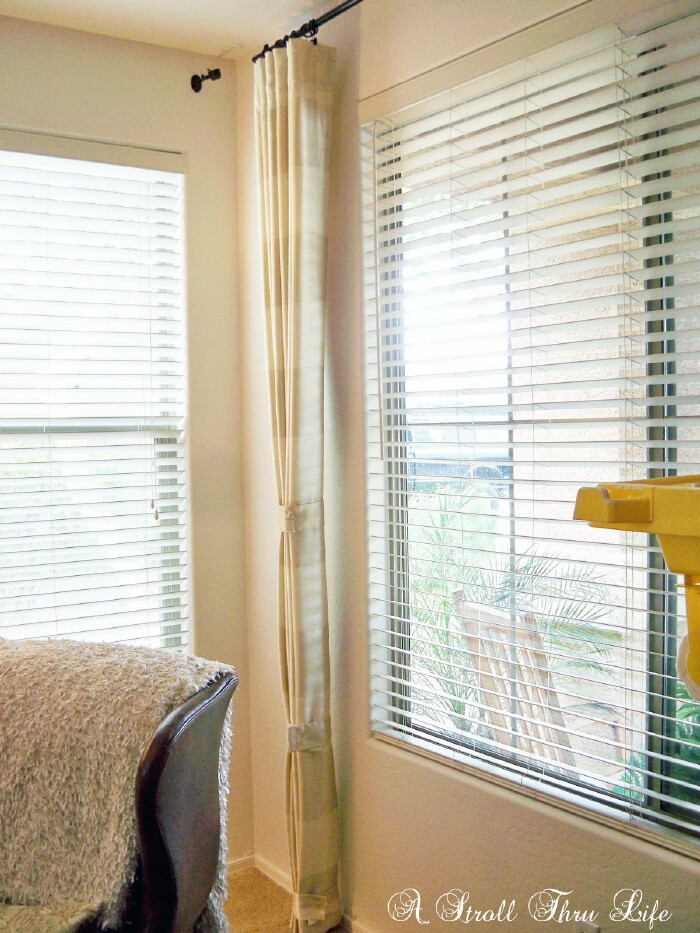
That’s it. They still have a casual feel, but the pleats are all in line with casual folds that hang in a nice flow up and down the window.
This is a pair of Ikea drapes that I added some ribbon trim to. The same process works for these unlined drapes too. (Check my step-by-step tutorial on how to add trim for a custom look.)

Hope that answers the questions. This is just my own method. Let me know your secrets.

Beautiful custom curtains and I love your process for hanging them. Now, if only I could sew to make these curtains then I would be sooo happy. Thank you for sharing your talents.