I love trays and think they can be used all over the house. I wanted acrylic, I thought it would be perfect to hold everything and not look cluttered.
I wanted one for my desk so I would have a place to put some papers and to hold some of my office necessities. I found this stunning one at Home Goods for $19.99. Gorgeous, heavy, and great price. The only problem, it is too long for my desk area.
I went online to see about finding just the right one, but wow, was I surprised at the prices.
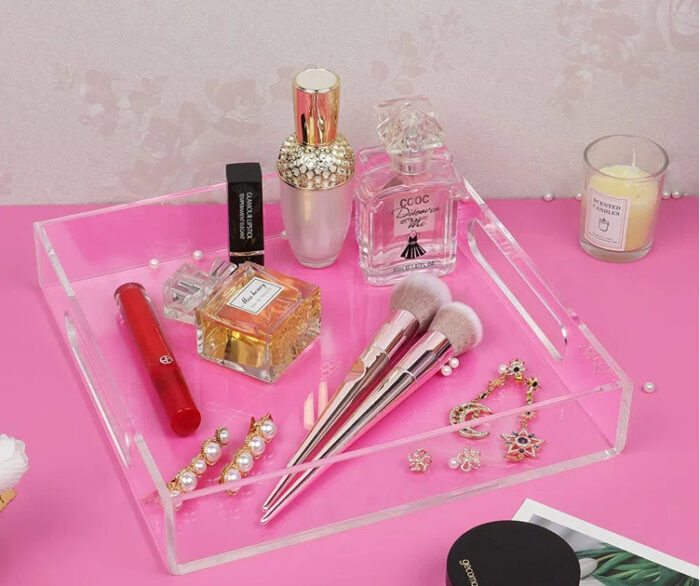
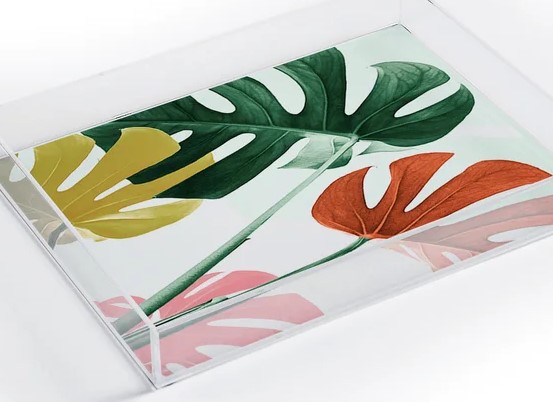
I loved this one with the gold handles, just not the price. $148.99
![]()
I really liked this one too, but again the price was way out of reach. $142.99

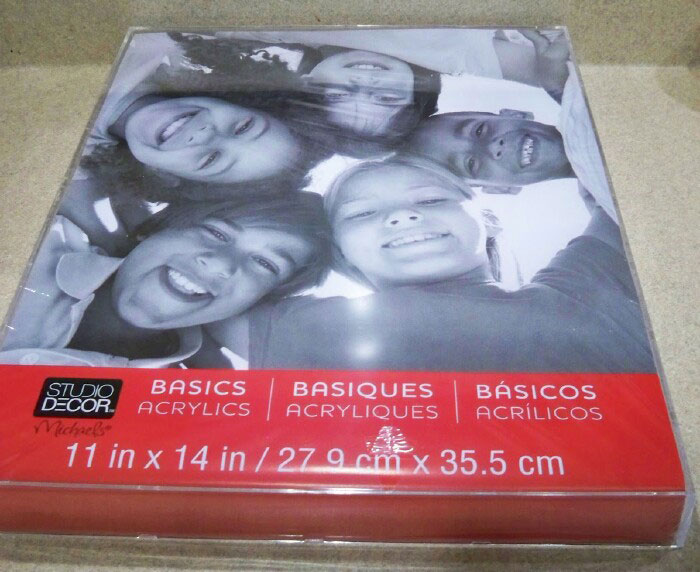
Then I remembered this tutorial I saw at Rain On A Tin Roof. She used an acrylic frame, so I bought one and set out to copy hers. (She has several trays that she’s made, be sure to see all of them.)
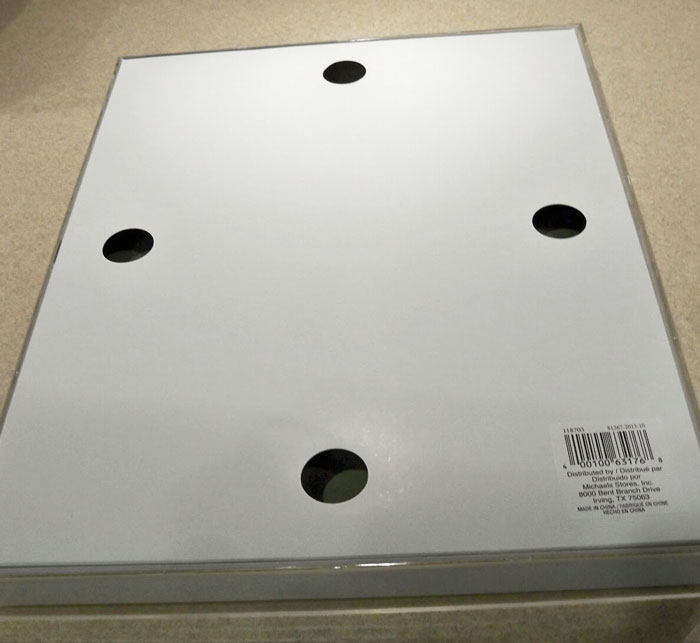
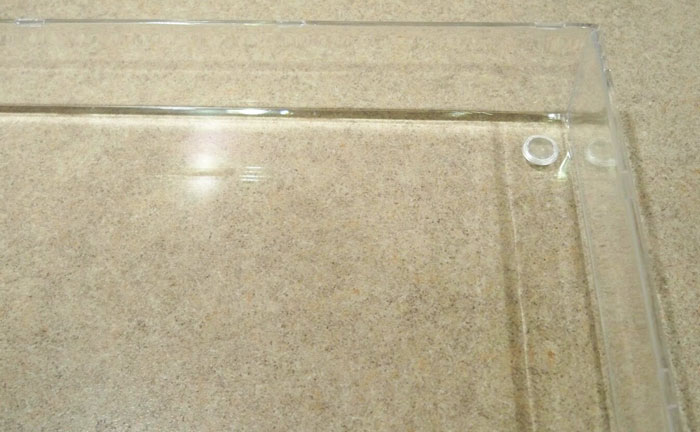
Turn the frame over and remove the cardboard – –
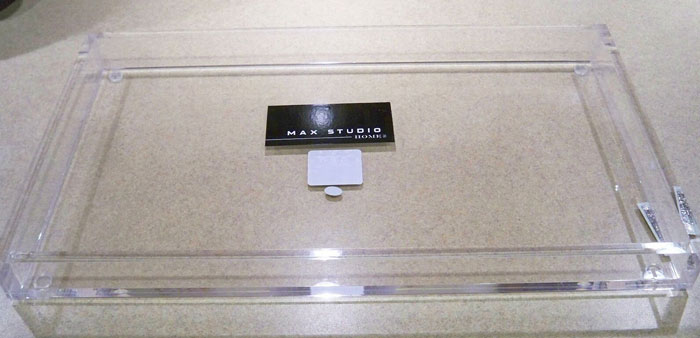
Ta-Da – You have an acrylic tray. Perfect size and for a little over $5 with my 25% off coupon. I had some little clear bumpers, so I added them on the bottom for feet and to help hold it in place on the end of the desk.
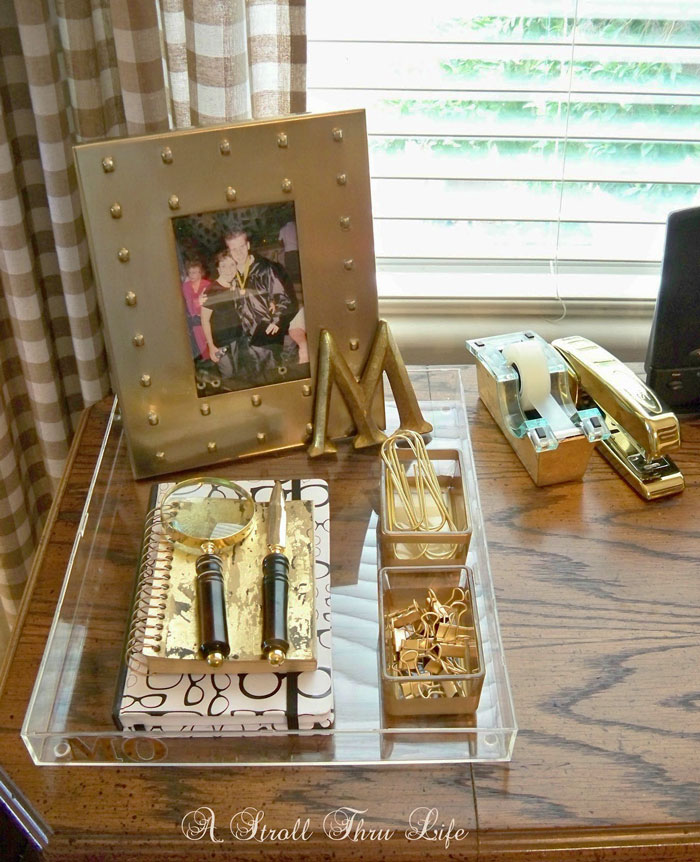
Now I almost started taping off the bottom and getting out my 24K Gold Spray Paint, but I resisted. You would be so proud of me. Instead I had some of the Gold letters on a clear background.
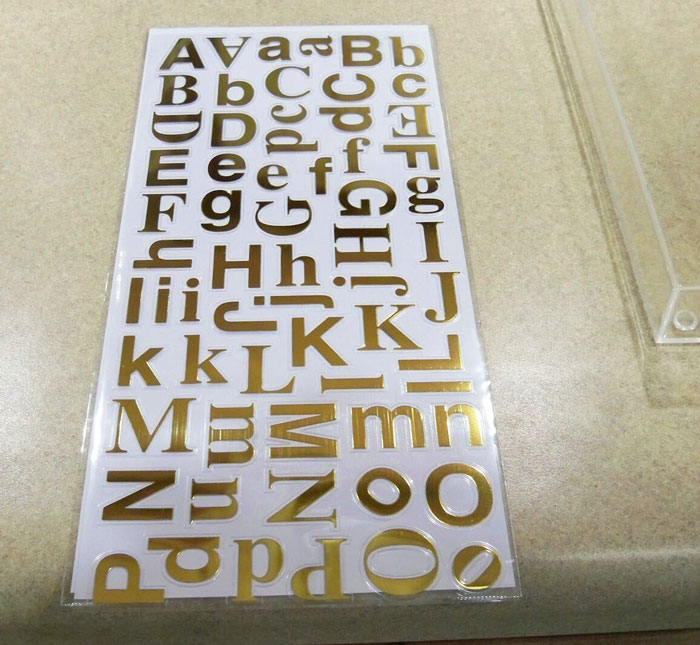
I added a simple M O for my initials. See how much restraint I had.
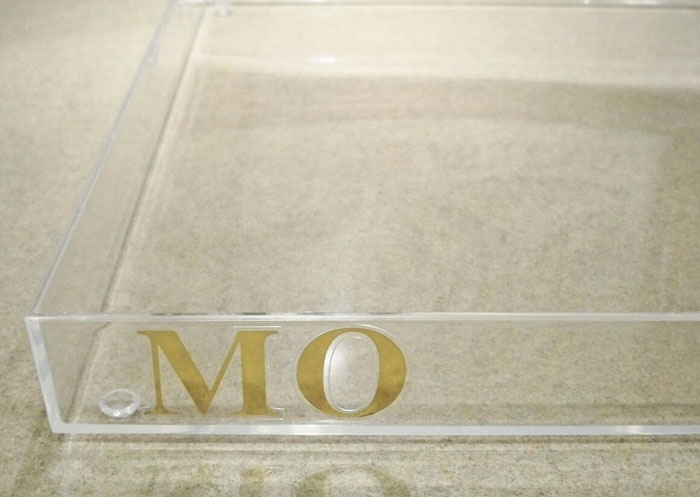
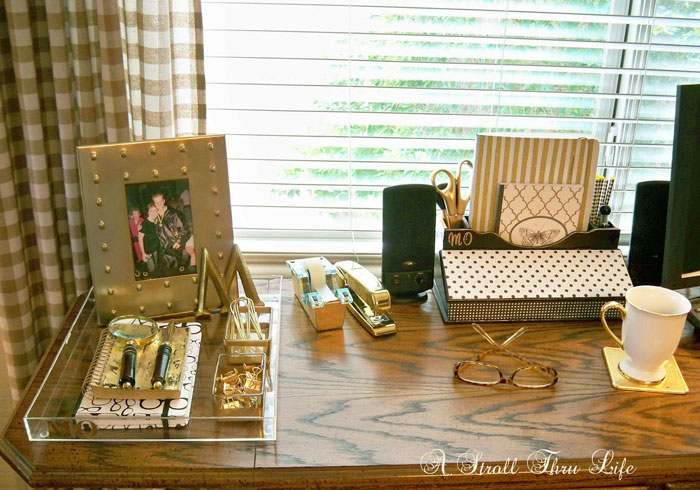
Perfect on the end of my desk. Now it holds the photo, my paper, and butterfly clips, plus a couple of my notebooks and magnifying glass, and a letter opener that I use all the time.

I have to share this really sweet gift from my DH. I love it when he gets involved with my projects. I came home the other day and he told me, “I found you a treasure today for your desk”. I looked all over and couldn’t find it. No wonder, it’s a fabulous acrylic ruler. Now not just any ruler either. (see it standing on the side of the tray)
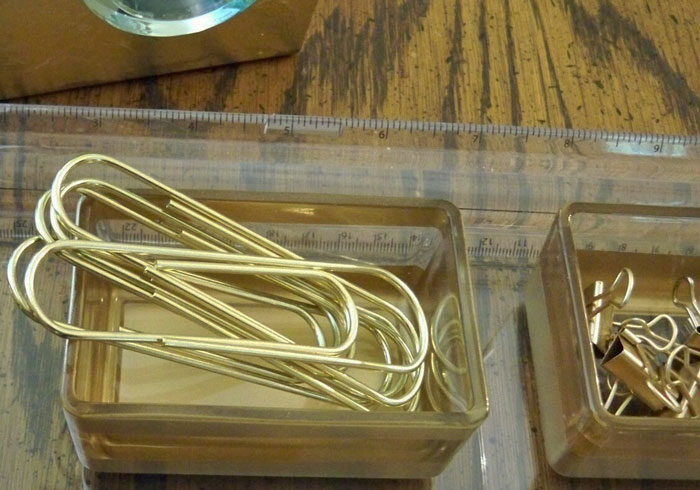
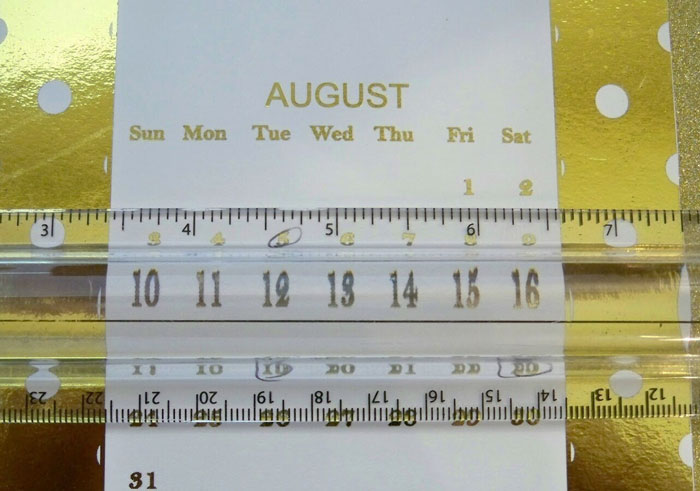
See the unusual shape, it has a purpose.
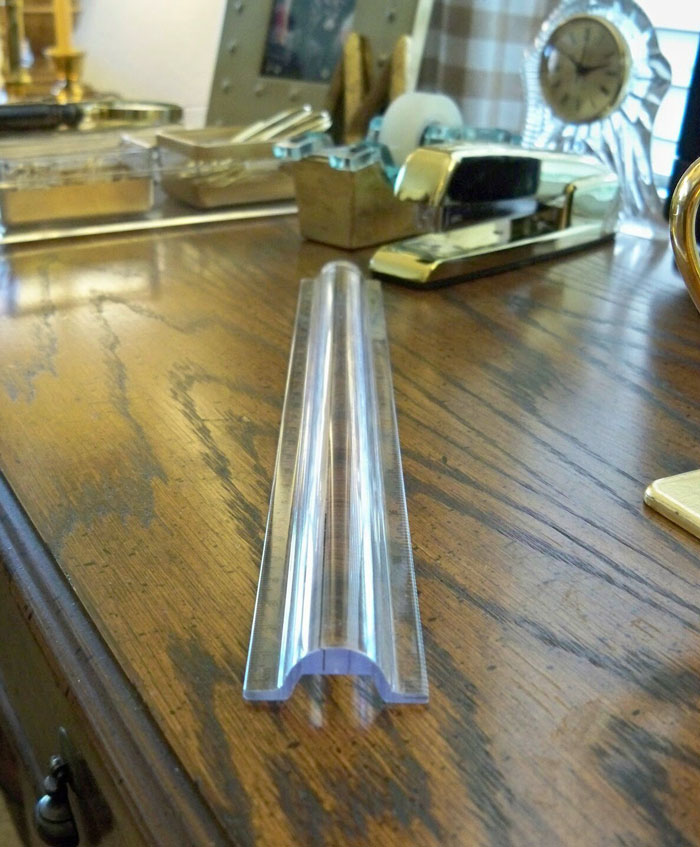
The rounded part is a magnifying bar. It allows you to read a whole line at once instead of moving a small magnifying glass around. How cool is that. Now wasn’t that a sweet surprise. I think he’s a keeper.
This desk area is really getting glammed up, but I am having so much fun and it definitely makes it nice to sit here and pay bills or look at all of you guys posts on my computer.
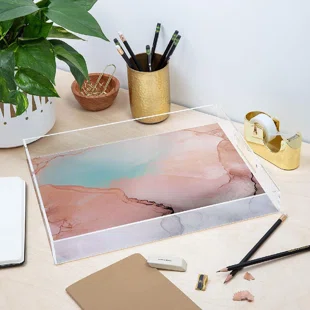
You can also spruce up your acrylic tray with a little paper on the bottom. The sky is the limit.
So if you need an acrylic tray, this is definitely the way to go. I love mine. Thanks tons Jenna for showing the tutorial for yours.


Subscribe to Blog via Email