Ottomans are a wonderful addition to any home. Perfect to prop your feet up on, how about using one as a coffee table, or as an extra seat when you need it.

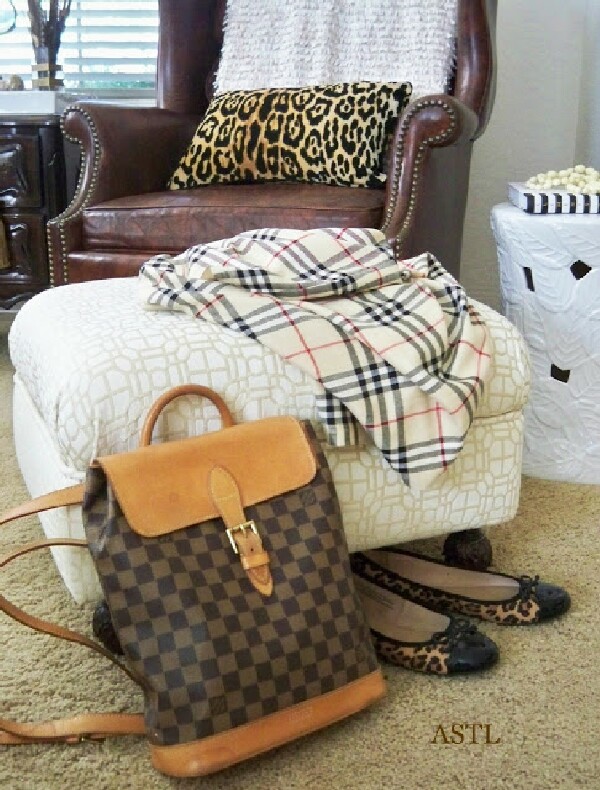
We don’t have an entry, so the ottoman is the perfect dropping zone for me when I come in the door. Packages, purse and of course my shoes usually get dumped first thing.
Finding just the right one can be a challenge, so why not make your own. I made this one years ago. So easy – plus I can have the size and color I want.
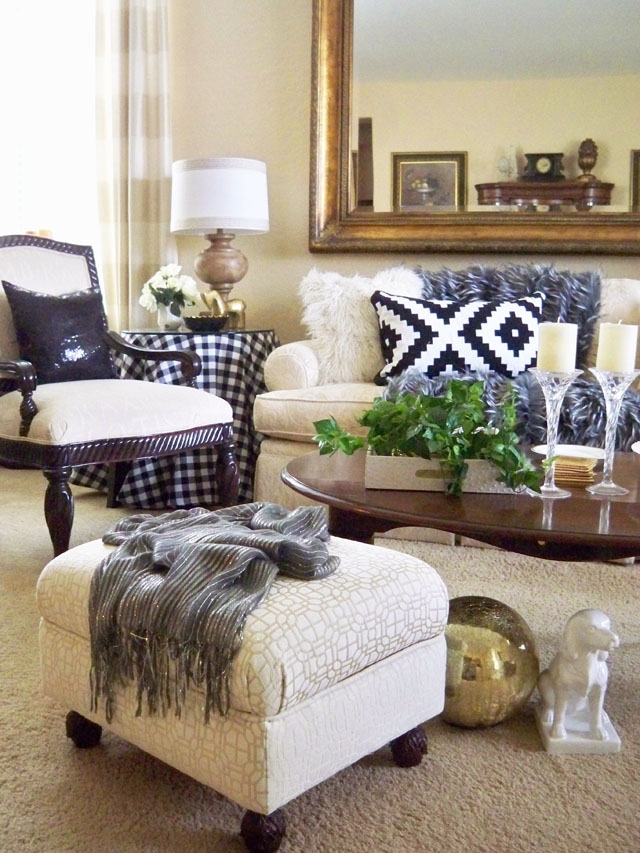
It’s also perfect for that extra seat when I need it.

OK, let’s take a look at how to make one. Really easy, let’s start with mine when I recovered it last time. (This is from my original post a couple years ago and is still one of my most copied posts.)
This is what mine looked like. Time for an upholstery change.
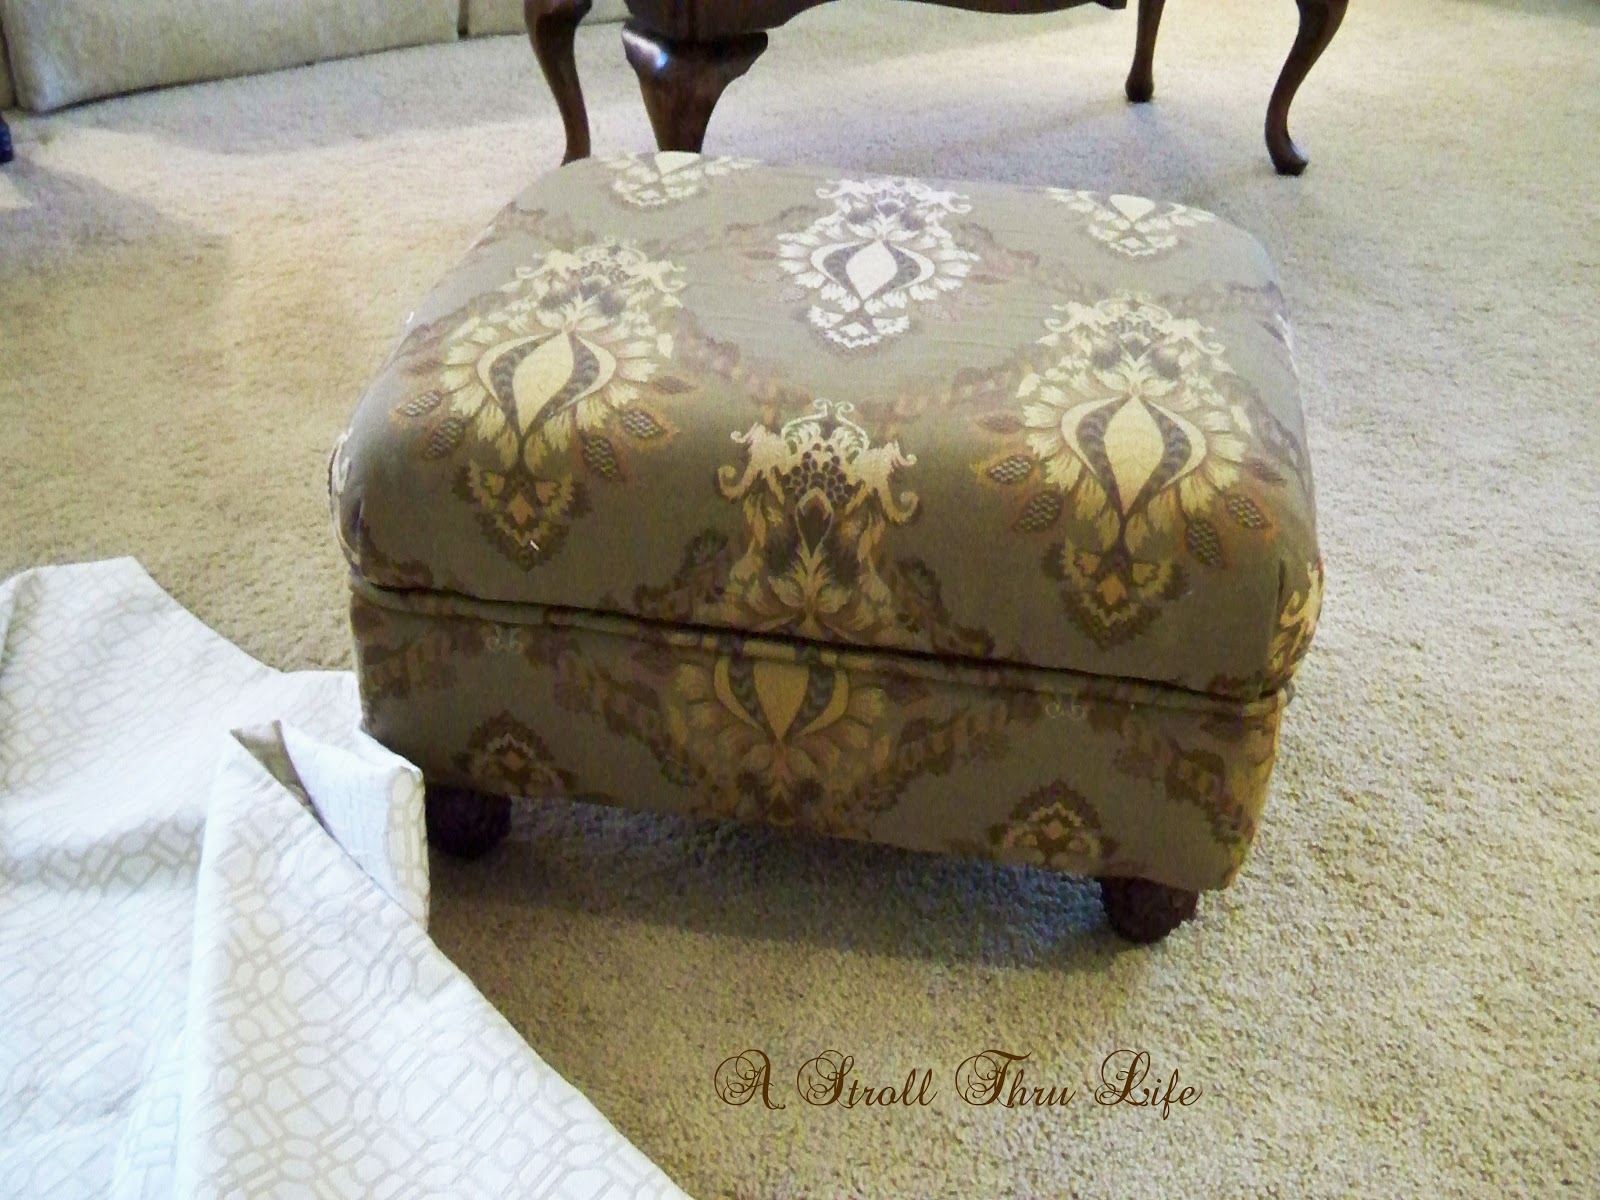
I love this fabric, and the muted pattern looks great with the rest of my furniture.

Ok, time to start. I unscrewed the feet, (they are actually drapery rod finials) and took the bottom dust cover off.

Next I unscrewed the top from the base and removed my current fabric. Woops, looks like I just recovered over the first fabric. This time I need to remove everything down to the batting. So a ton more staples to remove.
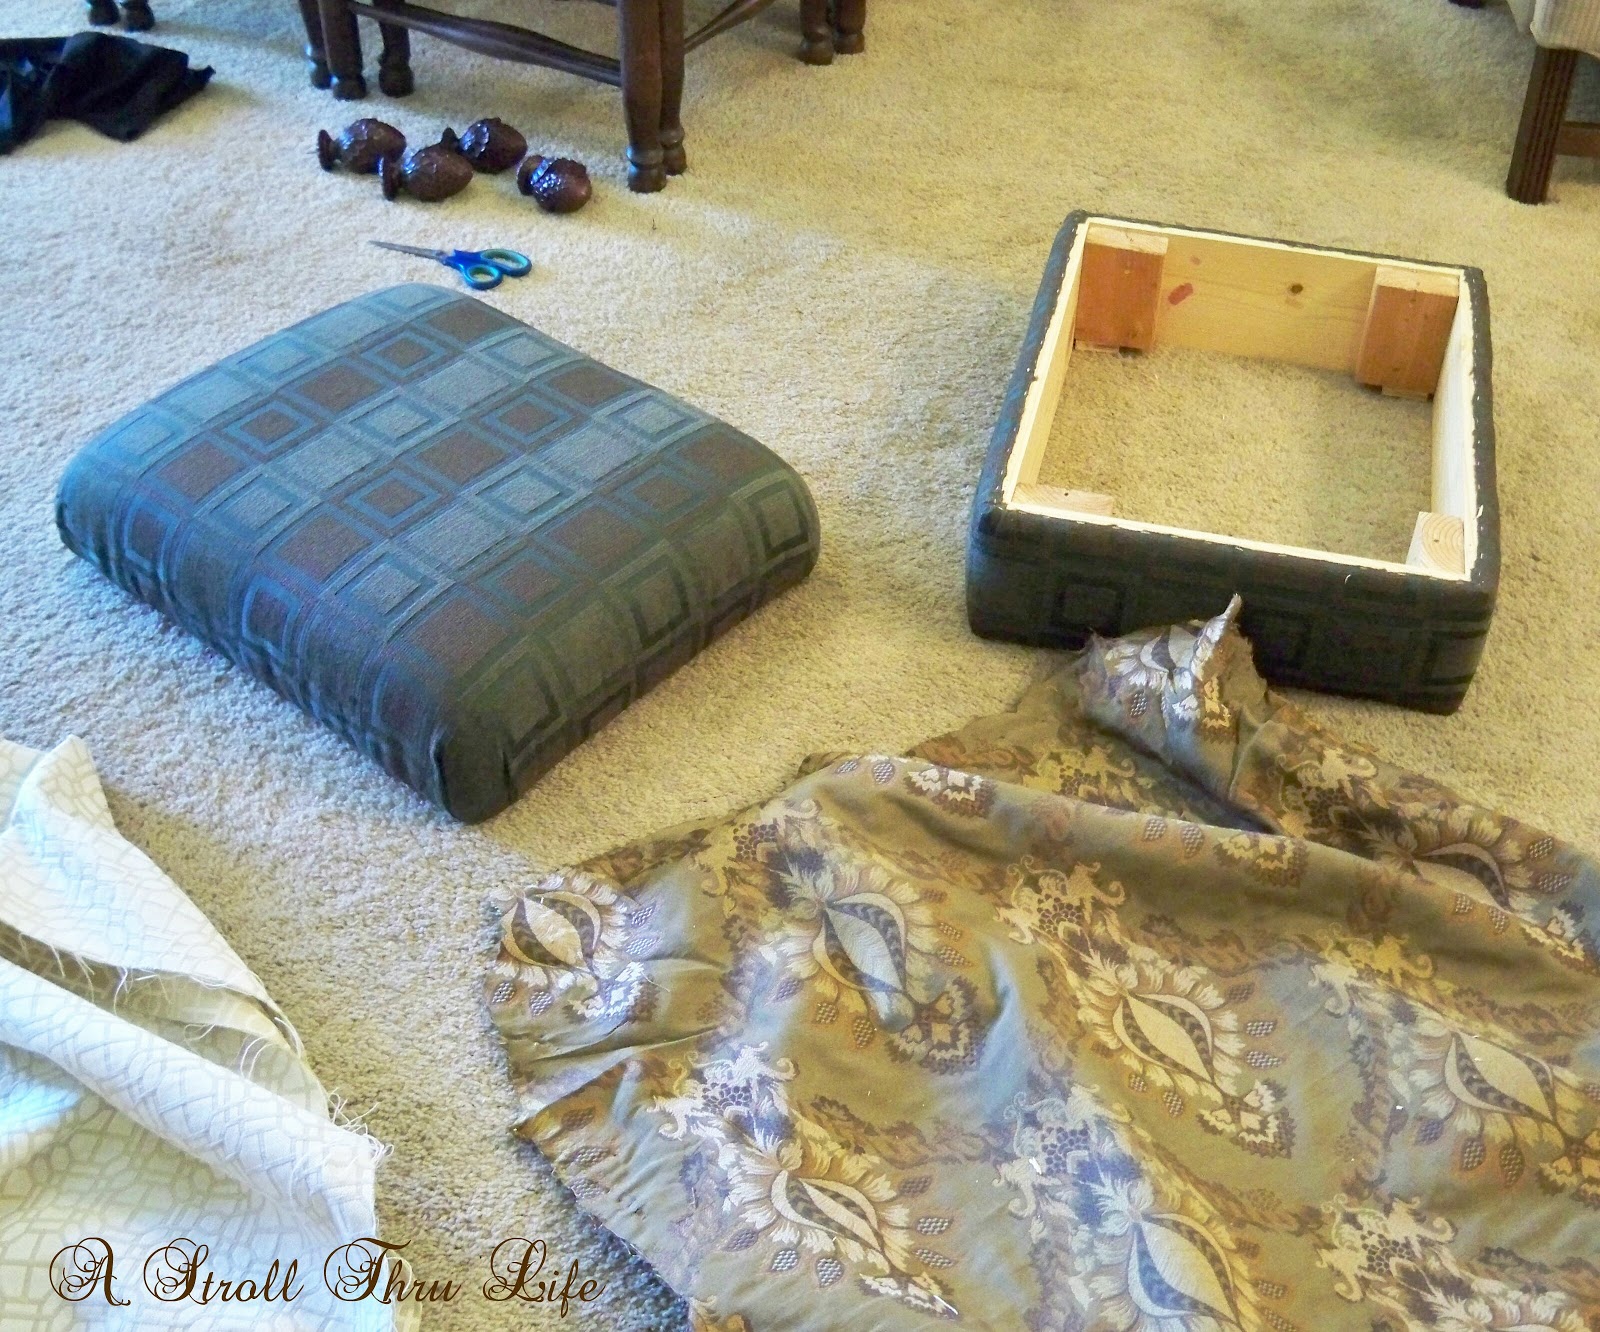
Here you can see just how simple it is to make an ottoman. The base is just some 1×6 boards with some 2×4 corner blocks. (Be sure to cut the 2 x 4 corner blocks as tall as the 1 x 6. I goofed and had to add small pieces of wood for the feet to screw into.) It is wrapped with upholstery batting and then my new fabric.
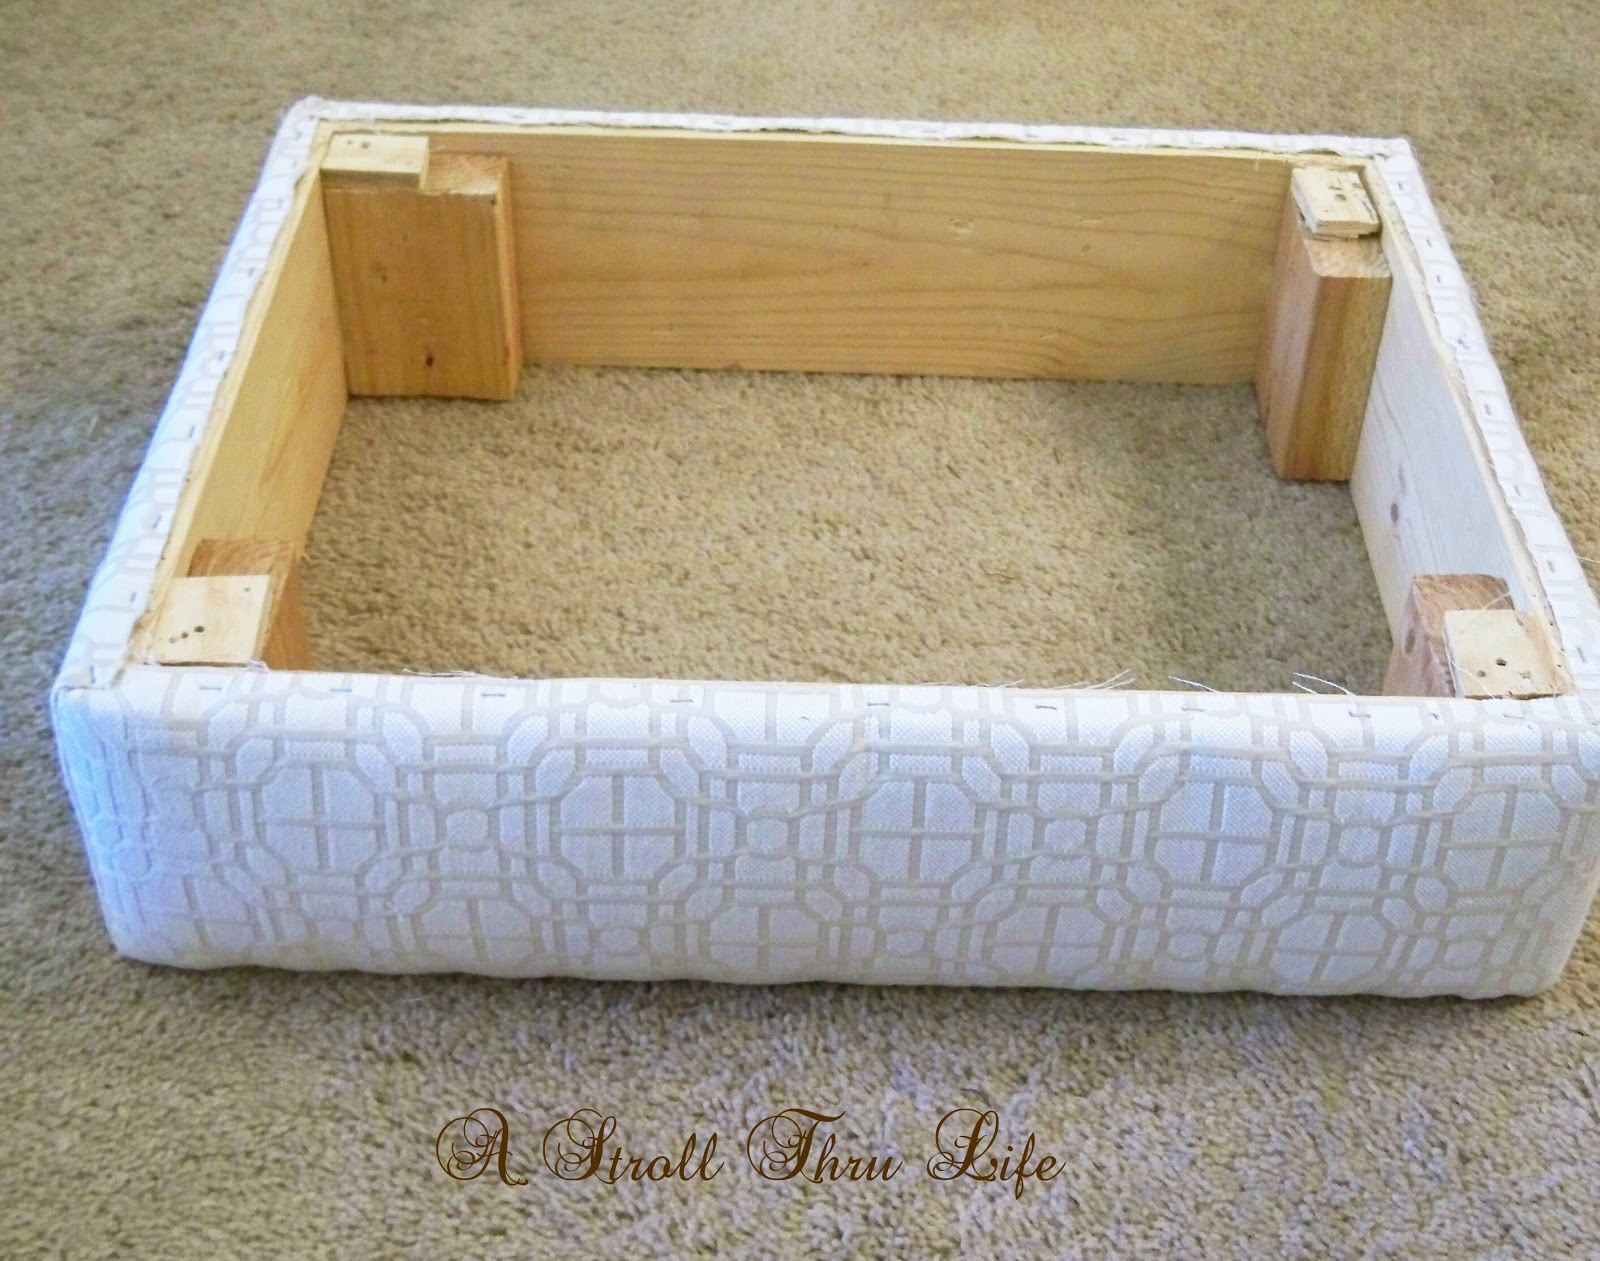
The top part of the ottoman is just cut from plywood, covered with 4 inch foam and then wrapped with batting and my new fabric. Super easy project. Now all I have to do is make the cording to go between the two pieces and then screw them together. You can sew cording or use hot glue. Just a strip of fabric with cording (rope) sandwiched between the strip. Easy. Tutotial for cording here.

(The cording is stapled to the bottom base and then the top is screwed on from underneath. Finish by adding the dust cover stapled to the bottom and attach the legs.) All done, the cording is a great finishing touch and I love the decorative finial legs.
Tip – You can use a 1×12 for a taller ottoman and you can hinge the top if you want storage.

When not in use, it stores underneath the buffet in the dining area. Perfect for that extra seat you need in a pinch.

Now if you need an ottoman and don’t find what you want, or the size you need – This is a really easy project and one you can create for just a few dollars in just a few hours.
You might also like:

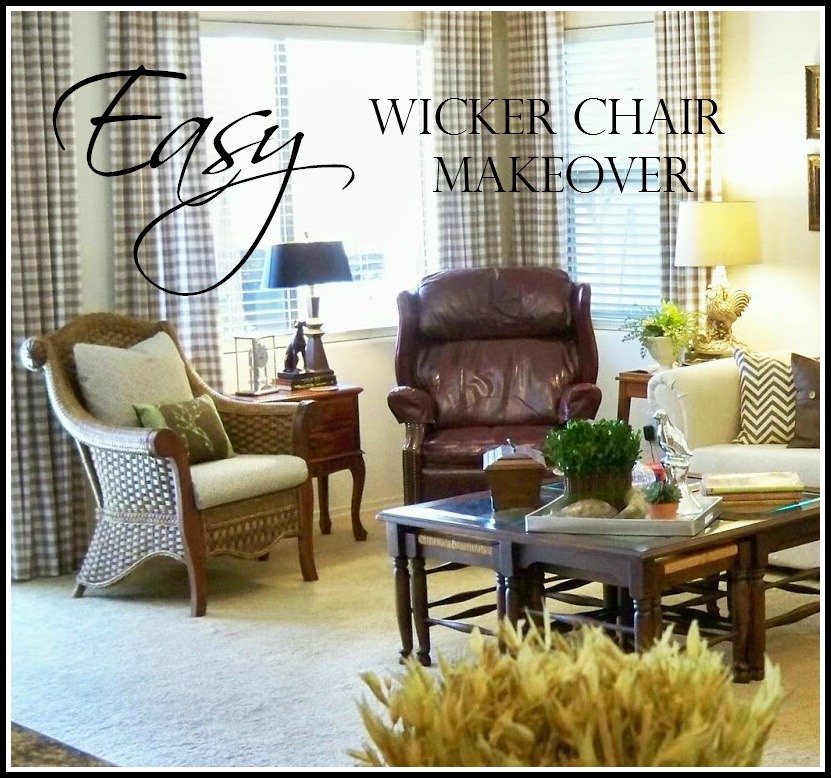
Easy Wicker Chair Makeover – Before & After
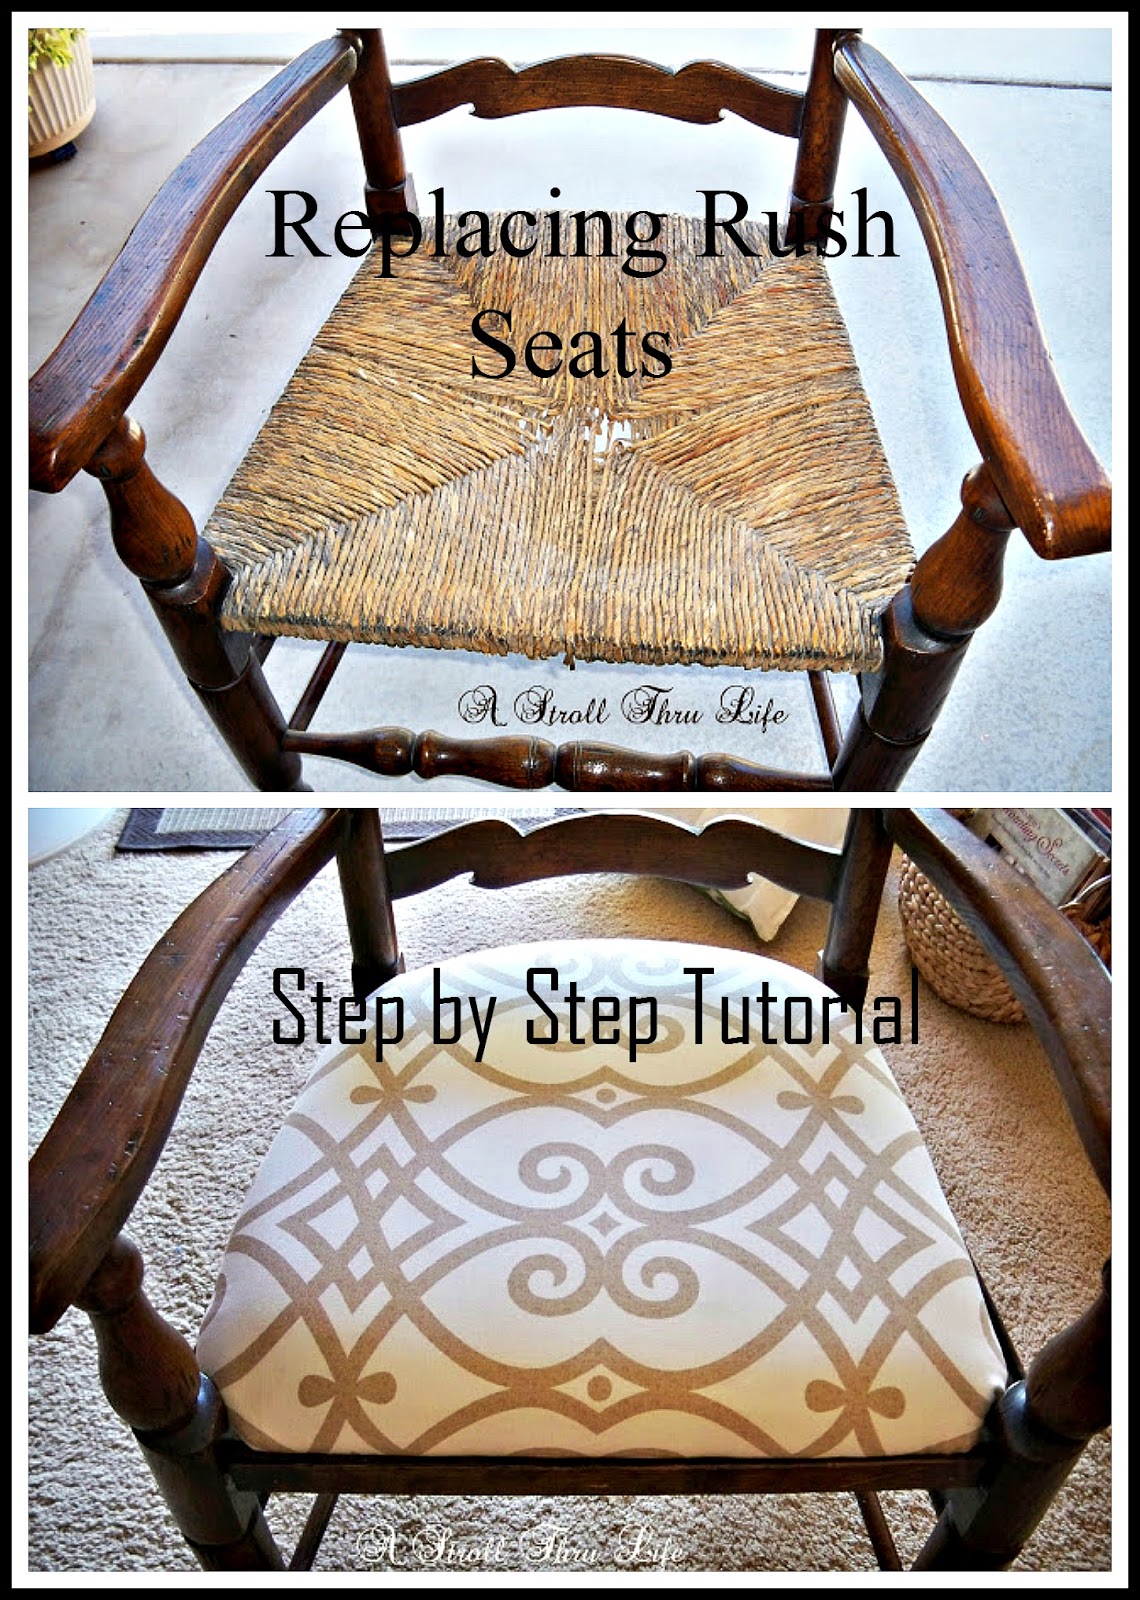
Replacing Rush Seats – Step by Step Tutorial
If you like Thrifty & Chic on a Budget, I would love to have you follow me.
Have every post delivered to your inbox with Bloglovin
Check out Pinterest & See behind the scenes on Instagram


Marty, thank you for the ottoman tutorial as we need another ottoman so we can have two around our L-shaped sofa.
Hugs,
Barb 🙂
You’re welcome, it is a really easy one to make and upholster. Marty
Unclear how you screw the top on from the bottom
You have wood corners that you can angle a screw into and screw into the top box. Marty
I’m wondering how the top part of the ottoman is attached to the bottom part.
In the instructions it tells you to screw the top onto the bottom from underneath, then add the dust cover. Thanks, Marty
How fo you figure out yardage of material? I want to recover my existing ottoman which is like yours.
If your material is 54 inches wide, you will need about 2 yards.